|
|
|
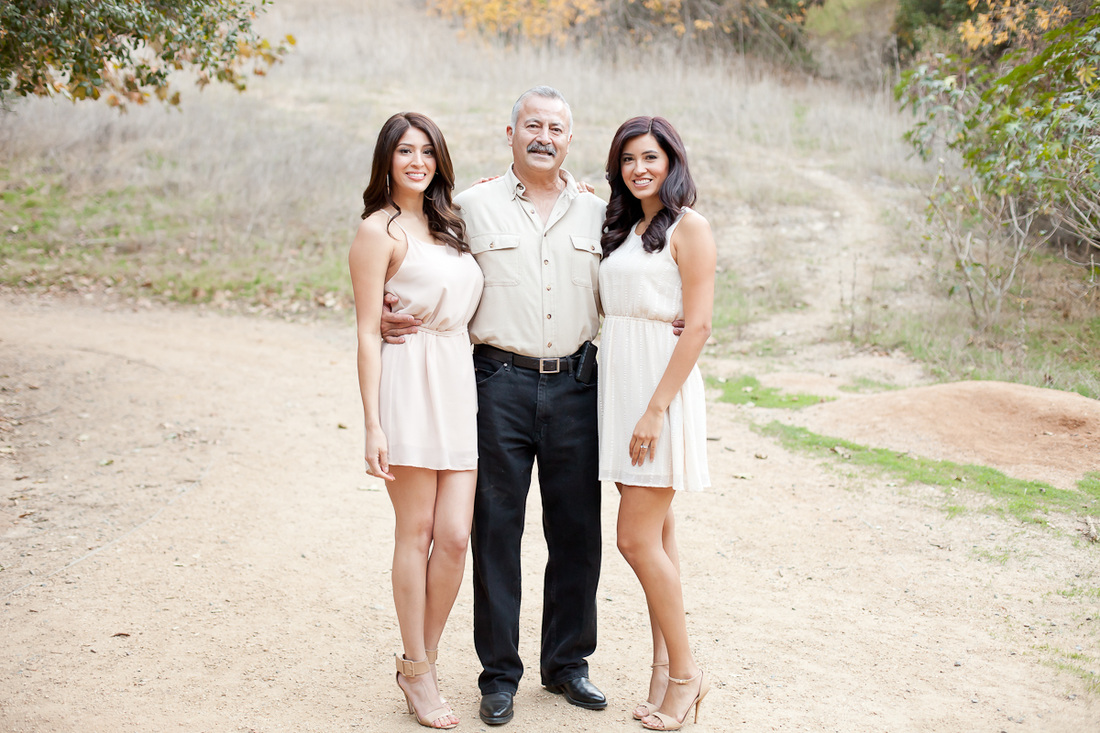
Looking through these photos gets me all watery eyed -it makes me realize how far our family has come and I am so proud of them all! We have been through soooooo many struggles, too many near death experiences, and even a divorce that I thought would tear us apart! There were times that I thought we would never get a full family photo again, but here we are today taking a big "chaotic" FAMILY photo! Don't let these smiles fool you -this was no easy task! There was plenty of yelling, clowning, name calling, and a few "Just get this over with!!!" I know they all were waiting for me to fall as I was running back and forth setting the timer on the camera in high heels! But Haha I didn't!!! Yay for me! Brats! As much as I wish things would just go smoother I know that it wouldn't be MY family and at the end of the day I wouldn't have it any other way! I love you turds!!! Muahhh!!! Thanks to my Jack Jordan for being my model while I was testing the light... 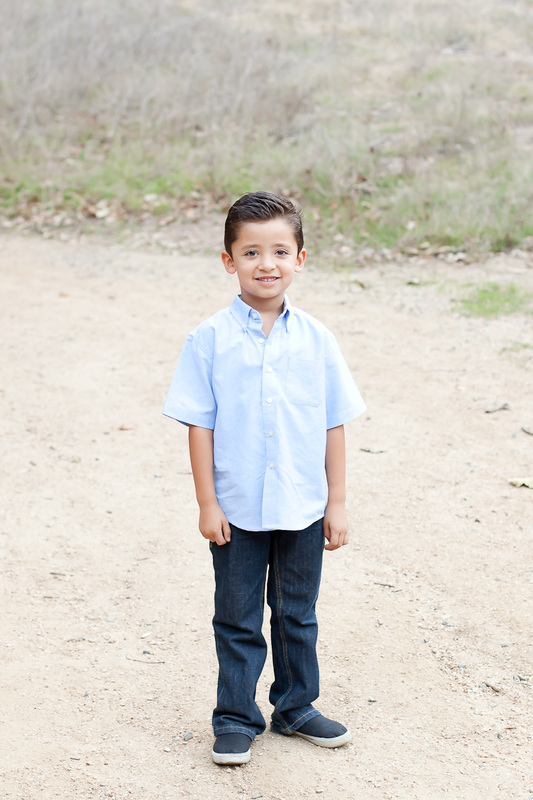
Who am I kidding -I knew they wouldn't stay where I placed them! 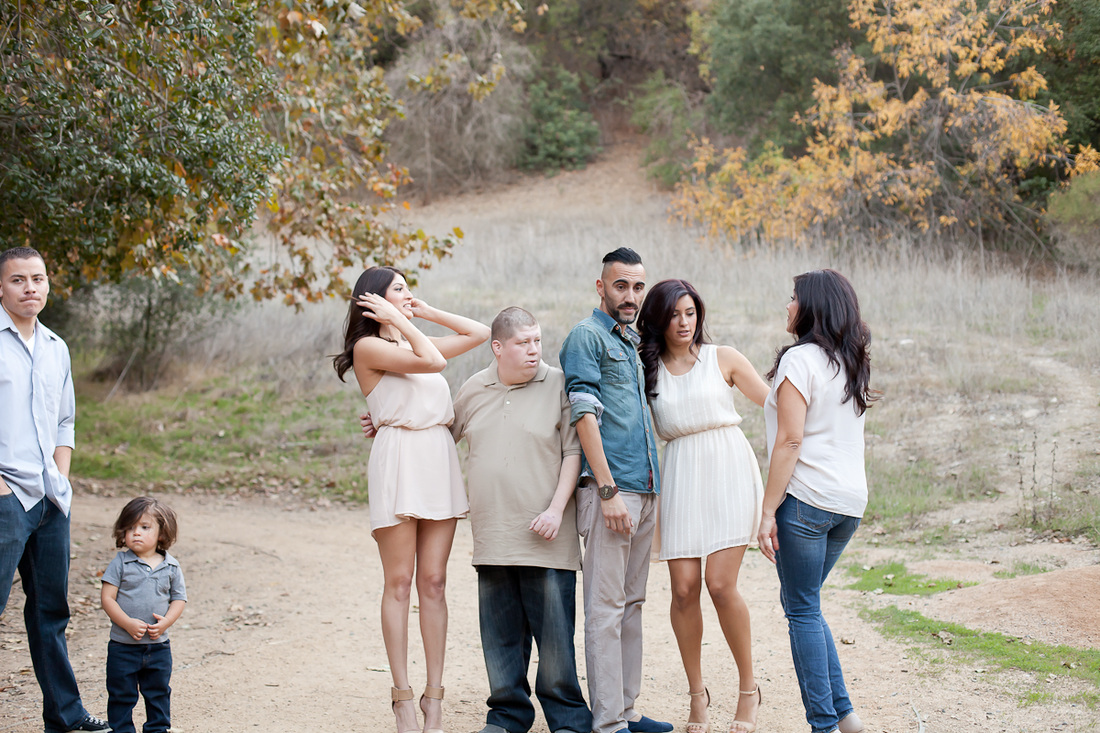
The whole familia! 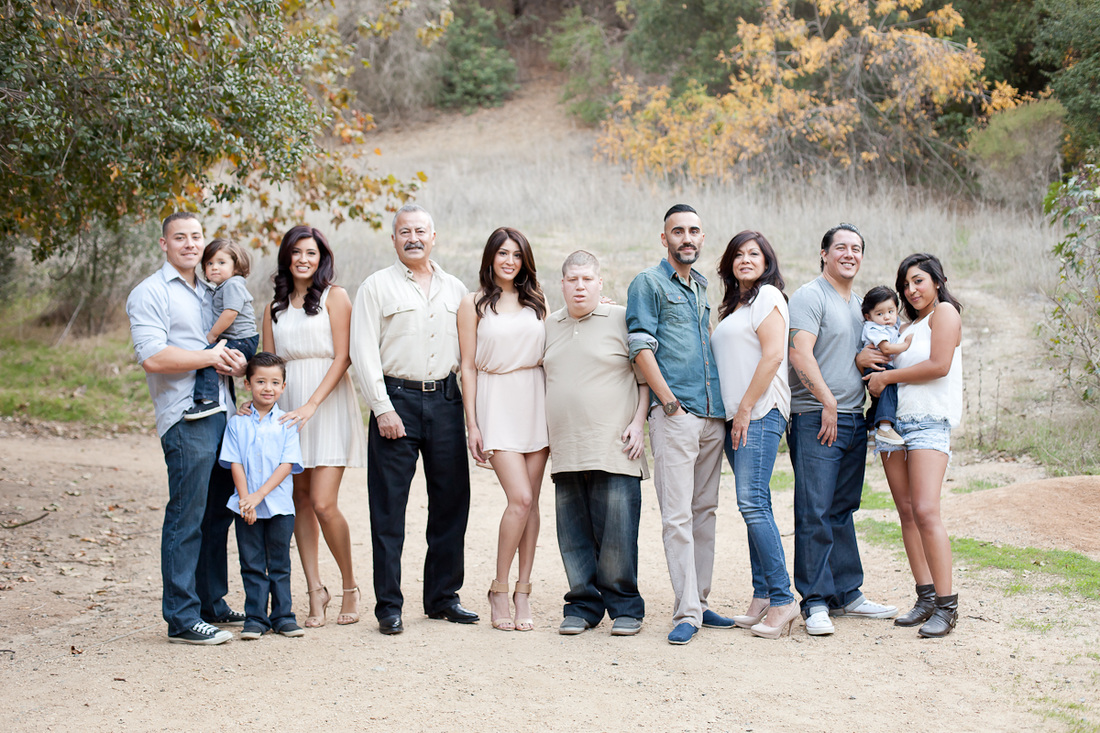
My handsome brothers and gorgeous sista!!! 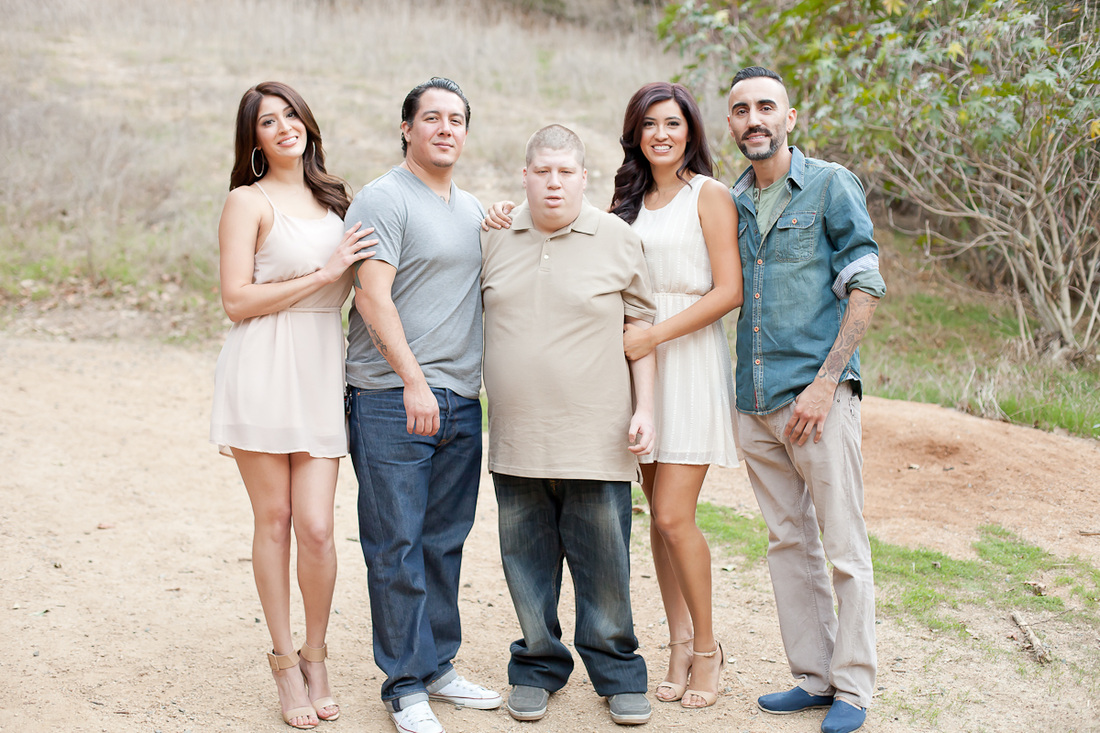
We are so blessed to find people that fit into our crazy family just perfectly! 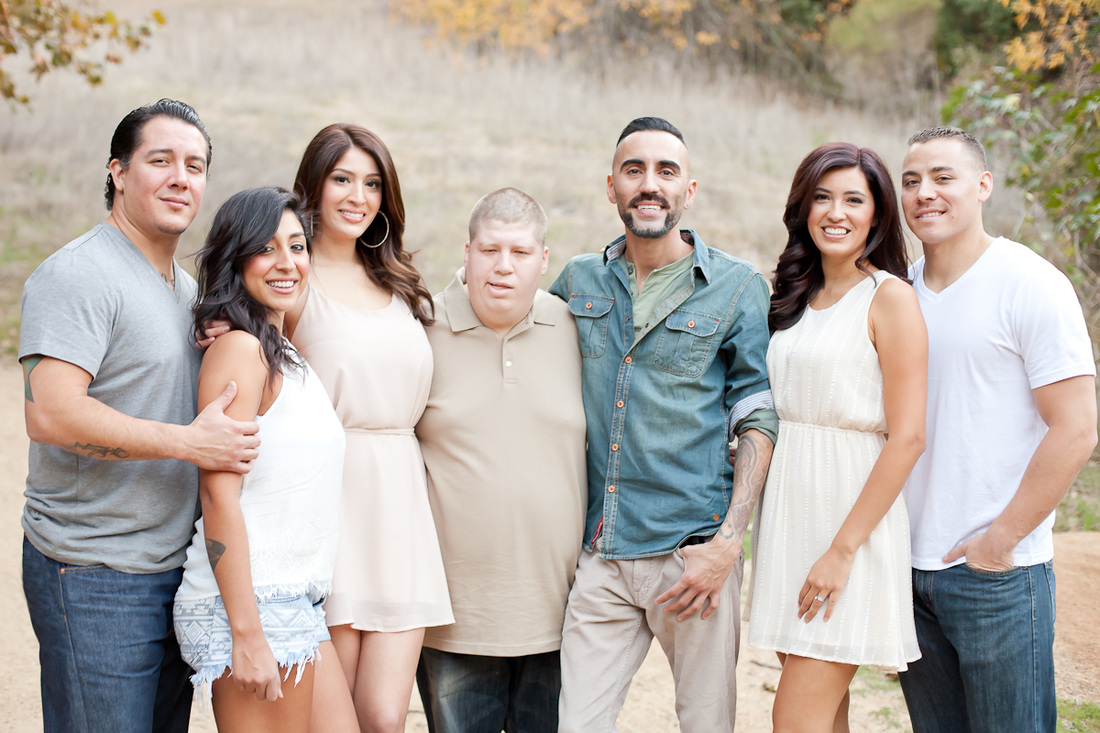
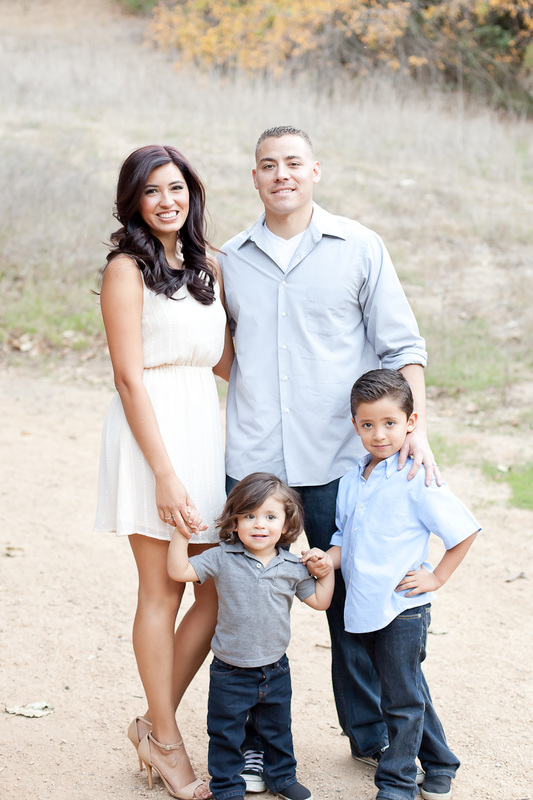
Thank you Alex and Cj for giving me thee best nephew! 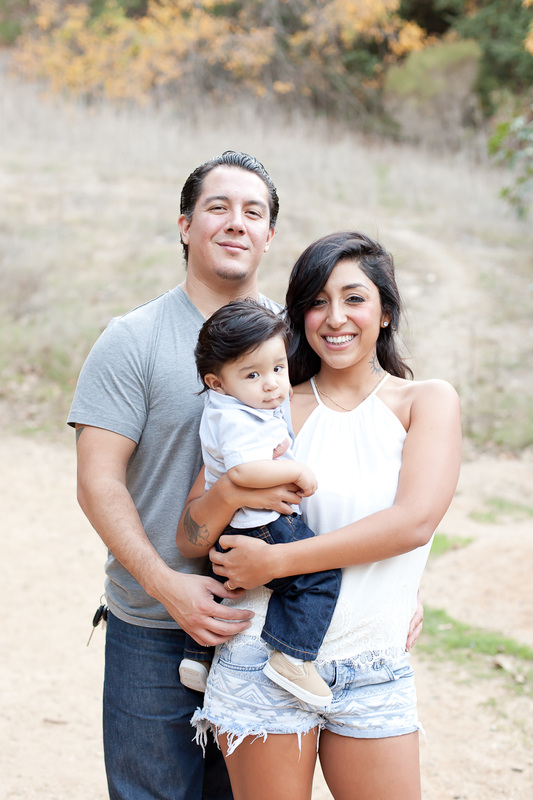
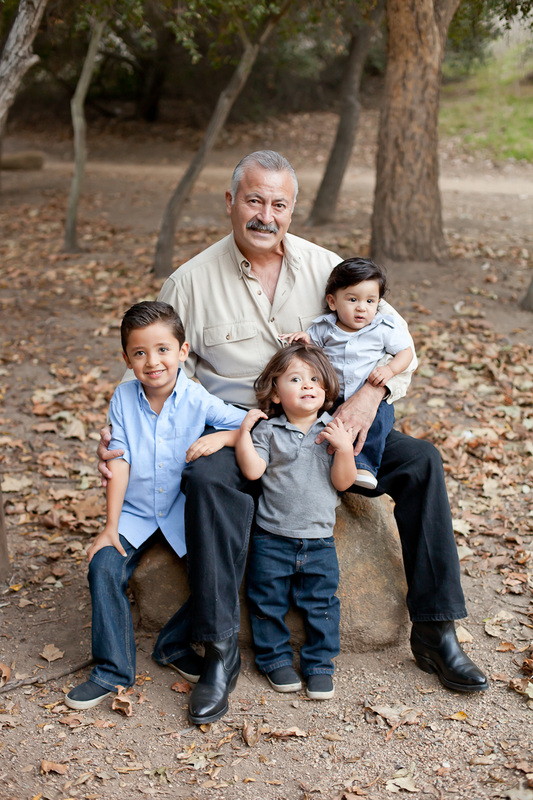
Proud Grandparents!
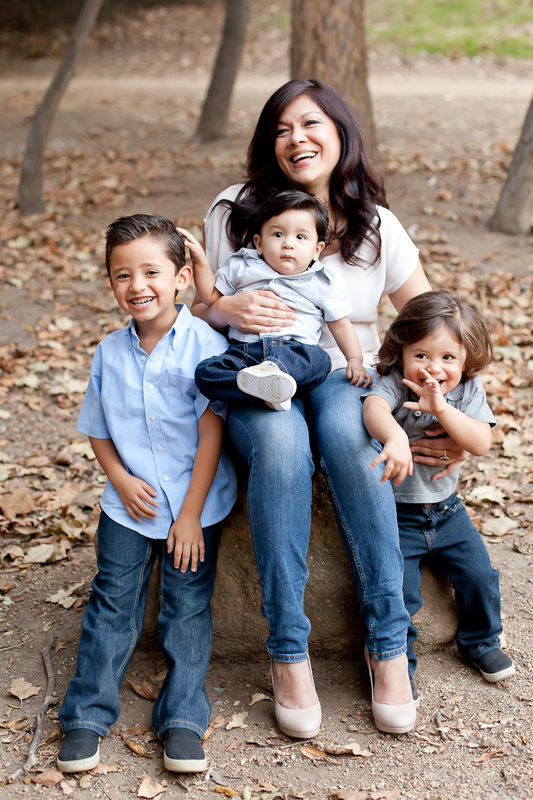
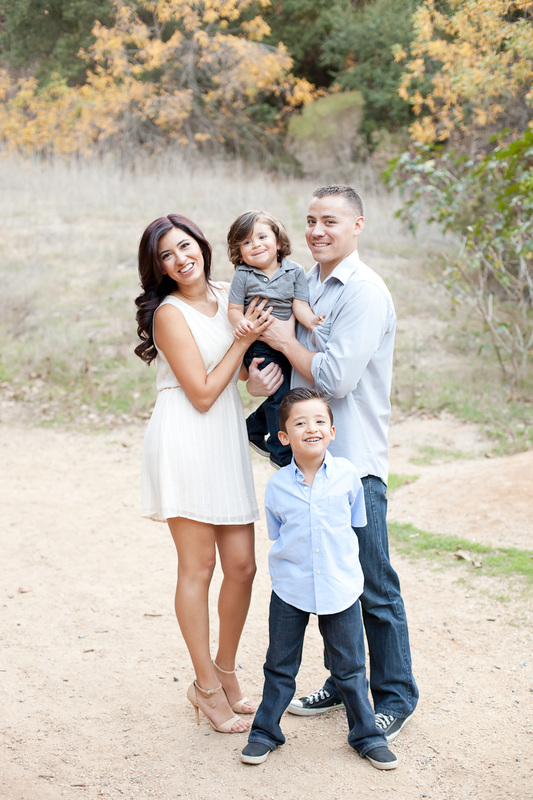
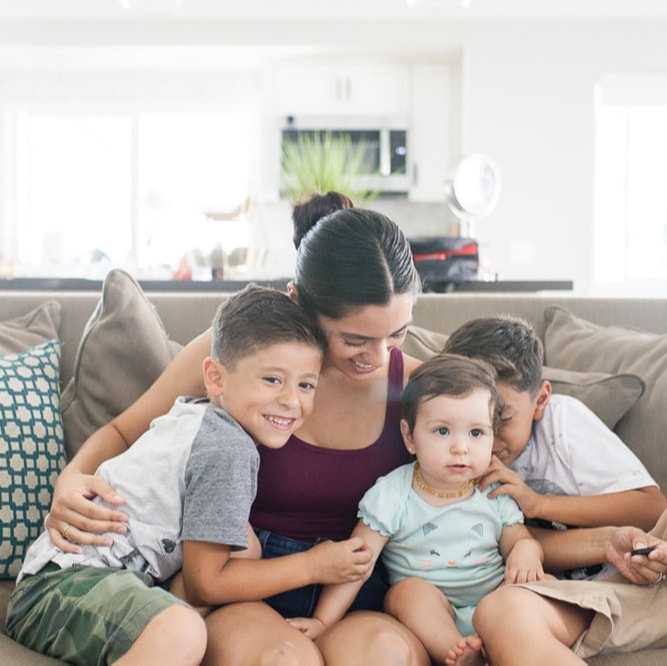
These boys are my heart!!! 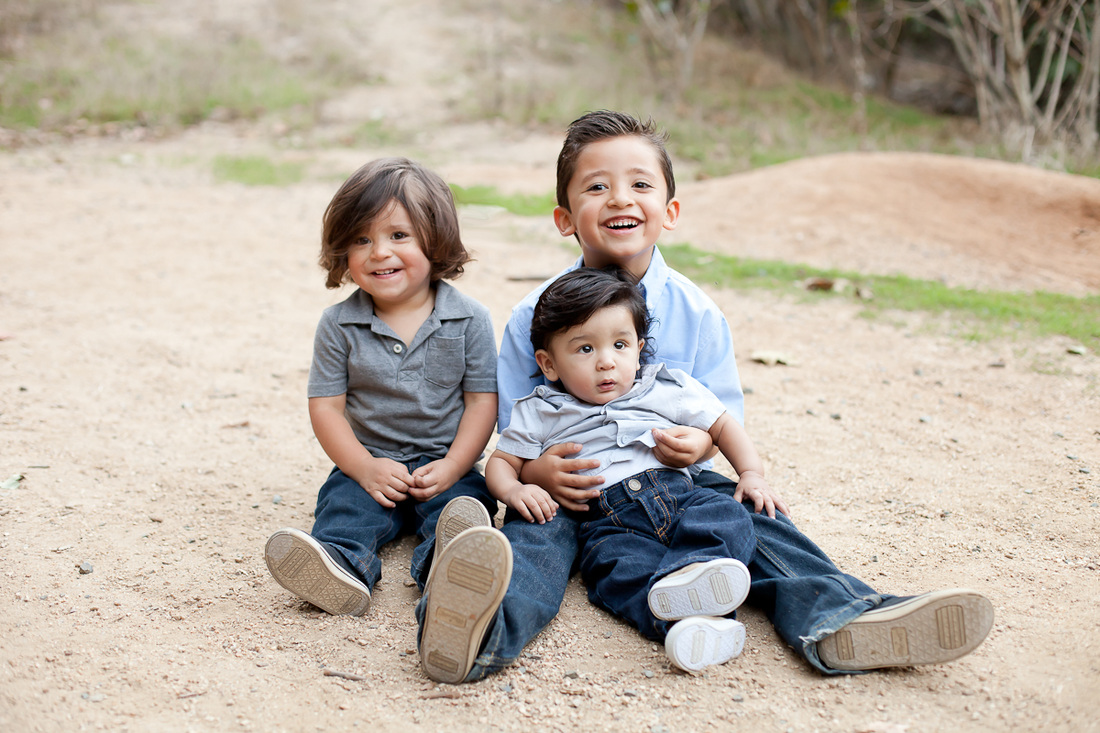
The handsome men in our family! 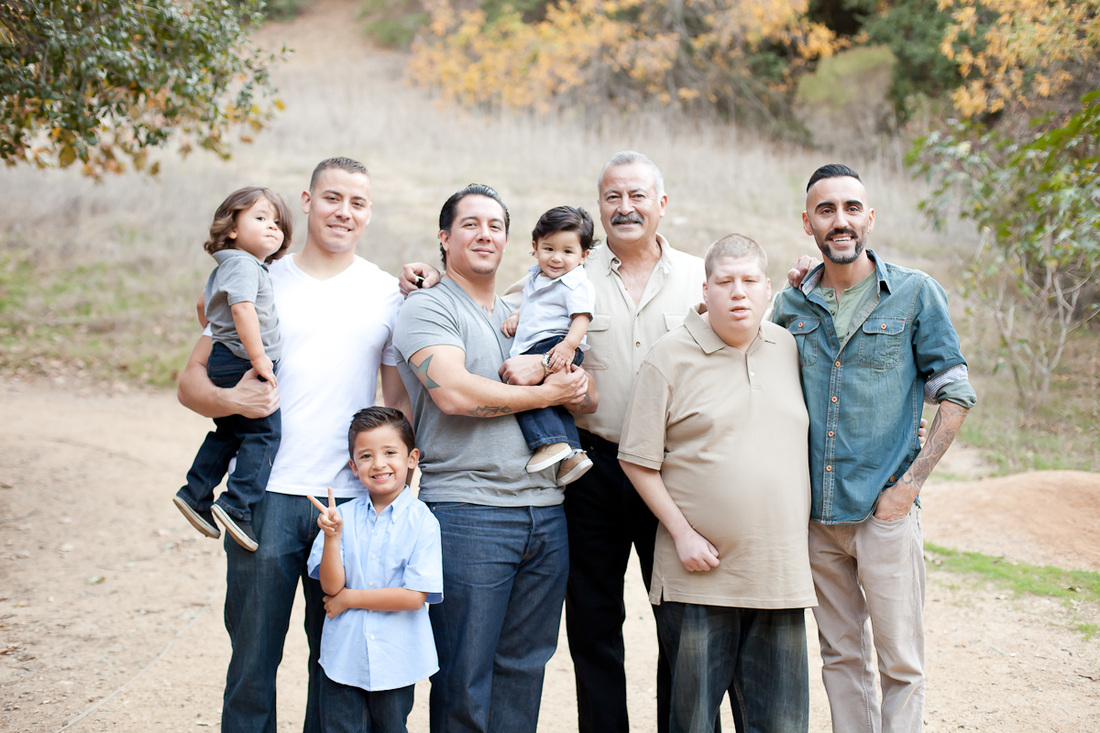
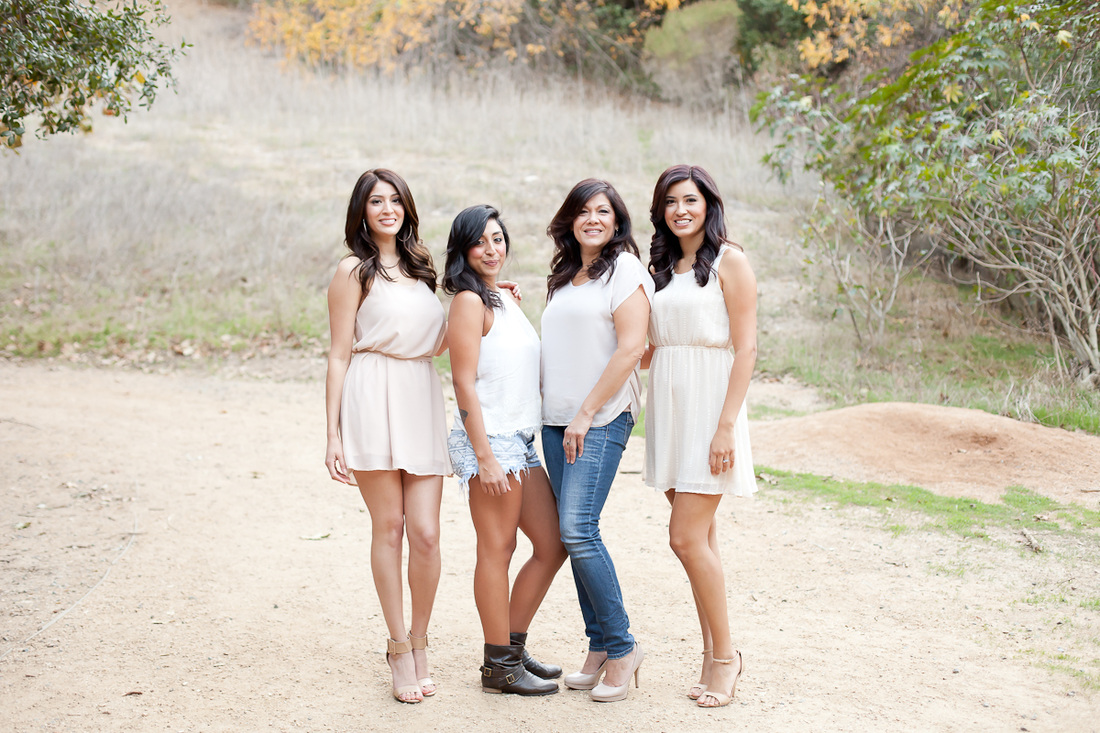
The lovely ladies!!! 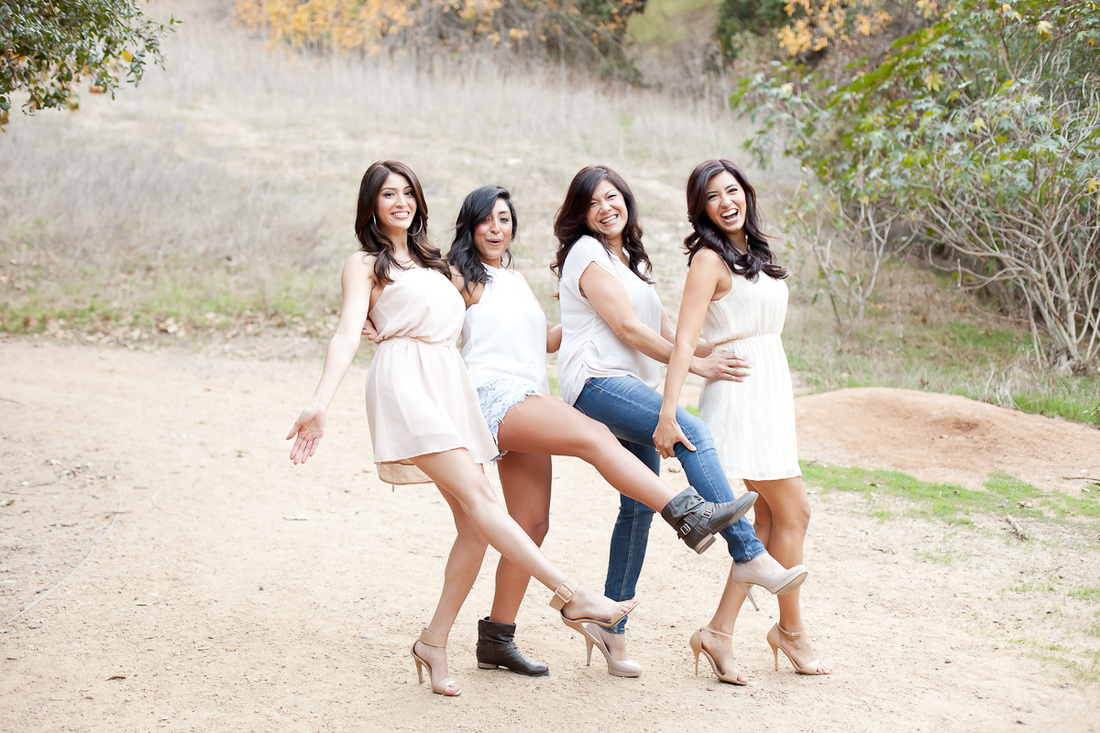
I am thankful for my family and true friends!
0 Comments
I want to wish Jennifer and Steven the sweetest of Anniversaries! Over the past few years I have gotten to know them better and they are such an amazing duo! They were one of the awesome couples that we got to share our Bahamas experience with! Wish we could go back! Here are the couples top two favorites photos of the night! Click HERE to see more of their gorgeous wedding. 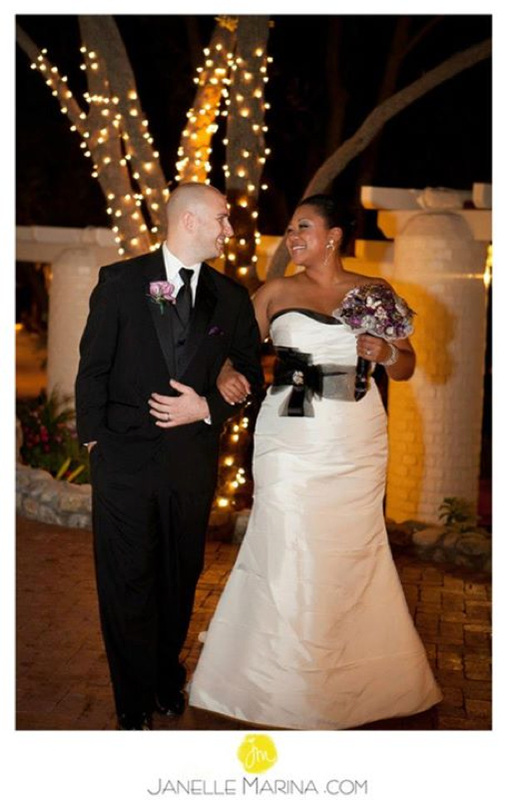
We love the one of the two of us looking at each other, holding hands under the tree wrapped in twinkle lights because it was our first moment alone together to take in the joy and excitement of the day. 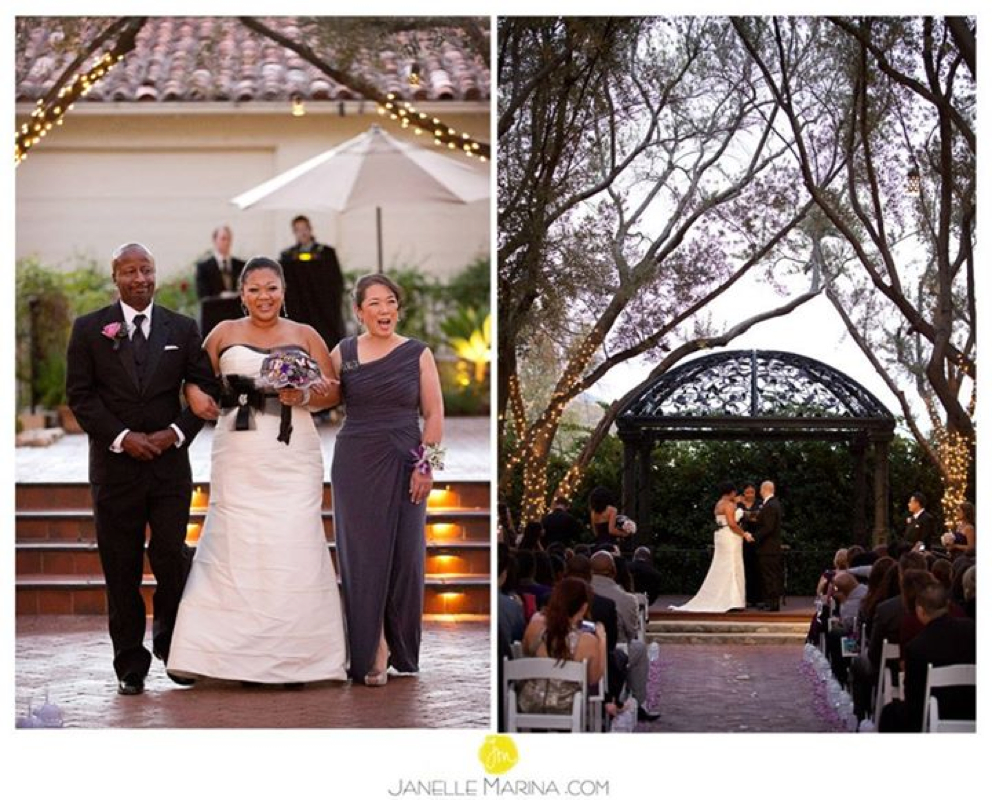
The other would be the wide shot of the ceremony with us at the alter- it's just a beautiful picture and we love the image of all our loved ones in that moment with us. BEFORE: 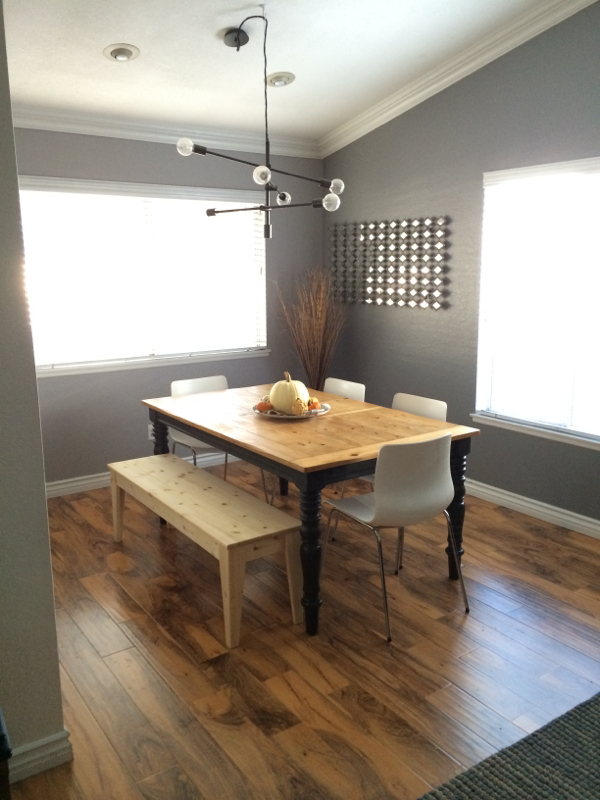 Last week I posted this photo of my new chairs and bench asking for advice of what color to paint the bench. I loved all of your ideas but I had to go with what I felt would hold up best with these destructive children that I have! I began doubting the purchase of these modern white chairs because my whole family seemed to be against them since they didn't match anything! I tried explaining that I don't have a set theme in the house - I love the look of industrial design mixed with rustic modern. But they didn't get the vision and I began to lose mine! Ugh it's such an ugly feeling of waisting money! After desperately googling ideas online I decided to stain the table and bench to try to get that old wood look. It's my first time at such a big project so bare with me... I found this tutorial online and hers came out wayyy better but I'm so happy with my results! It really changed the look of the table and looks great with my modern white chairs! :) 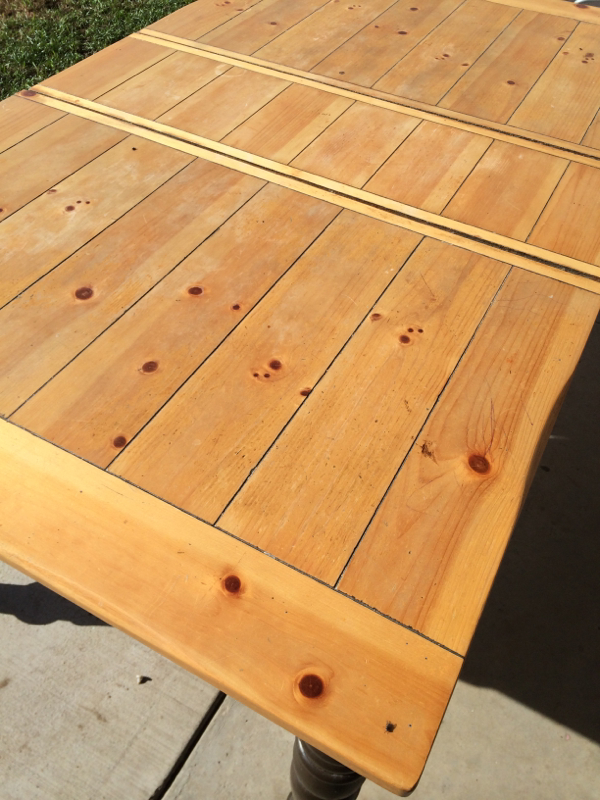 Step 1: I sanded the table down to the raw wood with 80 grit paper. 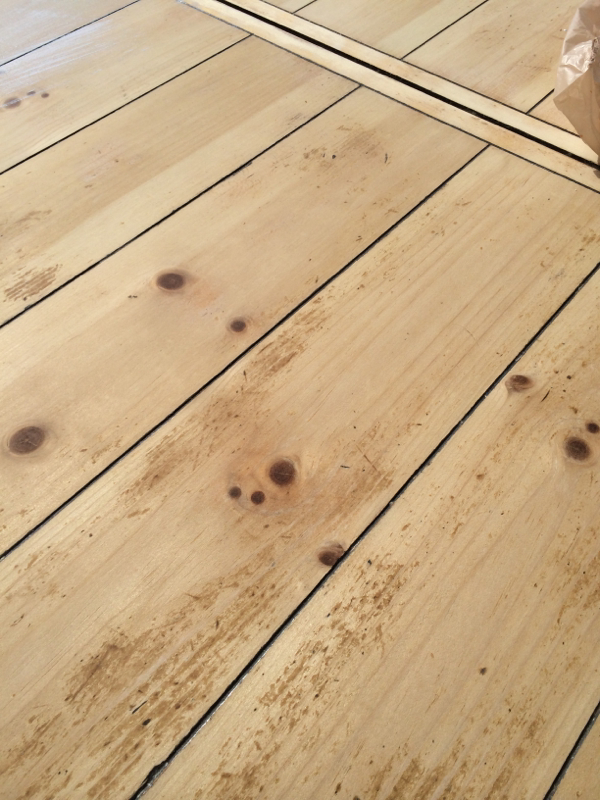 Step 2: Applied a thin coat of white paint. I used latex semi gloss and diluted it with water to thin it out. 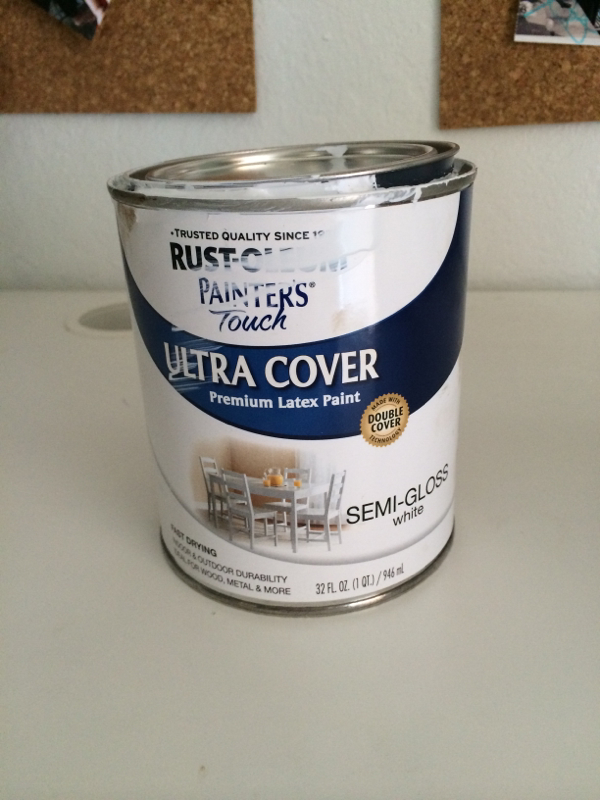 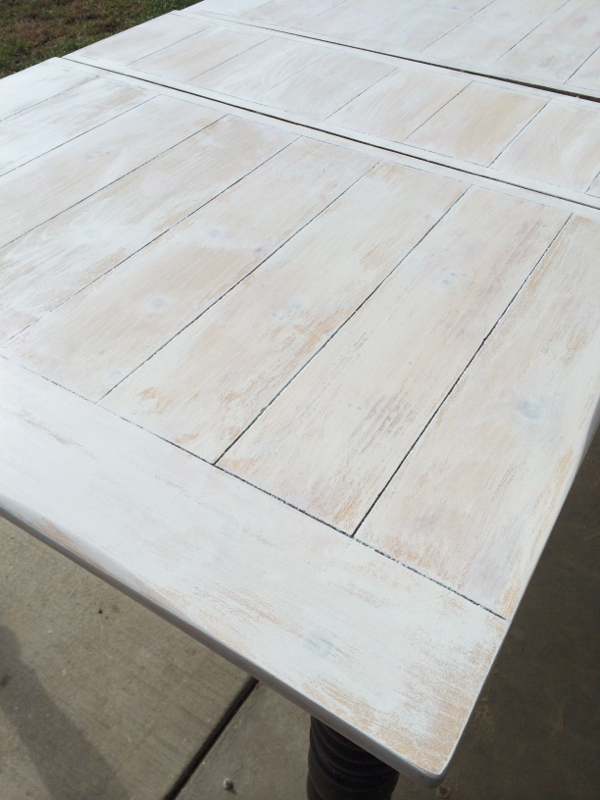 Step 3: Then I lightly sanded over the white paint to bring up some of the natural wood grain. I went a little crazy with the sanding -oh well! 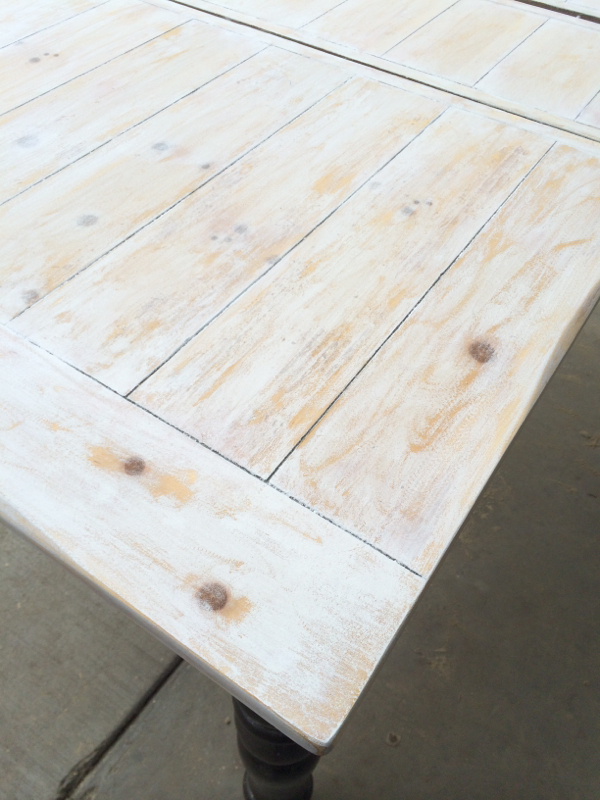 Step 4: I used an old sock to apply a thin coat of dark walnut stain over the whole table. 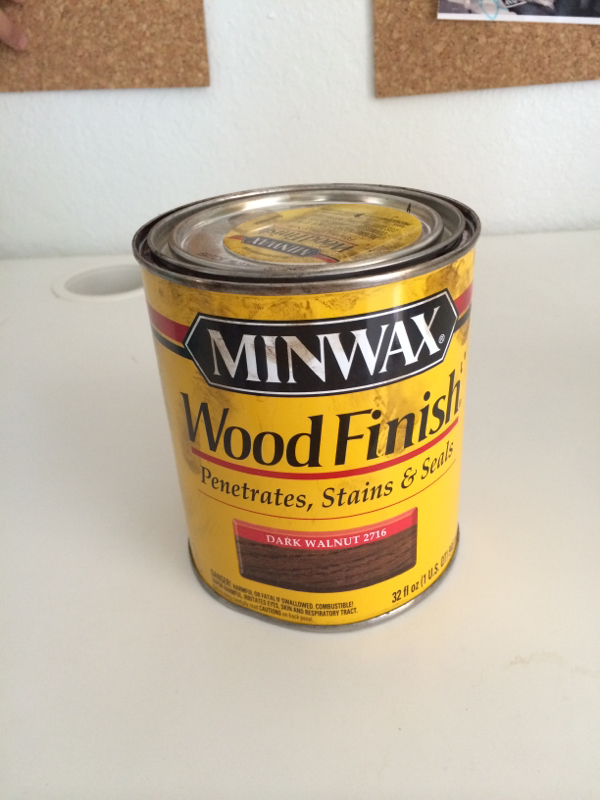 And walahhhh it made my wood look old and distressed! Yayyyy! I can totally see the imperfections but I love the overall look! 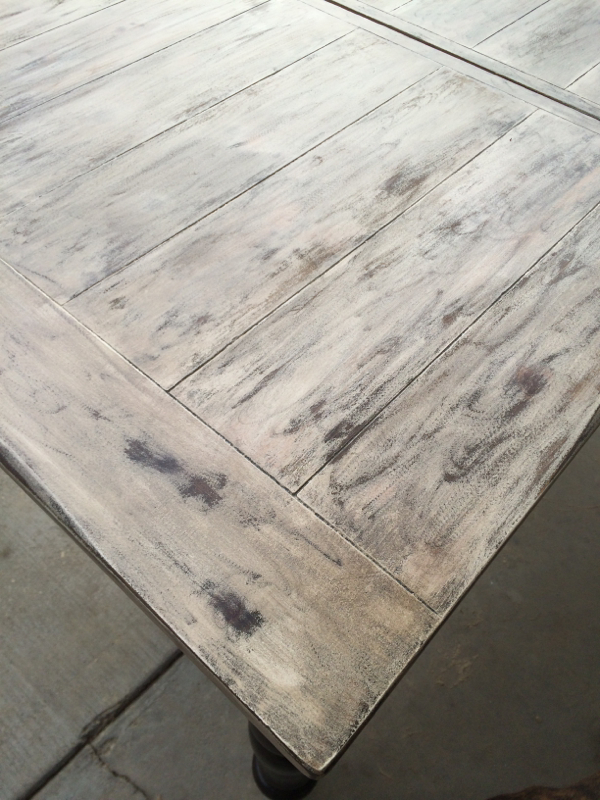 Step 5: I applied two thin coats of this sealant. And it's done! 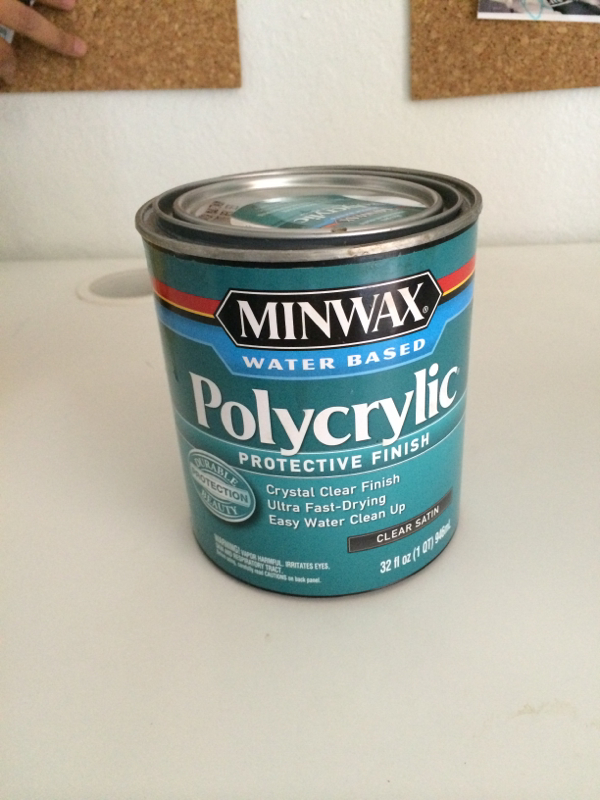 I was in such a hurry to share this update with you that I only took photos with my phone :( so please bare with the crappy hazey photos. 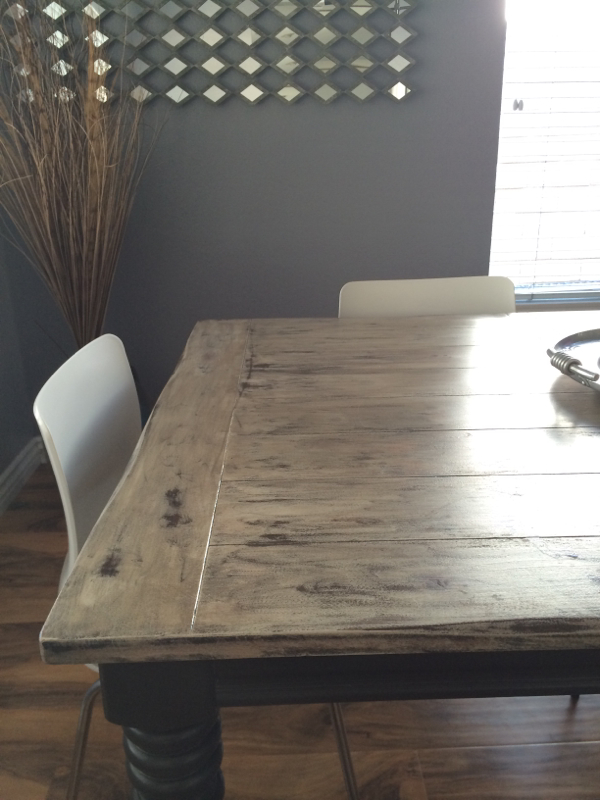 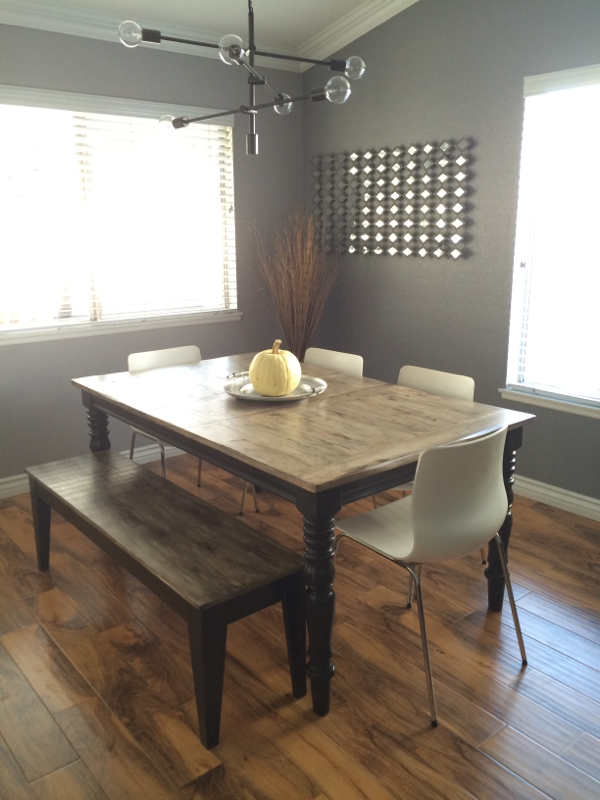 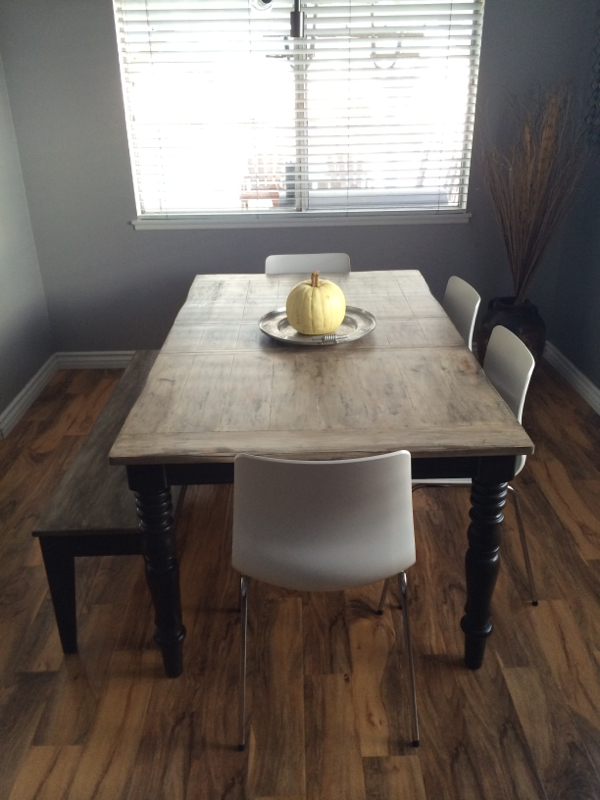 The bench is the same color as the table it just appears darker because it's in the shadow. 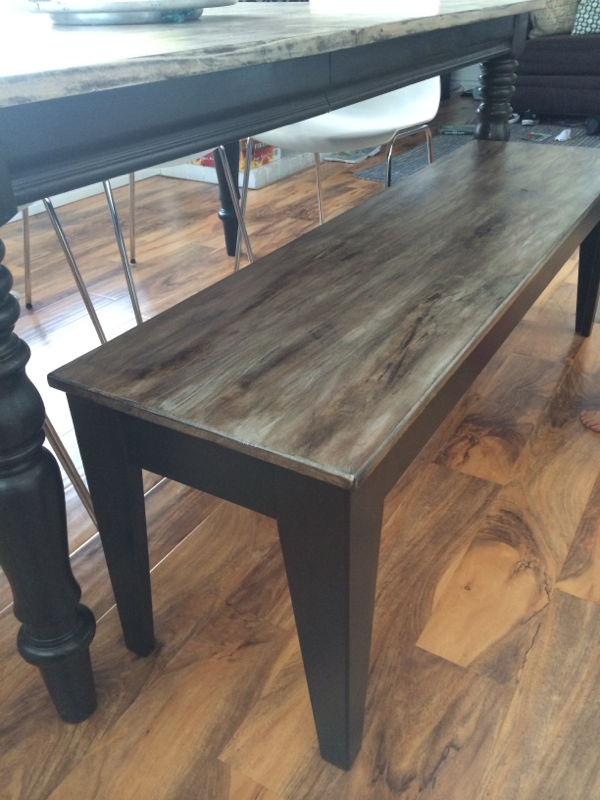 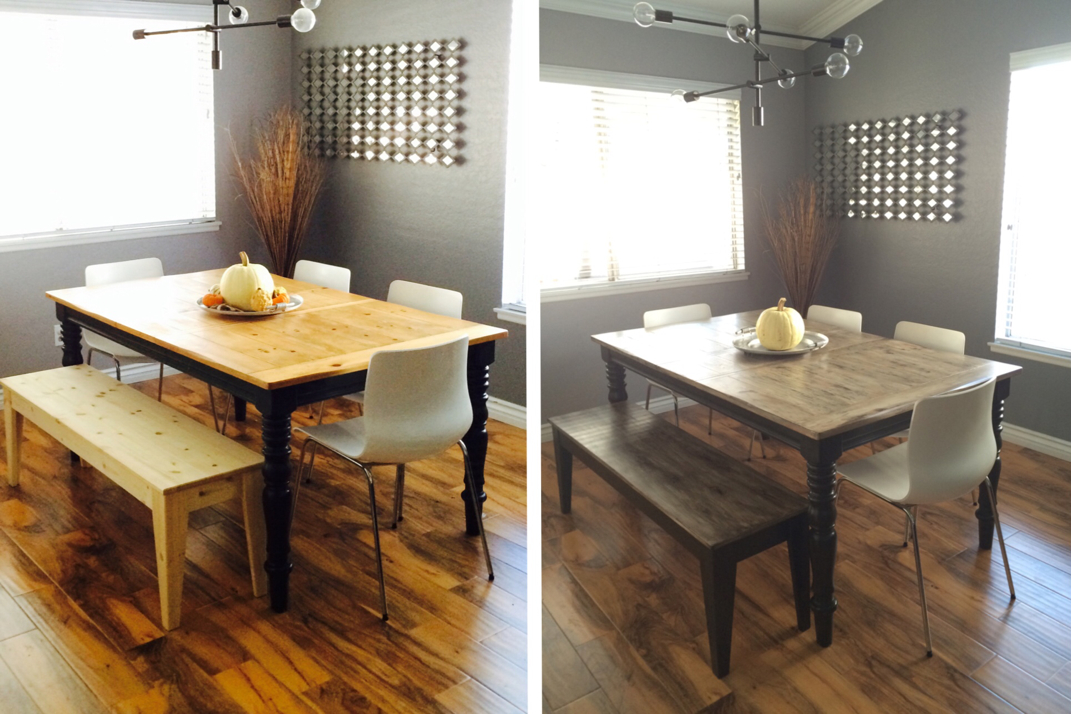 Ever since I watched the movie "Step Mom" with Julia Roberts and Susan Sarandon when I was around 10 years old -I loved how the "real" mom would make her kids costumes every year! She made her an awesome Elvis costume and I was in AWW! I told myself that I would be THAT mom! Well 17 years later (after having children for the last 5 years) I finally made my first attempt at making my boys costumes -which is kinda hard when you don't know how to sew or lack a sewing machine. Hallelujah for hand stitching and hot glue guns!!! Sooo back in the summer Jack was all about the movie "Despicable me" and was totally into the crazy minions. He chose to be one of them for Halloween. Then came "Despicable me part 2" and they had these crazy purple monster minions which was a perfect character for Maxx's costume! Of course kids being kids, Jack changed his costume ideas a million times before locking this one down again! So these are the characters that we chose for their costumes. 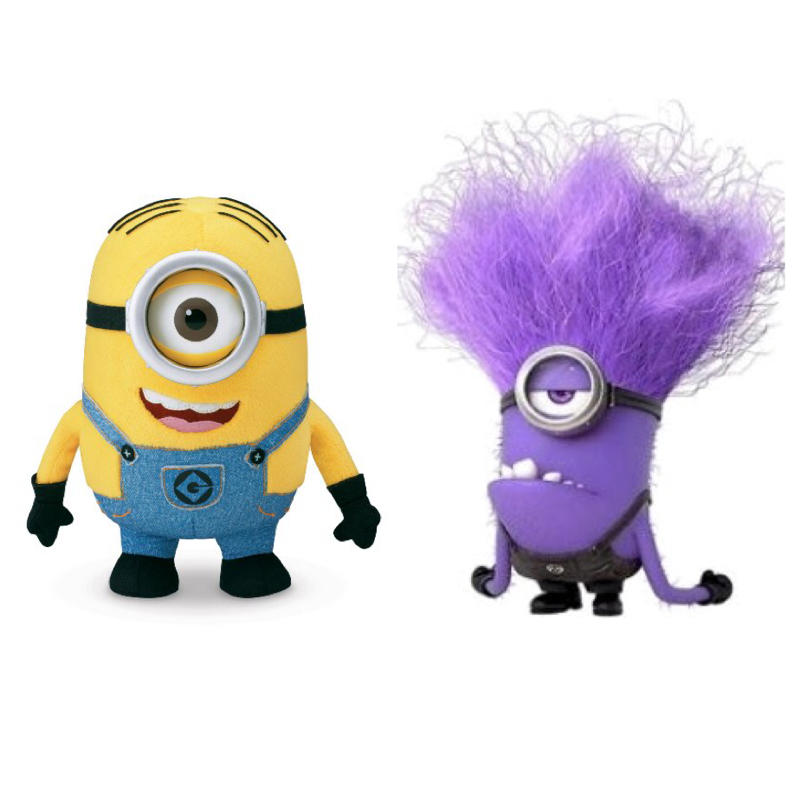 After finding all these crazy intense ideas online that involved sewing with a machine and making clothes (which was way over my head) I decided to K.I.S.S. it! I bought all that I could for the clothing at discounted rates and made the heads! I ordered the cheapest hoodies I could find online in purple and yellow for $11. They came all the way from the United Kingdom (can you say fancy much!) http://www.universal-textiles.com/UK-UT/index.php Then I found some black overalls for $8 and jean overalls for $15 on eBay. The black gloves came from Walmart toddler size was .97 cents (what a steal!) and the boys size was $3. Not bad for a double pack! They both already had black shoes. Now for the "crafty stuff". Coming from a cake decorating background I'm used to making everything from fondant! That was my dream edible material! You can cover, sculpt and decorate anything your little heart desires! Welp I found my new dream non edible material FOAM PAPER!!! It's so similar to rolled out fondant -you can make any shape you want out of it and it gives you that smooth clean look! Way easier to work with, trace, and cut than felt material! I bought a huge pack of multi colored foam paper from Michaels for $8 (you can buy the selected colors that you need for .60 cents per sheet but I know I will be using these in the future so I bought the beast pack! This is what I used for their eyes, badges, and teeth! 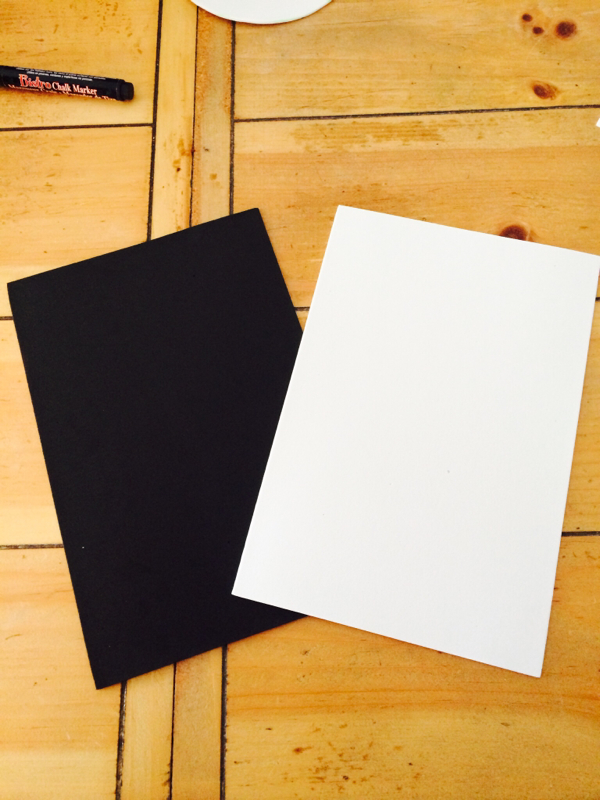 BADGES: I used my chalk pens and drew the G logo on the black felt and cut it out with an exacto knife. Hot glued the black layer ontop of a white clean sheet of foam paper and cut them into a circle. I hand stitched them onto the overalls so I can easily remove them after Halloween so the boys can wear the overalls again. You can always hot glue if you don't plan on reusing the overalls. That would be way easier! 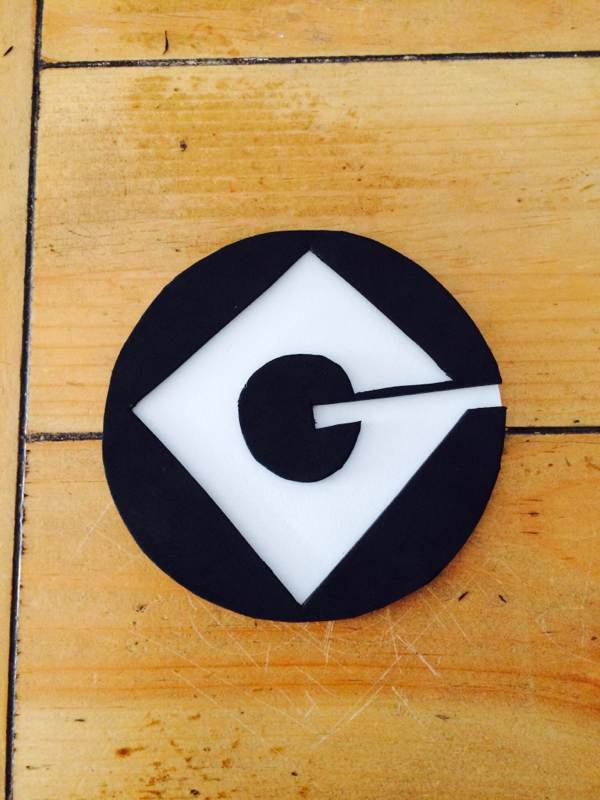 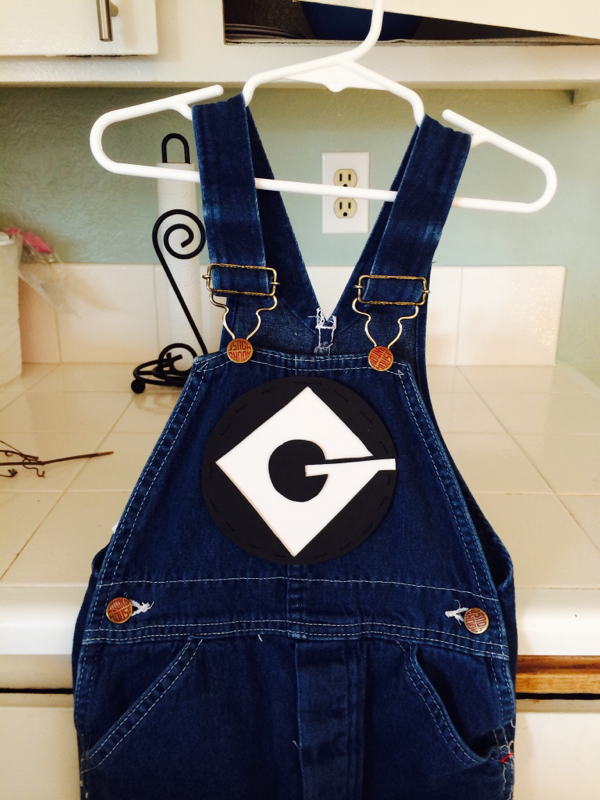  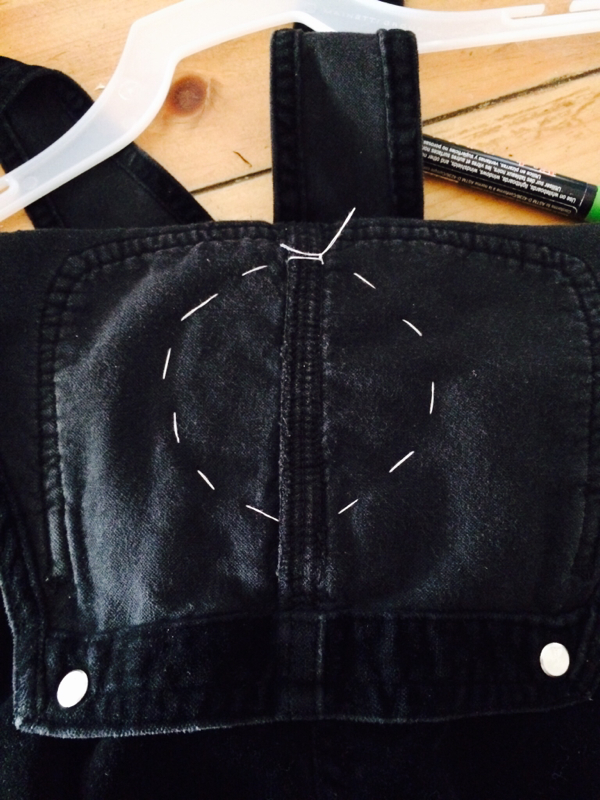 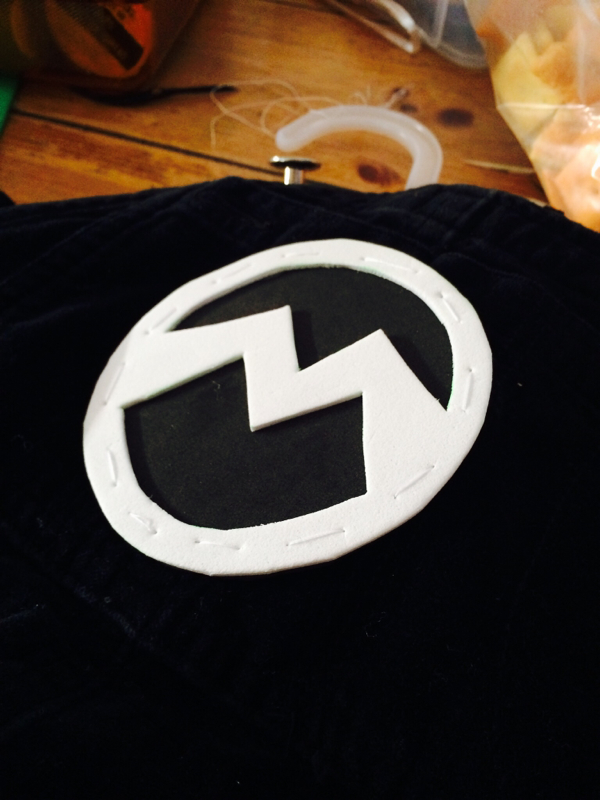 EYES: I have round metal cookie cutters so I used them to make an impression on the felt for the different sizes circles to create the perfect circles for the eyes. I used all these different colors to add dimension to the eyes. Hot glued the pieces on top of each other. 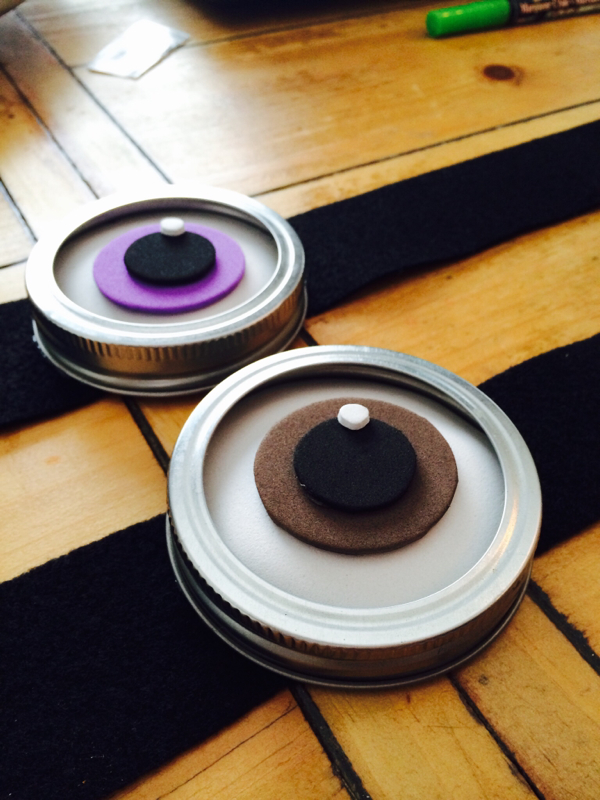 GOGGLES: I used mason jar lids I had around the house and hot glued the eyes inside them. I bought a sheet of black felt from Michaels I believe .35 cents and cut out a strip for the google strap. 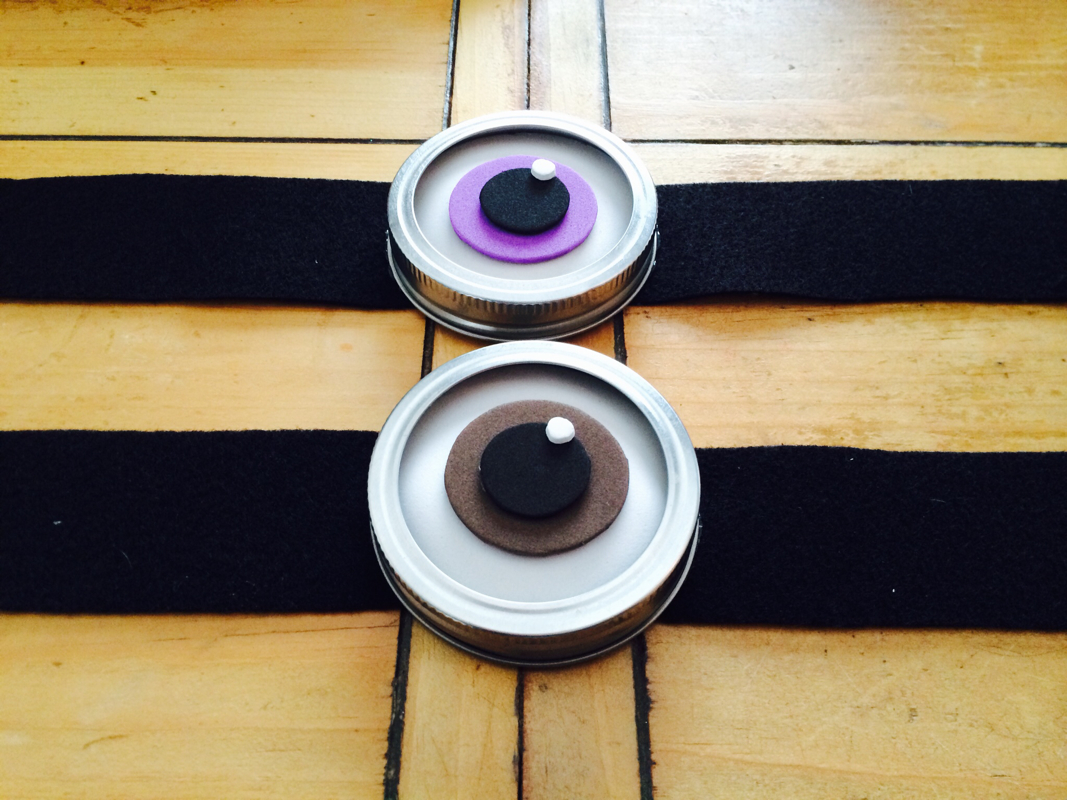 Purple Minion :HAIR: I had planned to make the hair from yarn but I decided to cheat and go an easier route! Back in September we won this crazy minion at the fair so I decided to scalp our little friend! Promised Jack that I would reapply his hair after Halloween! I just hot glued his scalp (sounds like a creepy scary movie) to the hood of the purple pullover. Leaving room and the tip of the hood to glue the goggles. 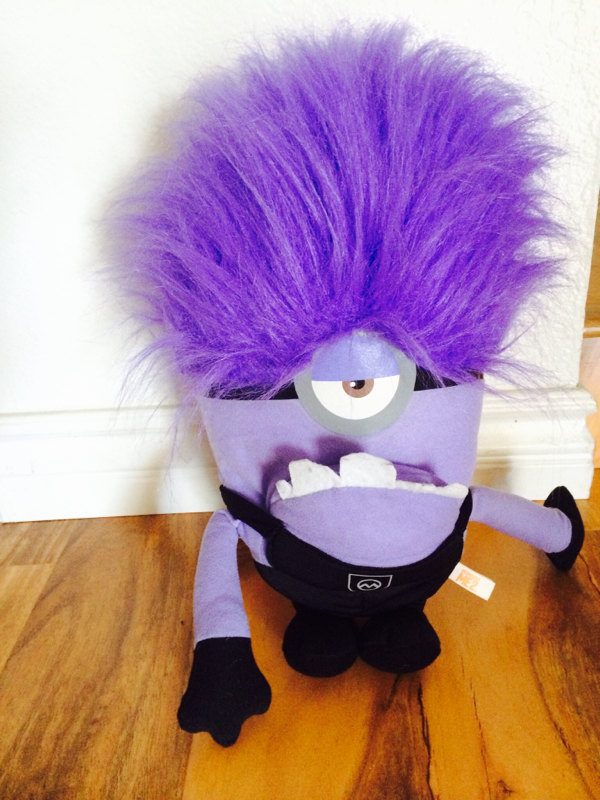 Here's a fitting before I added some teeth! (don't mind the creeper in the mirror!) 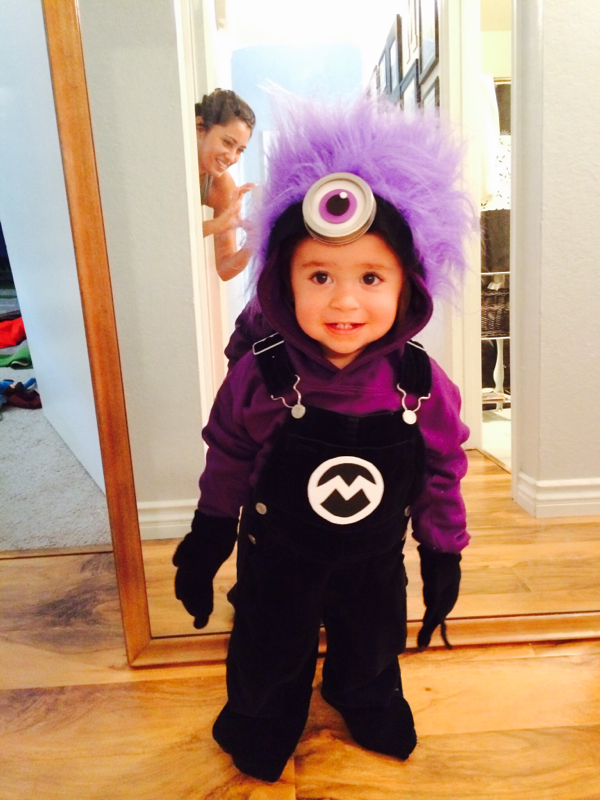 I can't handle how adorable he looks! Exactly what I envisioned! Ps. Those aren't his gloves, he was wearing big brothers gloves! I found him some mini gloves from Walmart for only .97 cents!!! Yellow Minion :Jacks costume was more of a challenge since he refused to let me scalp his other minion friend! Bummer! I didn't want his to be just a decorated hoodie because he's 5 and deserved something extra awesome! Plus he is at the age that he doesn't mind wearing a mask! Maxx's hoodie was perfect because that kid won't wear a mask or let me paint his face. HEAD: I started off making the skeleton of the mask with poster board and bubble wrap -both from the dollar tree! The bubble wrap was meant to help support the thin poster board so that it didn't cave in. I hot glued them together. I just added a few hot glue spots because it would melt the bubble wrap! Then I sized it around jacks head and cut out a oval for his face. 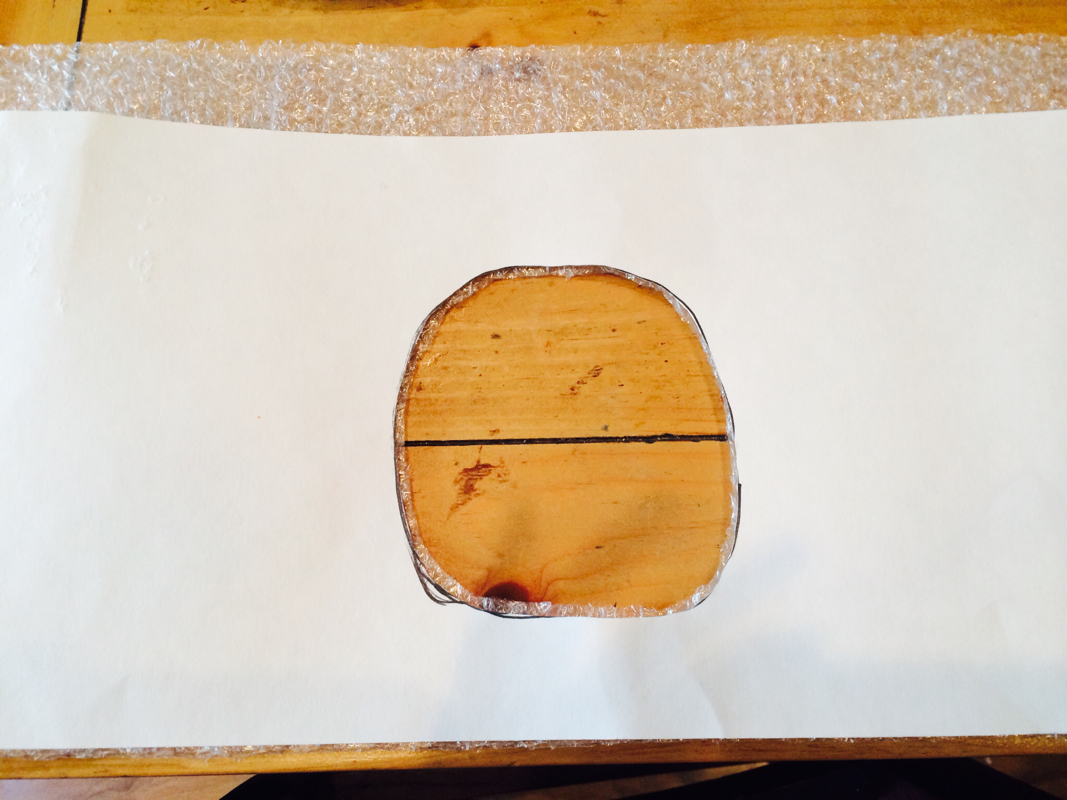 This is what it looked like from the inside... 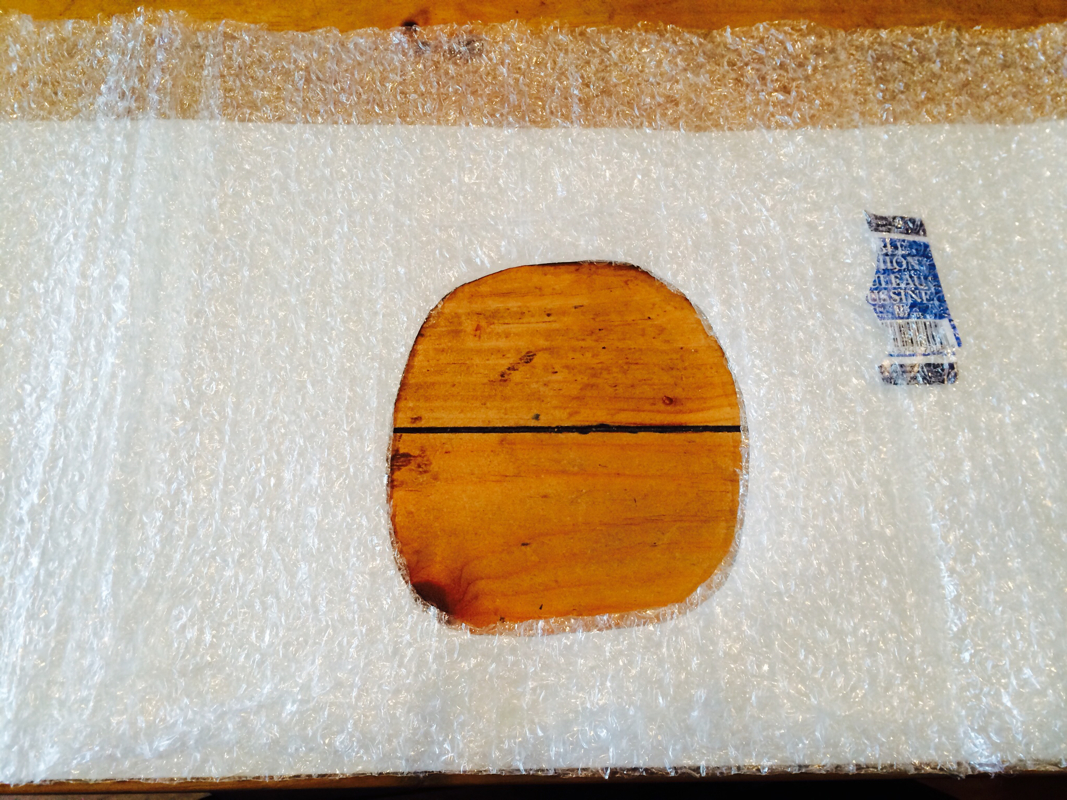 I originally bought a small bowl from the Dollar Tree to use as a dome base for the top of the head but it turned out to be too small! So after scouting the house for everything round I decided to use the bean bag filling that came from the headless purple minion toy and put it into a grocery bag. I took a rubberband and tied it together from the inside and turned it inside out to make a dome like shape (photo below) 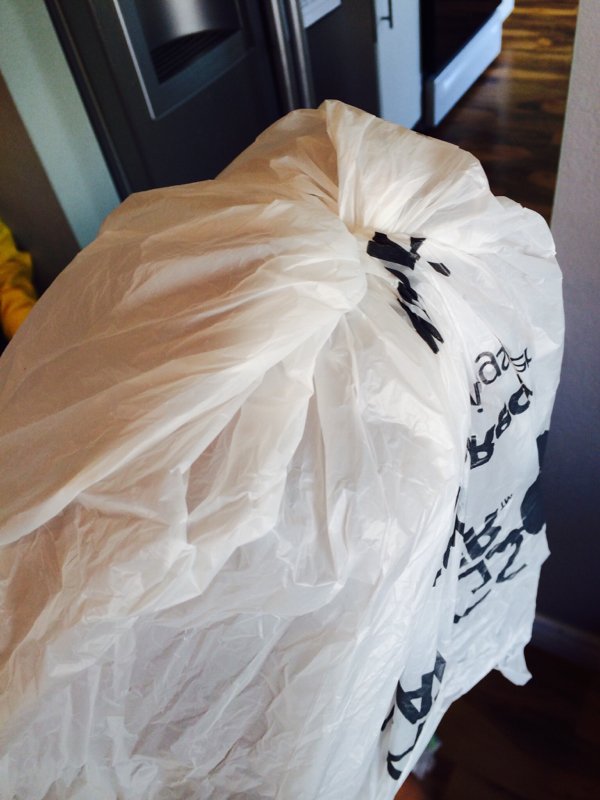 Then I hot glued it to the bubble wrap :) and Wahlahhh the finished skeleton of the head! 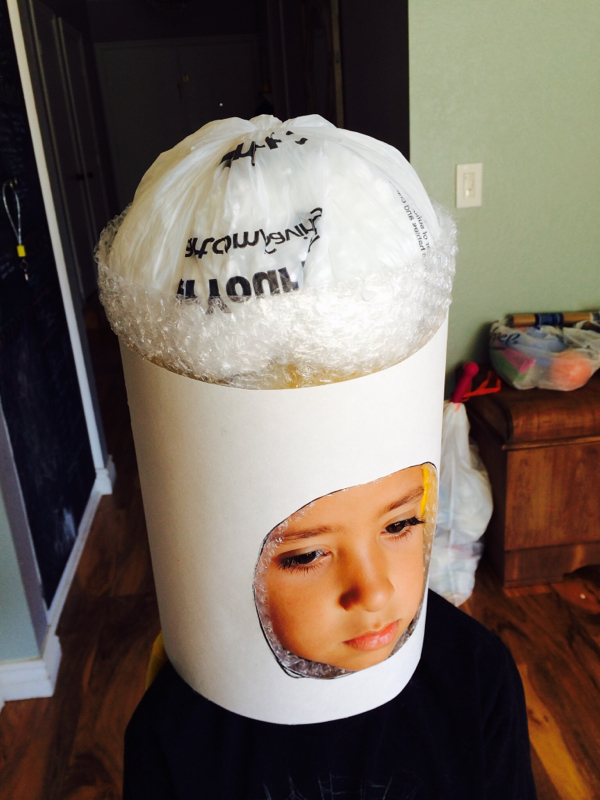 He hated every minute of these fittings lol brat! 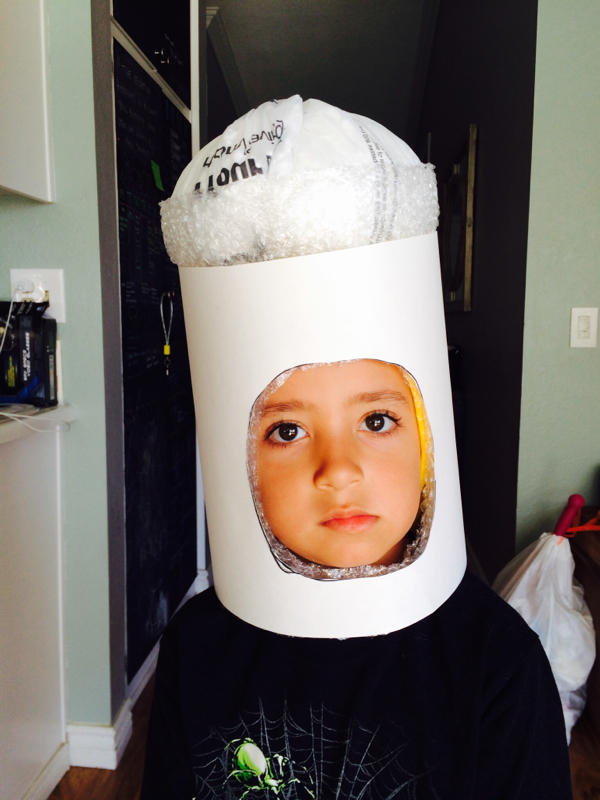 COVERING THE HEAD: This was probably the hardest part! So I bought 2 yards (which was way too much) of yellow felt at Walmart for $7. I bought extra because I was going to add a double layer of felt because it was kind of see-thru and I didn't want the grocery bag logo to show! After failing many times trying to cover the whole mask and literally wanting to give up and throw the doggone mask out the window - I googled how to make a beanie and thought that I could make it like a huge beanie to cover the head! IT WORKED!! The online tutorial said the fold my material over 4 times , pin it still, and cut out a petal shape. 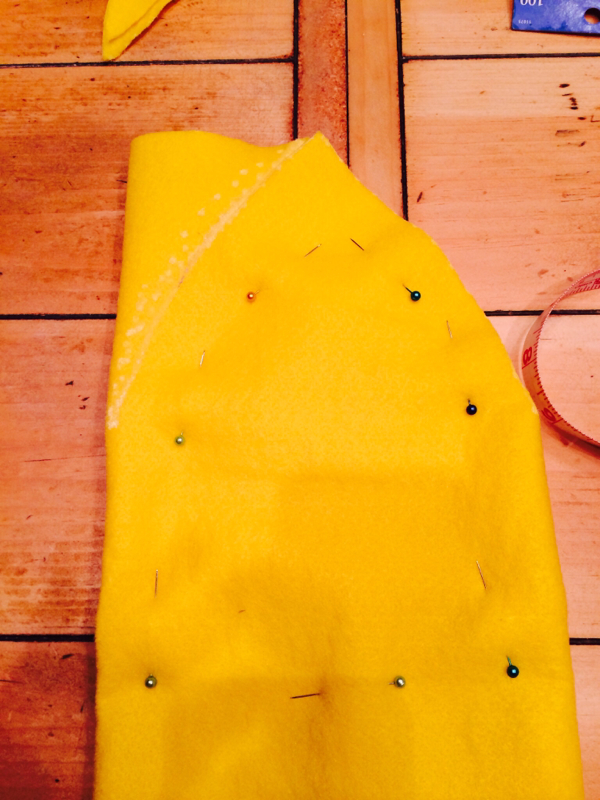 Here's what it looked like unfolded. 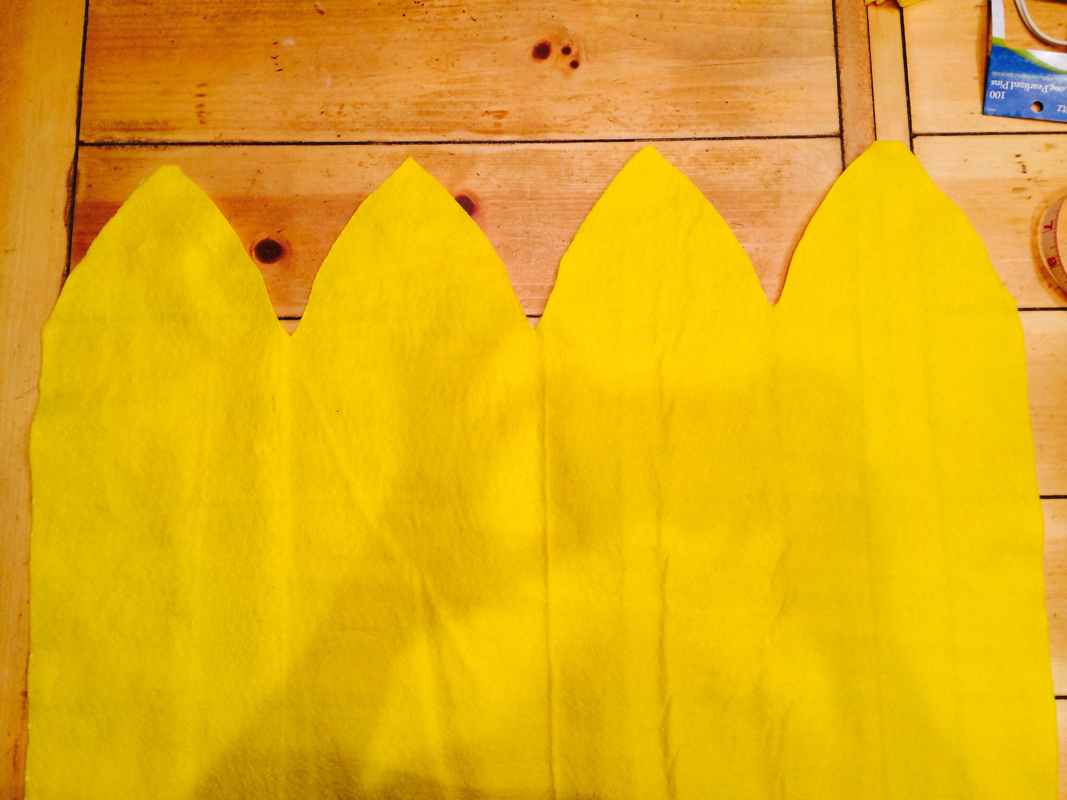 Using my grandmas handy dandy sewing kit -I hand stitched the petals together then wrapped it around the head! Thankfully it fit! 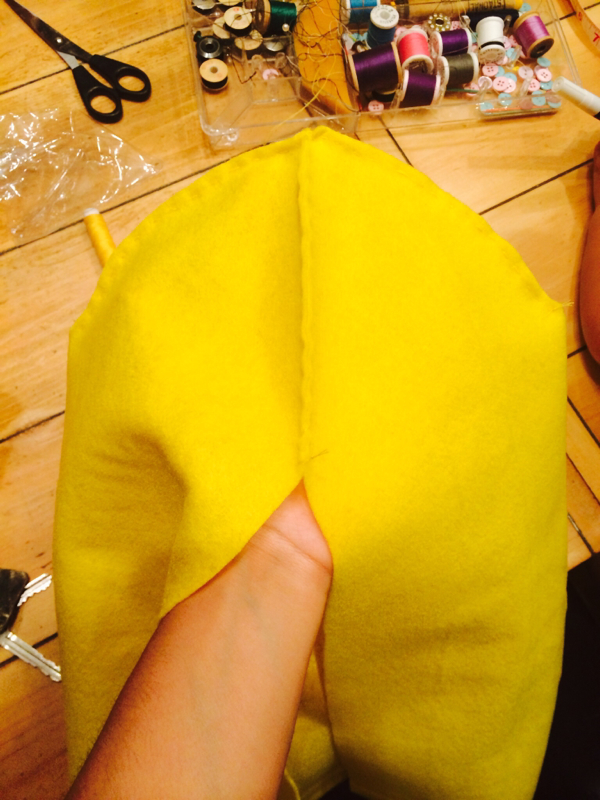  After sewing the seam in the back shut I made some slices in the front for Jacks face and hot glued them to the inside! The fun part was gluing the goggle to the head! It all came together!!! Jack was so excited to try it on! (BTW my kids are always running around the house in their chonies!) 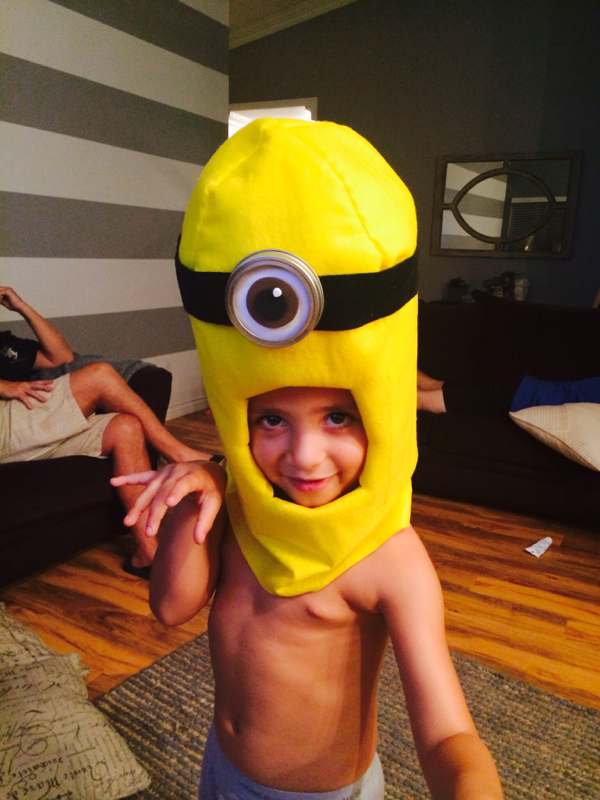 I cut out some felt teeth and hot glued them kinda wonky in the mouth so that it looked like he was yelling! Oh and I used black pipe cleaners and hot glued them to the top of his head. And here are the final photos on Halloween day!!! 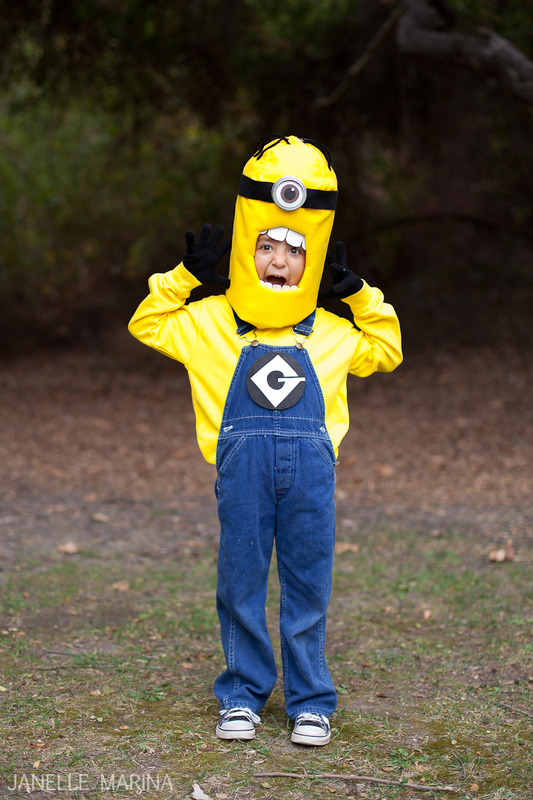 Of course my one year old was not in the mood to take photos so I couldn't get a good picture of his costume! :( And somewhere between leaving the house and going to the park his purple eye was gouged out! double wahhhh!!! Oh and to top it off we forgot his gloves in his closet to complete the costume! haha! Story of my life! 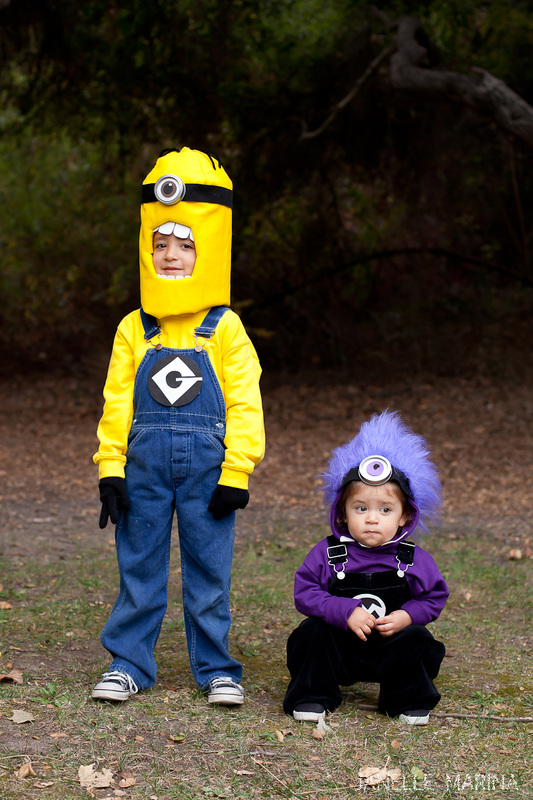 Not too bad for my first DIY costumes!!! 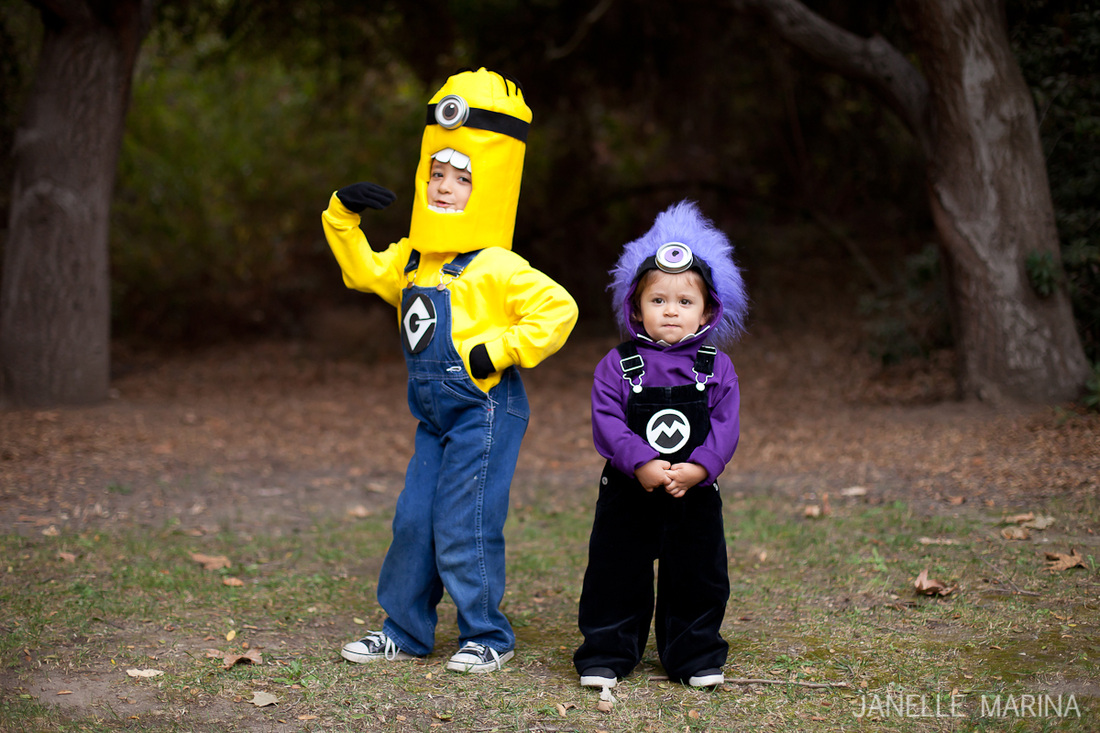 And there can't be minions without the main dude GRU!!!! My brother Mikey was such an awesome sport and dressed up as Gru! I love him sooooo much! We added a bald cap which was the hardest part of all the costumes put together! 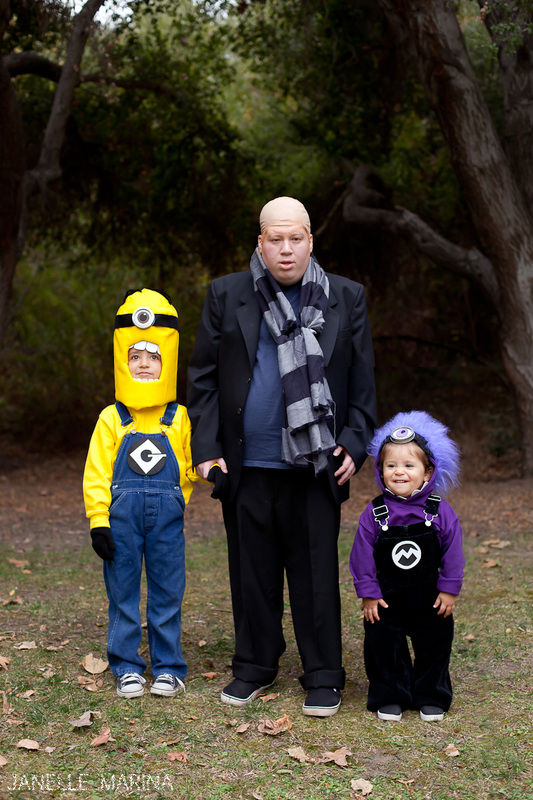 I'm so glad that I was able to take the time to make these for the kids! They were so happy which was soooo awesome!!!! If I could do it so can you!!! Just takes time, patience, and google!!! lol!
|
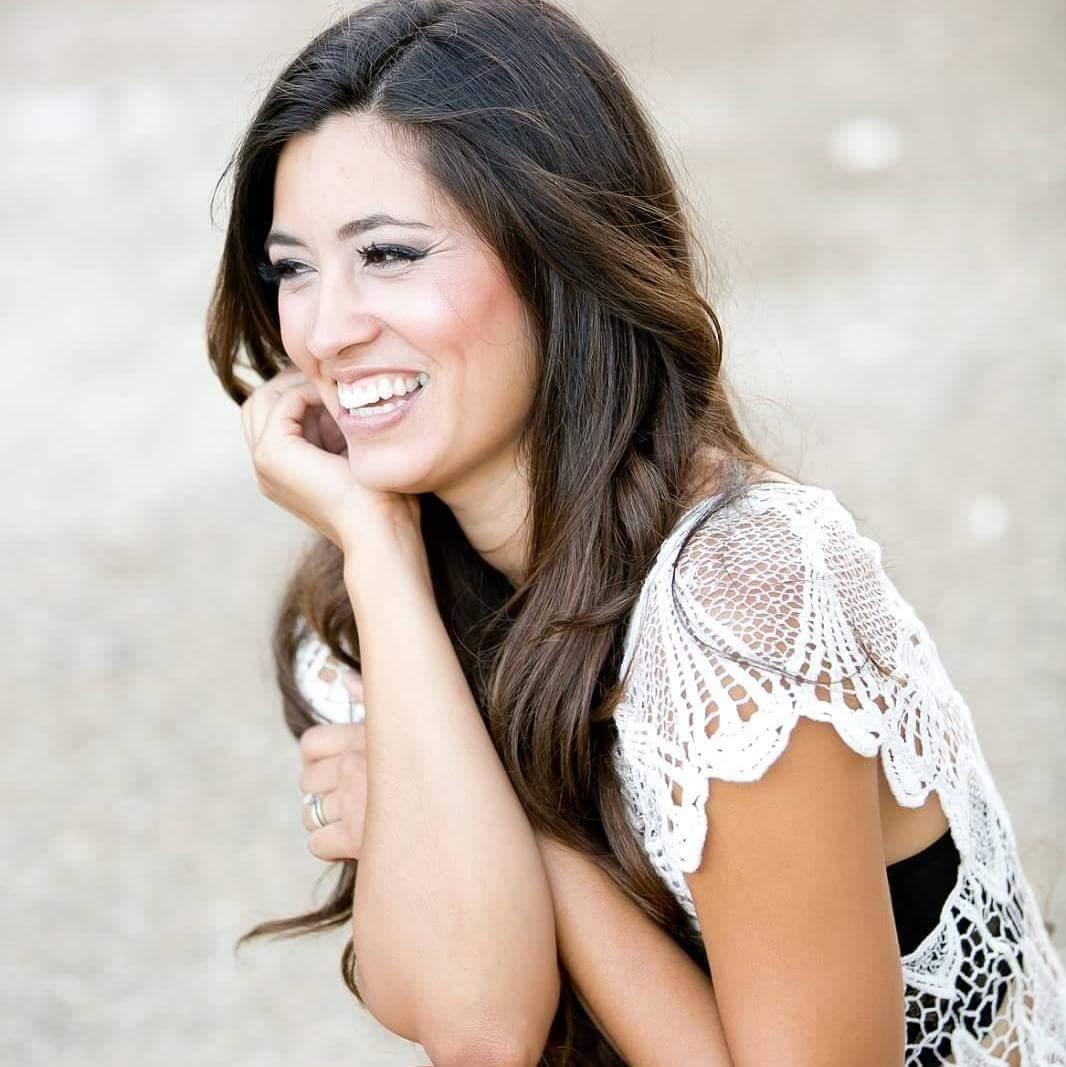

I'M JANELLE MARINA
Wife, Mama Shark, + Photographer. Most days, you'll find me in mismatched socks and a top knot, working behind my computer with a smile on my face, listening to Zac Brown Band and R&B --or, dancing in the kitchen with my 3 littles and hunka husband, seeing who could come up with the coolest dance moves. I'm a wedding photographer, West Elm lover, aspiring advocate for our buddies with special needs, and a Certified Dreamer since 1986. We live in a cozy city in Southern California and are always up for a good adventure. I enjoy telling stories with my camera, grubbing on spicy food, and solving the latest Dateline case. 


All
December 2019
|