|
|
|
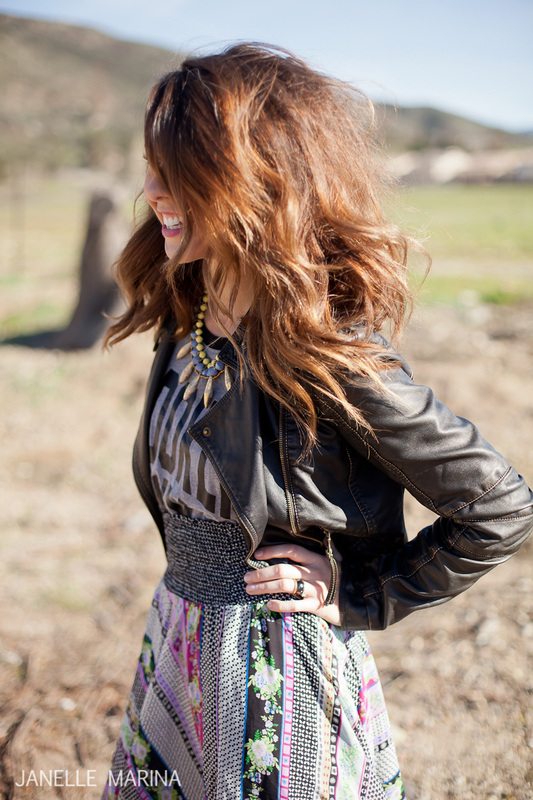
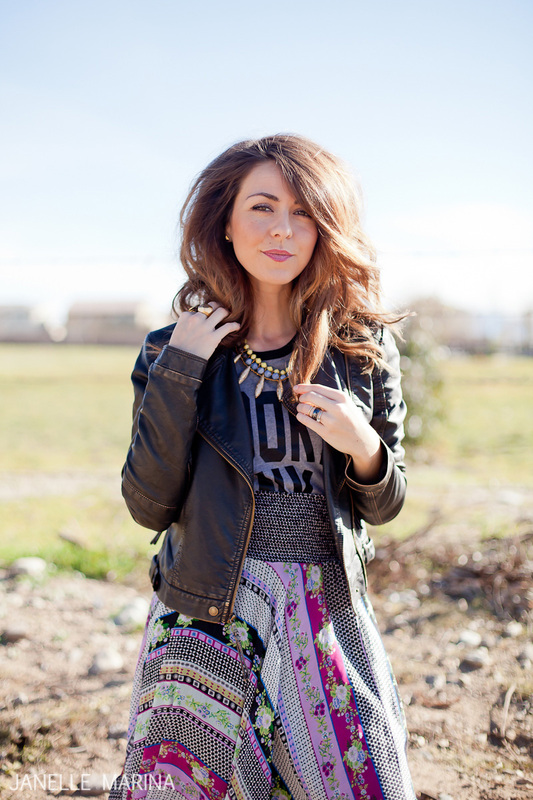
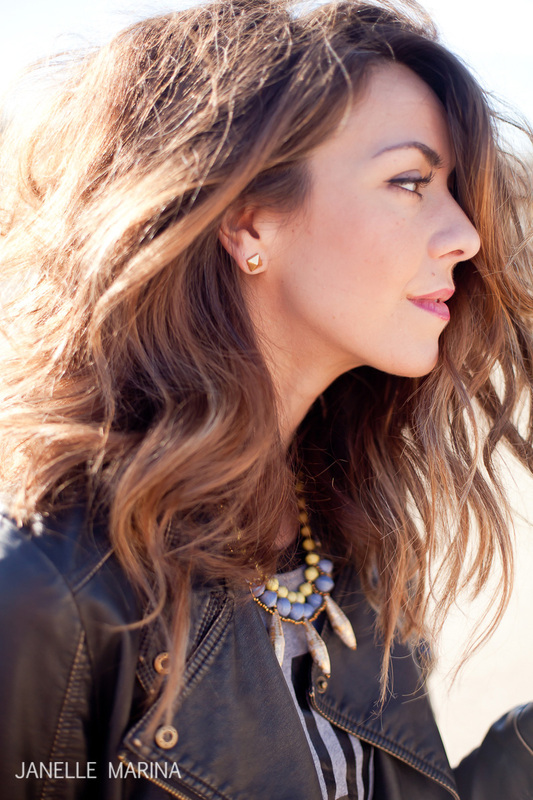
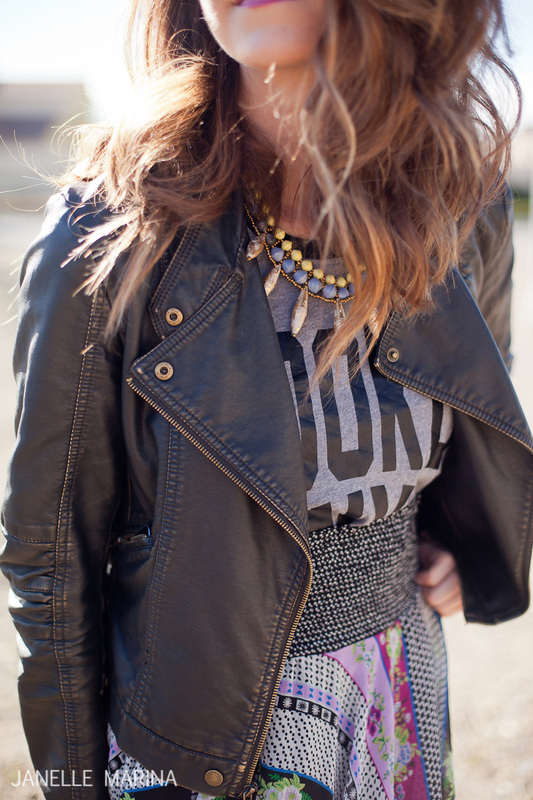
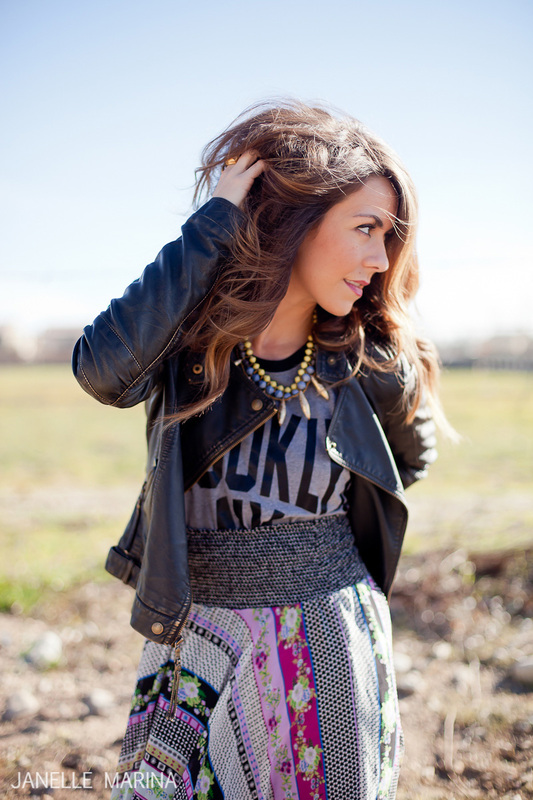
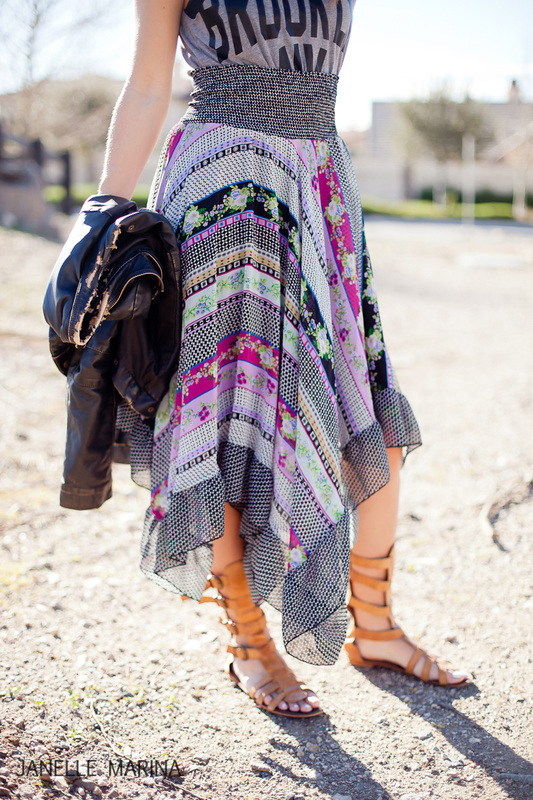
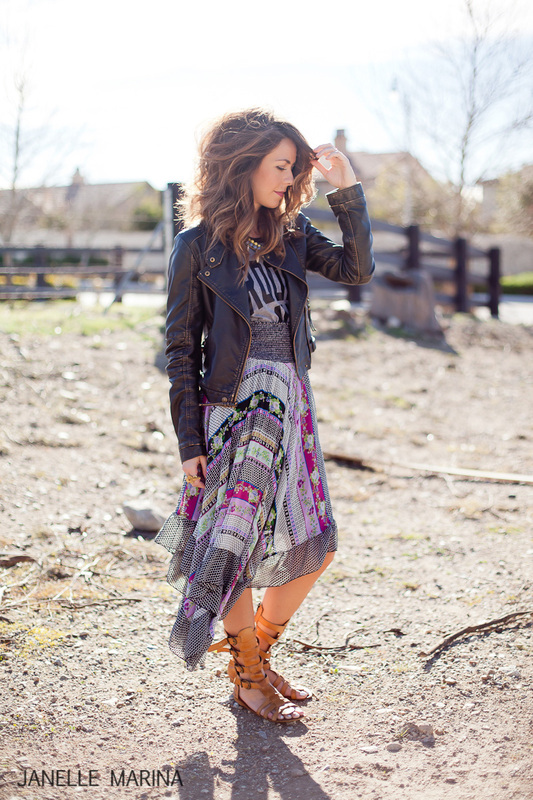
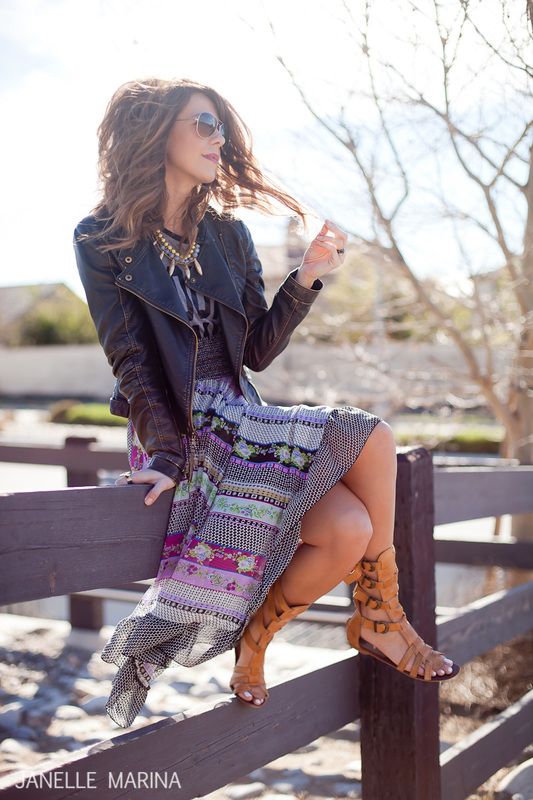
This might be one of my favorite outfits from Promise Tangeman's fashion shoot series! I loved the rugged leather jacket with the girly skirt paired with a graphic tee shirt and some stylish statement jewelry from the new 31 bits collection. I love the edgy/girly look! And that hair!!!!! OMG its so big and fun!!!! 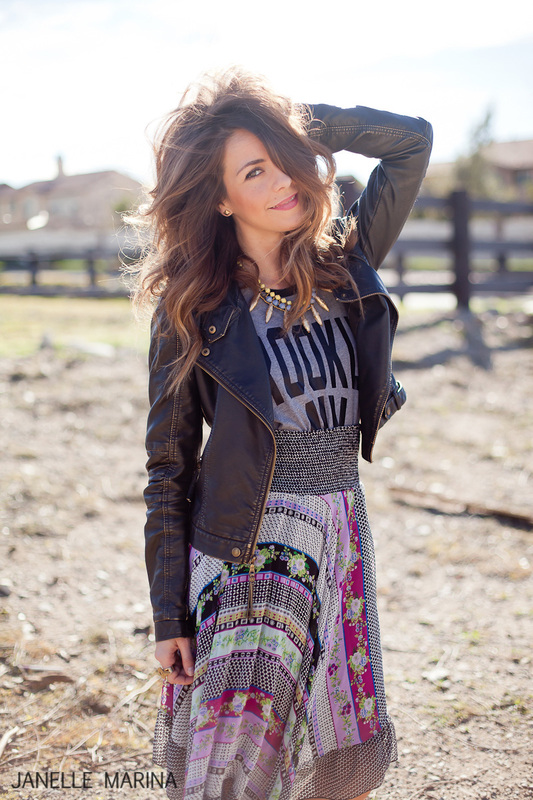
0 Comments
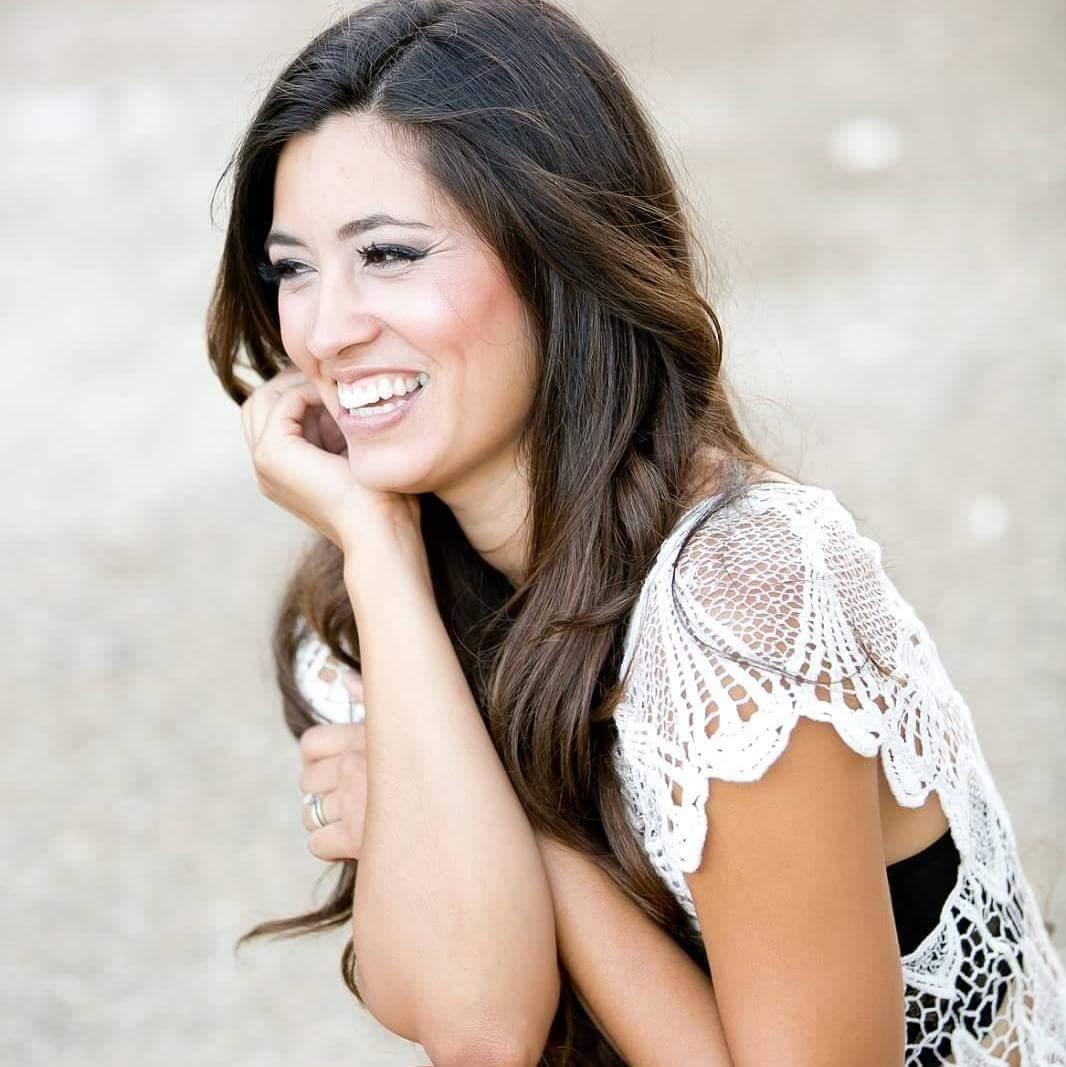
When Promise asked me to be apart of her new fashion series for 2015 I was so SHOCKED! I've worked with her before at her Go Live workshops but never did I think that would lead to me photographing her one on one. Let me just give you a little overview of why I was super intimidated -well for starters she is the sister to the uber talented photographers Aimee & Troy Grover (huge deal), she is also great friends with my first photog idol Jasmine Star (another major deal in the industry), AND to top it all off she's been photographed by some of thee top notch photographers. So can you blame me for wondering why the heck she chose me! Once I got to her house all the nerves slowly began to dissolve -maybe it was the Dayquil kicking in (because of course I got struck with a horrible leaky nostril -yes only one! that same morning). Promise is just as cool as she looks! She is so down to earth, humble, sweet, kind, all the good characteristics a person can have - yeah she has em! She has a fun eclectic style that has no rhyme or reason and it totally goes with her! Not to mention she's freakin gawgeous and rocks the heck out of a picture! In my 3 years of photography she was definitely my easiest model! This girl is super natural and relaxed in front of the camera she made my job beyond easy! It was super fun shooting outside of my comfort zone too! I've never shot fashion before and its different from was I'm used to. The model doesn't look at your camera that often since its more about the clothing. Its kind of funny because years ago when I was researching poses for my own website profile pics I had included some of Promise's photos from her previous shoots for inspiration because of how natural she looked in them. Who would of thunk (yes I said "thunk") that I would actually be shooting this fun girl who has inspired me in so many creative ways! She's not only an amazing person, fashionista, web designer, but she's also great at interior design! Okay now that I've made myself sounds like a super fan, I'll stop talking now and you can check out the photos from her first outfit below.  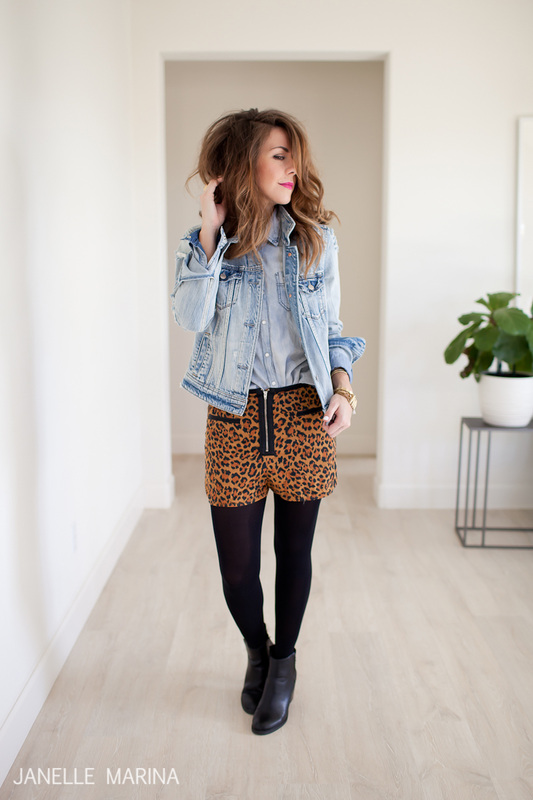 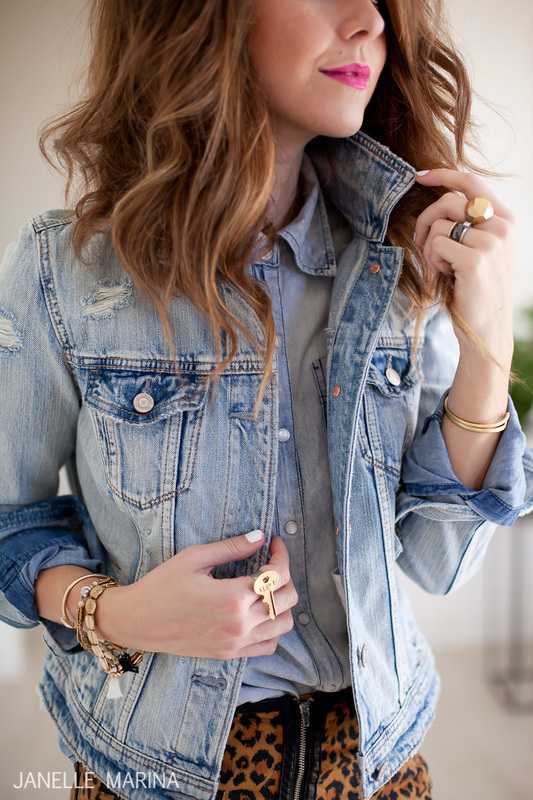  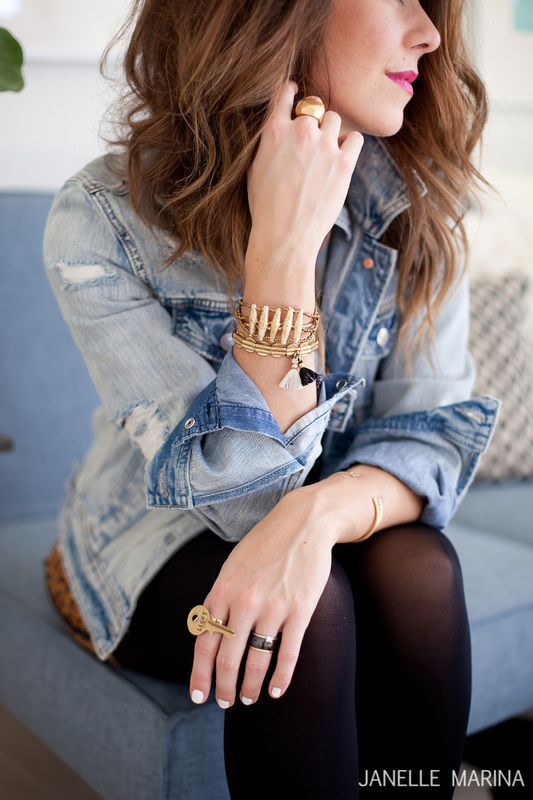 Visit Promise's blog for outfit details here.
Ever since I watched the movie "Step Mom" with Julia Roberts and Susan Sarandon when I was around 10 years old -I loved how the "real" mom would make her kids costumes every year! She made her an awesome Elvis costume and I was in AWW! I told myself that I would be THAT mom! Well 17 years later (after having children for the last 5 years) I finally made my first attempt at making my boys costumes -which is kinda hard when you don't know how to sew or lack a sewing machine. Hallelujah for hand stitching and hot glue guns!!! Sooo back in the summer Jack was all about the movie "Despicable me" and was totally into the crazy minions. He chose to be one of them for Halloween. Then came "Despicable me part 2" and they had these crazy purple monster minions which was a perfect character for Maxx's costume! Of course kids being kids, Jack changed his costume ideas a million times before locking this one down again! So these are the characters that we chose for their costumes. 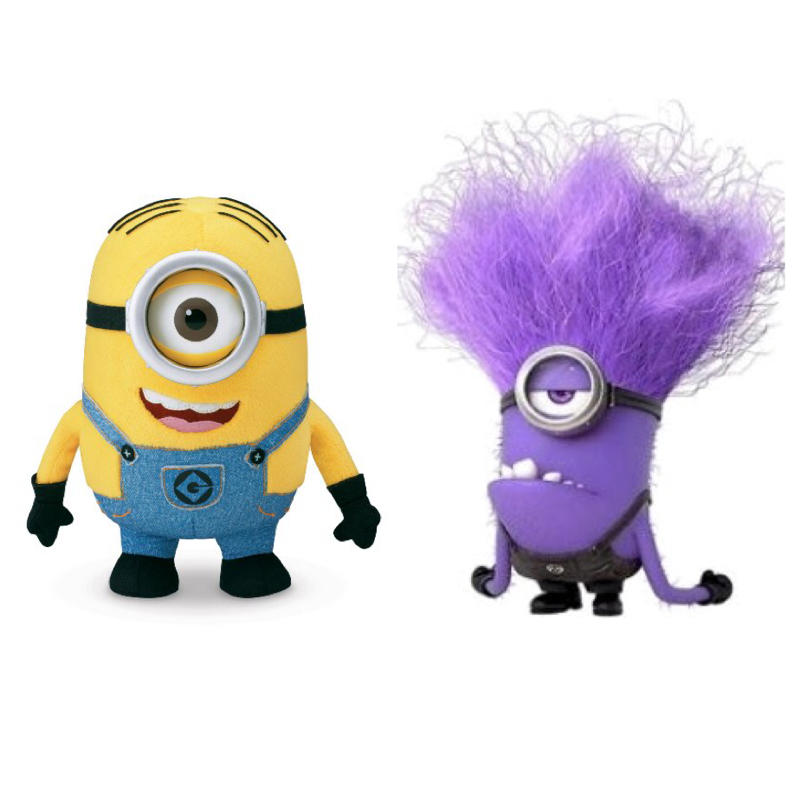 After finding all these crazy intense ideas online that involved sewing with a machine and making clothes (which was way over my head) I decided to K.I.S.S. it! I bought all that I could for the clothing at discounted rates and made the heads! I ordered the cheapest hoodies I could find online in purple and yellow for $11. They came all the way from the United Kingdom (can you say fancy much!) http://www.universal-textiles.com/UK-UT/index.php Then I found some black overalls for $8 and jean overalls for $15 on eBay. The black gloves came from Walmart toddler size was .97 cents (what a steal!) and the boys size was $3. Not bad for a double pack! They both already had black shoes. Now for the "crafty stuff". Coming from a cake decorating background I'm used to making everything from fondant! That was my dream edible material! You can cover, sculpt and decorate anything your little heart desires! Welp I found my new dream non edible material FOAM PAPER!!! It's so similar to rolled out fondant -you can make any shape you want out of it and it gives you that smooth clean look! Way easier to work with, trace, and cut than felt material! I bought a huge pack of multi colored foam paper from Michaels for $8 (you can buy the selected colors that you need for .60 cents per sheet but I know I will be using these in the future so I bought the beast pack! This is what I used for their eyes, badges, and teeth! 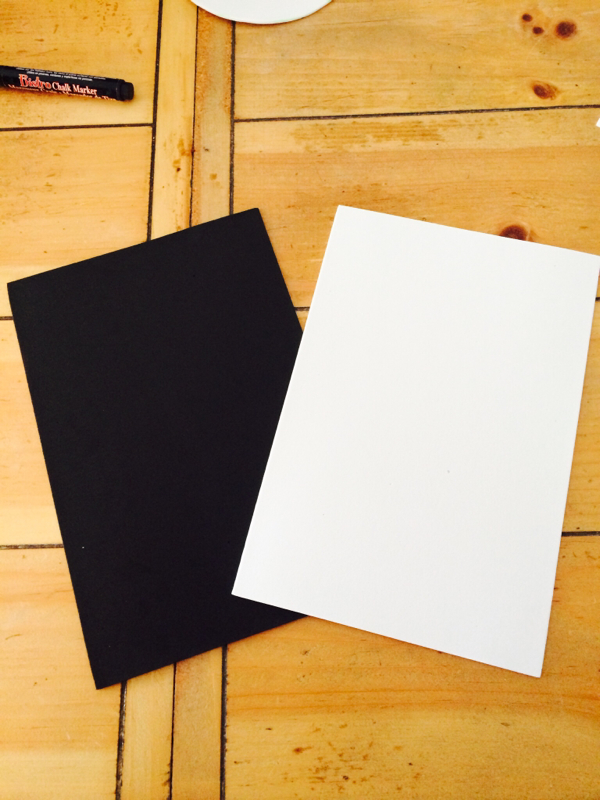 BADGES: I used my chalk pens and drew the G logo on the black felt and cut it out with an exacto knife. Hot glued the black layer ontop of a white clean sheet of foam paper and cut them into a circle. I hand stitched them onto the overalls so I can easily remove them after Halloween so the boys can wear the overalls again. You can always hot glue if you don't plan on reusing the overalls. That would be way easier! 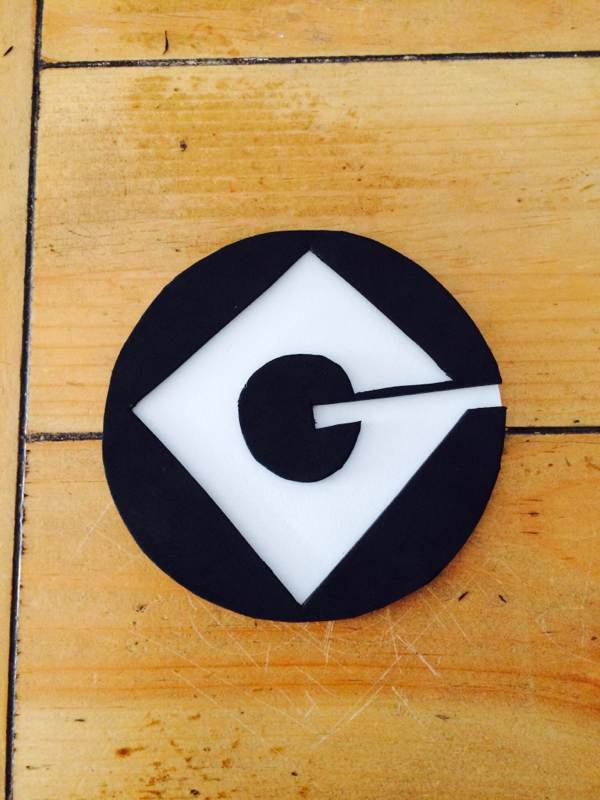 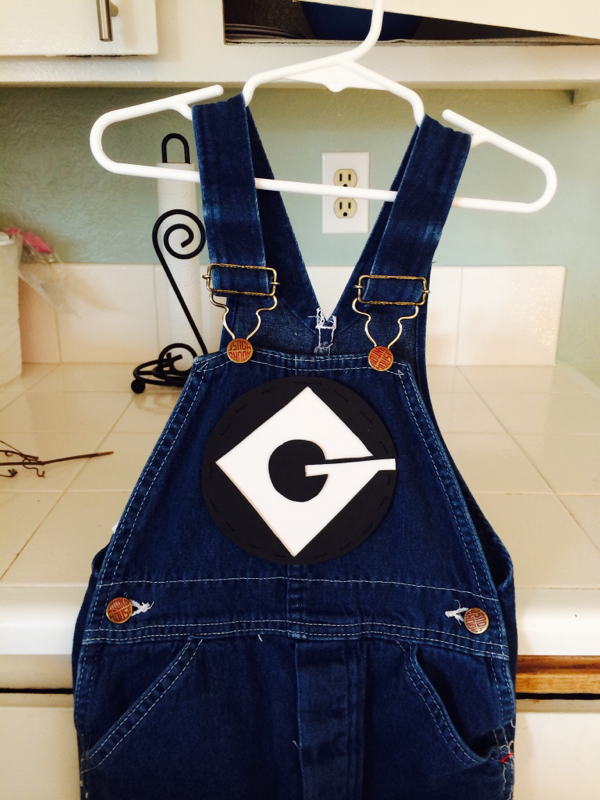  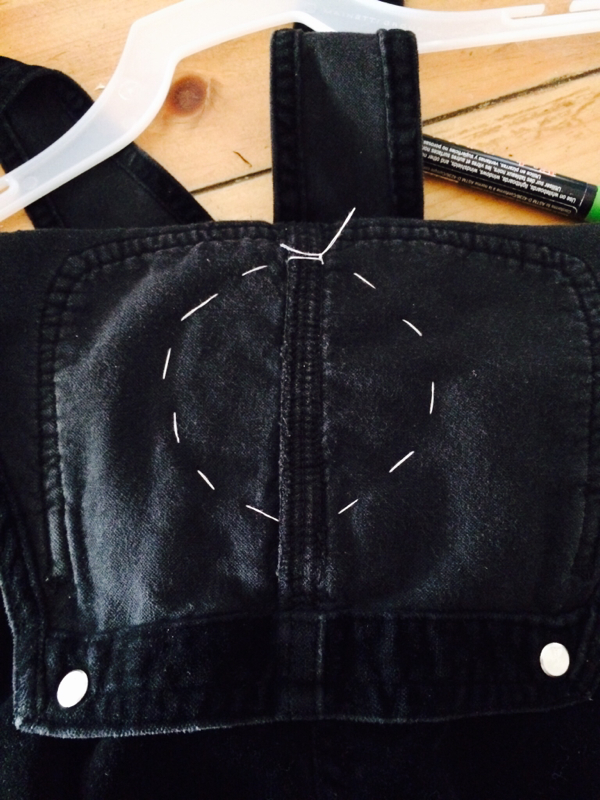 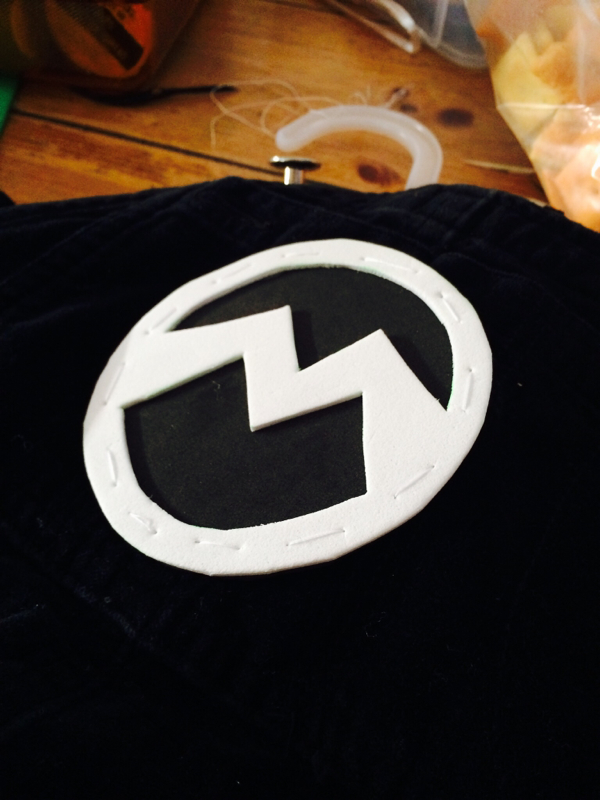 EYES: I have round metal cookie cutters so I used them to make an impression on the felt for the different sizes circles to create the perfect circles for the eyes. I used all these different colors to add dimension to the eyes. Hot glued the pieces on top of each other. 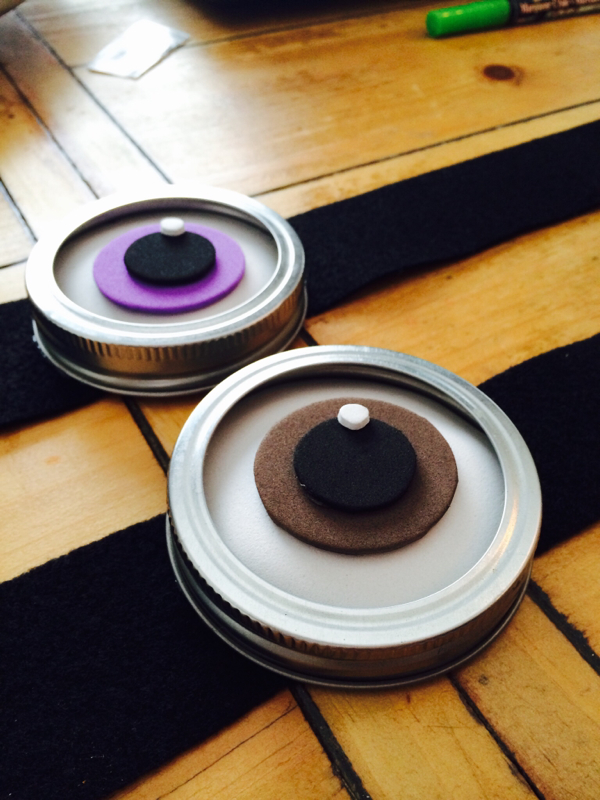 GOGGLES: I used mason jar lids I had around the house and hot glued the eyes inside them. I bought a sheet of black felt from Michaels I believe .35 cents and cut out a strip for the google strap. 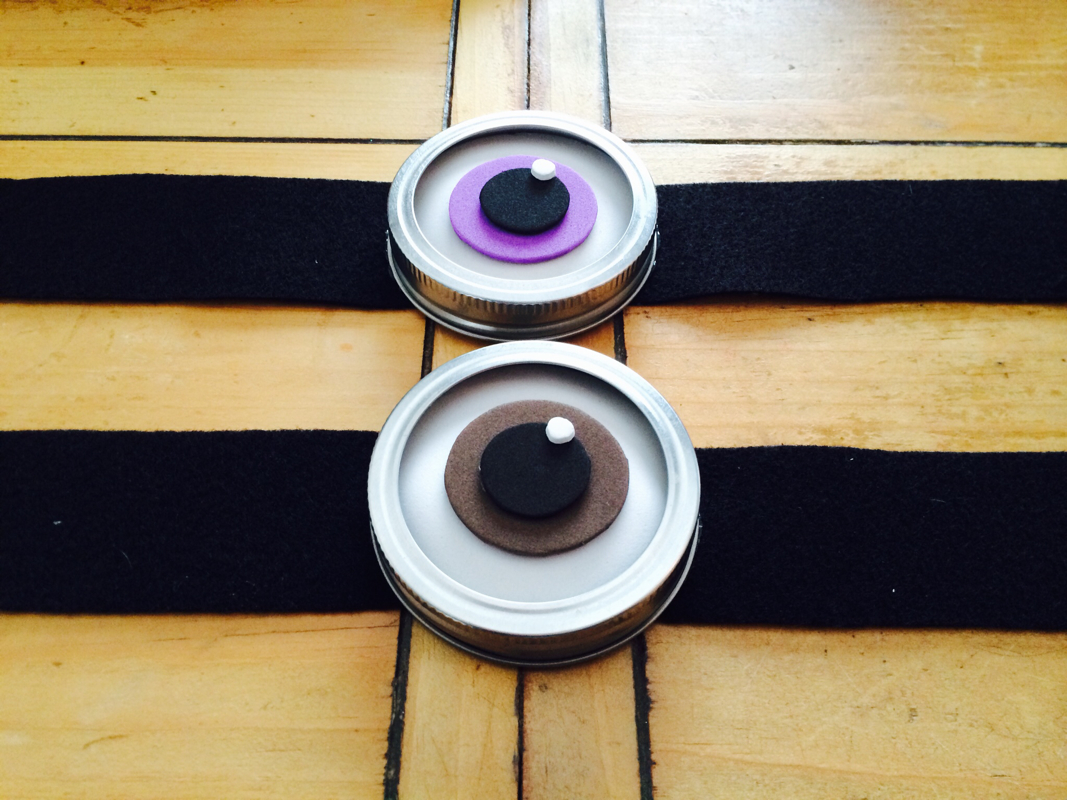 Purple Minion :HAIR: I had planned to make the hair from yarn but I decided to cheat and go an easier route! Back in September we won this crazy minion at the fair so I decided to scalp our little friend! Promised Jack that I would reapply his hair after Halloween! I just hot glued his scalp (sounds like a creepy scary movie) to the hood of the purple pullover. Leaving room and the tip of the hood to glue the goggles. 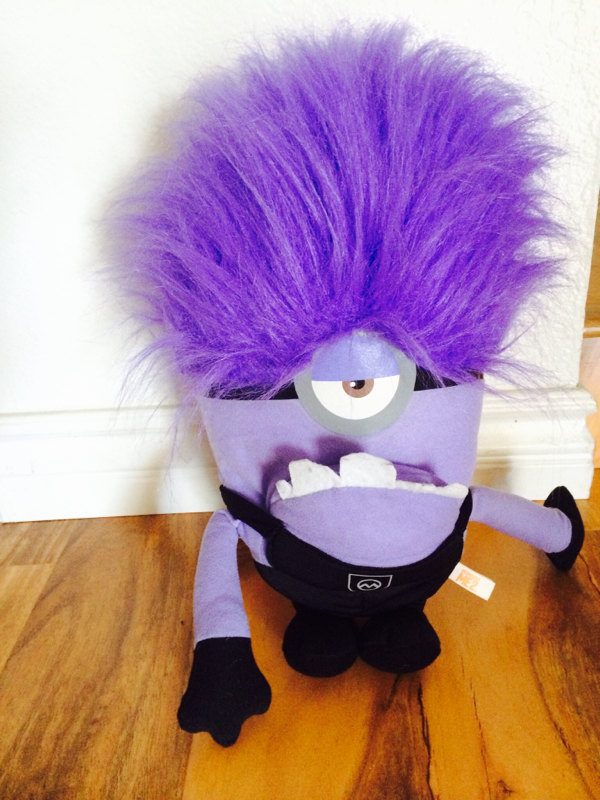 Here's a fitting before I added some teeth! (don't mind the creeper in the mirror!) 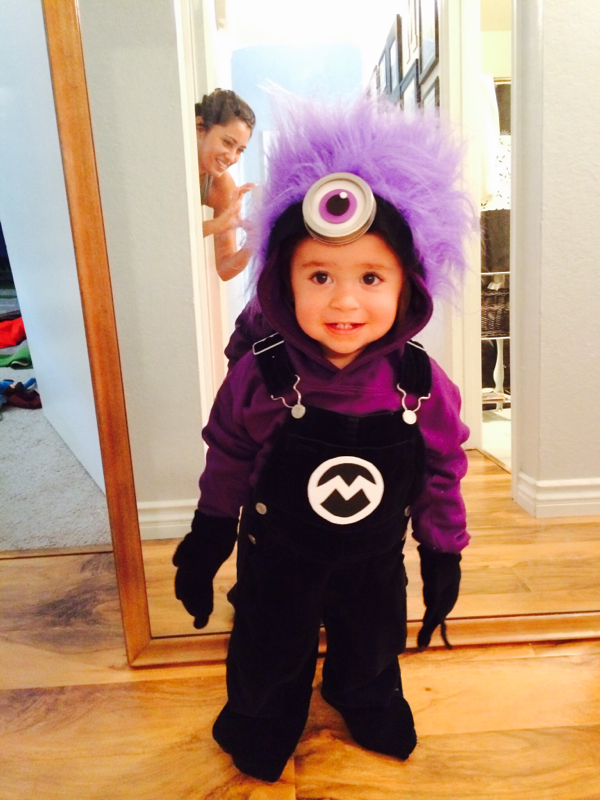 I can't handle how adorable he looks! Exactly what I envisioned! Ps. Those aren't his gloves, he was wearing big brothers gloves! I found him some mini gloves from Walmart for only .97 cents!!! Yellow Minion :Jacks costume was more of a challenge since he refused to let me scalp his other minion friend! Bummer! I didn't want his to be just a decorated hoodie because he's 5 and deserved something extra awesome! Plus he is at the age that he doesn't mind wearing a mask! Maxx's hoodie was perfect because that kid won't wear a mask or let me paint his face. HEAD: I started off making the skeleton of the mask with poster board and bubble wrap -both from the dollar tree! The bubble wrap was meant to help support the thin poster board so that it didn't cave in. I hot glued them together. I just added a few hot glue spots because it would melt the bubble wrap! Then I sized it around jacks head and cut out a oval for his face. 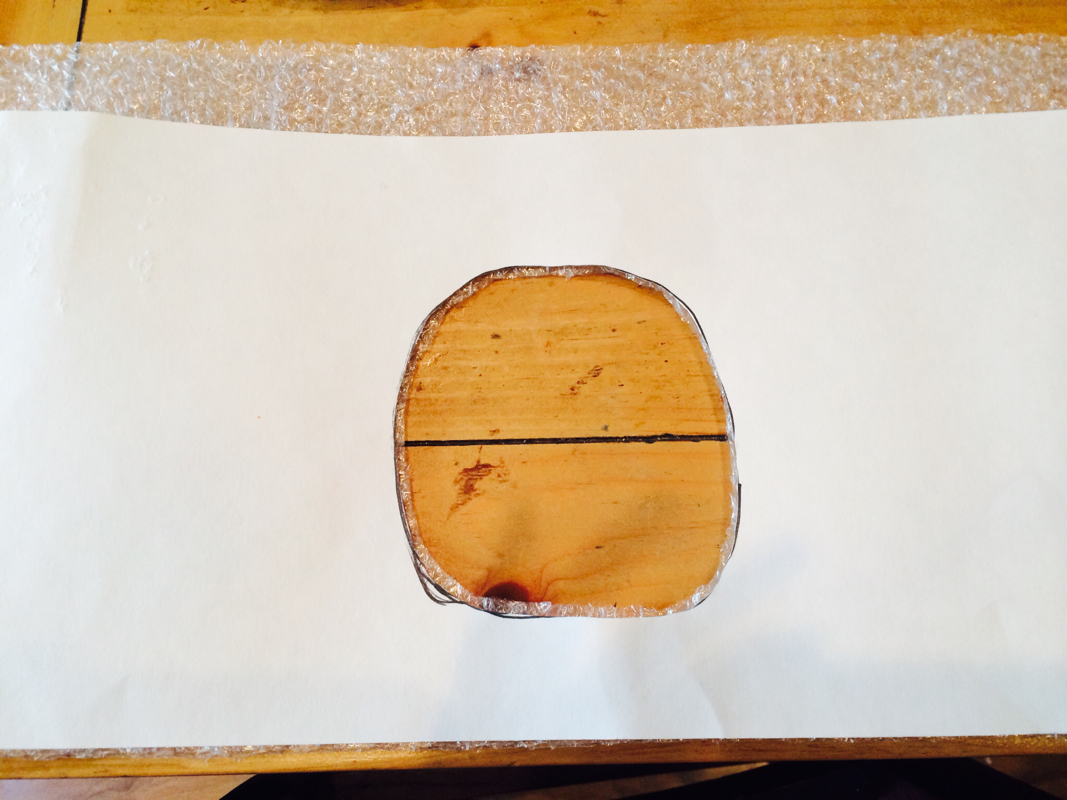 This is what it looked like from the inside... 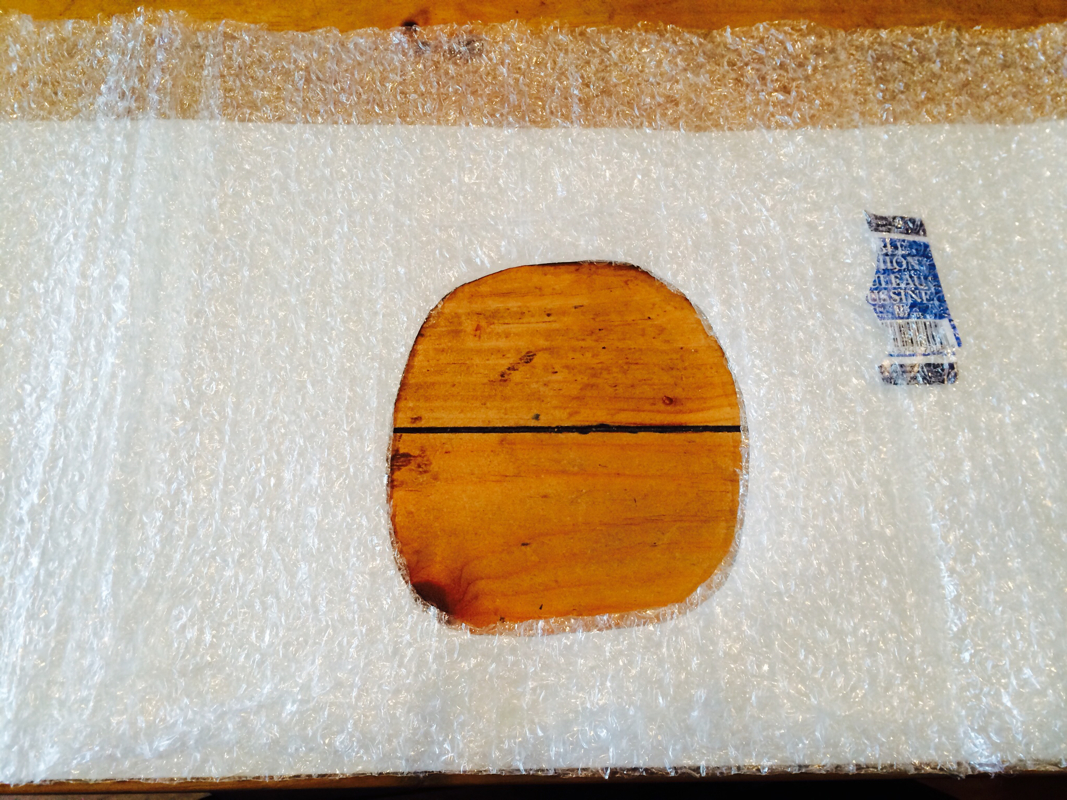 I originally bought a small bowl from the Dollar Tree to use as a dome base for the top of the head but it turned out to be too small! So after scouting the house for everything round I decided to use the bean bag filling that came from the headless purple minion toy and put it into a grocery bag. I took a rubberband and tied it together from the inside and turned it inside out to make a dome like shape (photo below) 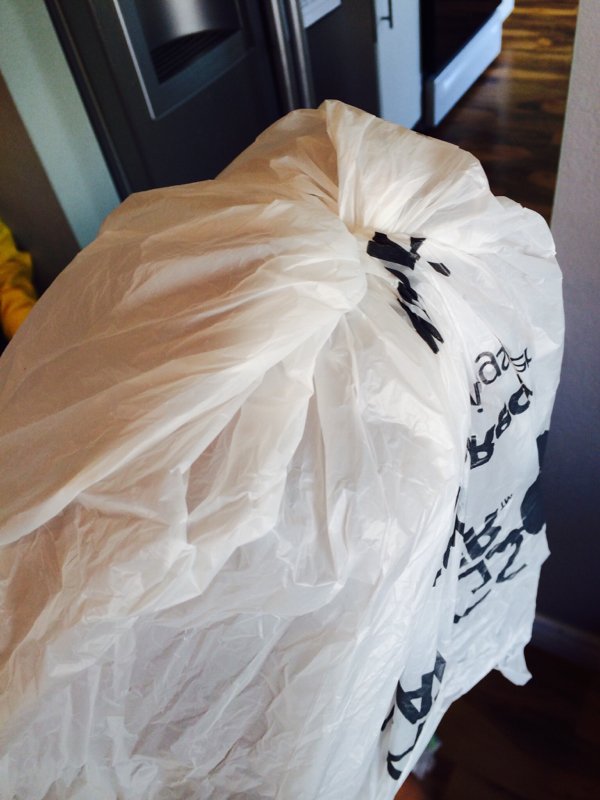 Then I hot glued it to the bubble wrap :) and Wahlahhh the finished skeleton of the head! 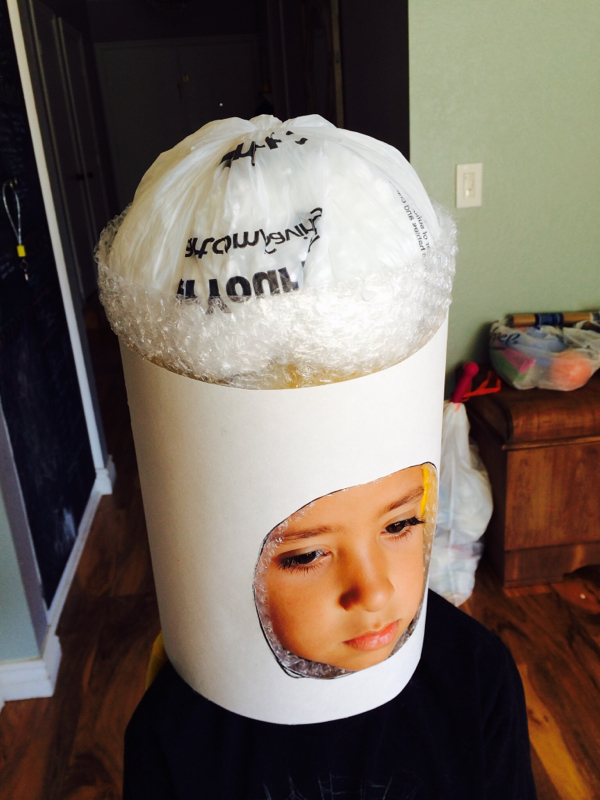 He hated every minute of these fittings lol brat! 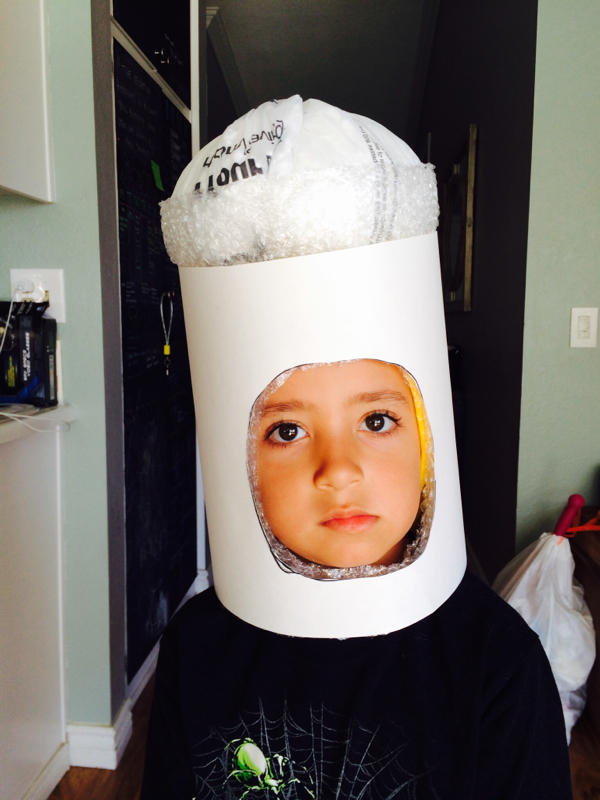 COVERING THE HEAD: This was probably the hardest part! So I bought 2 yards (which was way too much) of yellow felt at Walmart for $7. I bought extra because I was going to add a double layer of felt because it was kind of see-thru and I didn't want the grocery bag logo to show! After failing many times trying to cover the whole mask and literally wanting to give up and throw the doggone mask out the window - I googled how to make a beanie and thought that I could make it like a huge beanie to cover the head! IT WORKED!! The online tutorial said the fold my material over 4 times , pin it still, and cut out a petal shape. 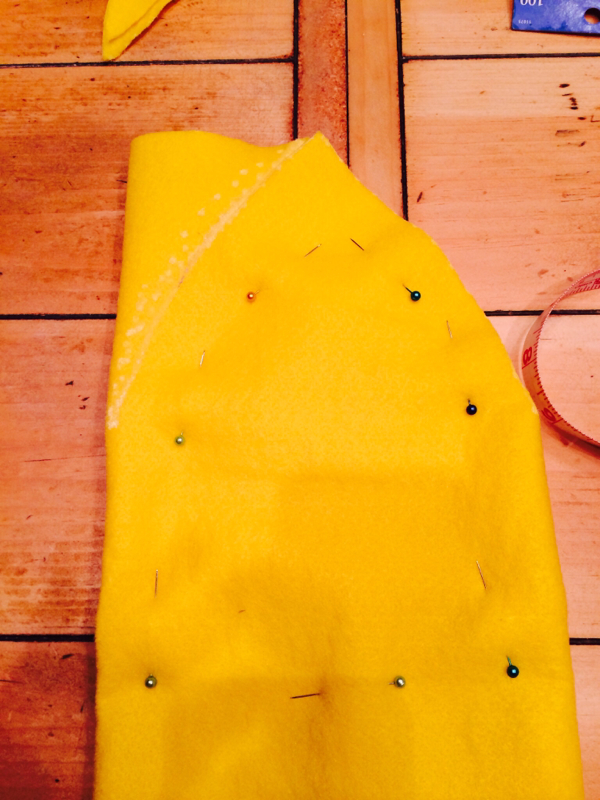 Here's what it looked like unfolded. 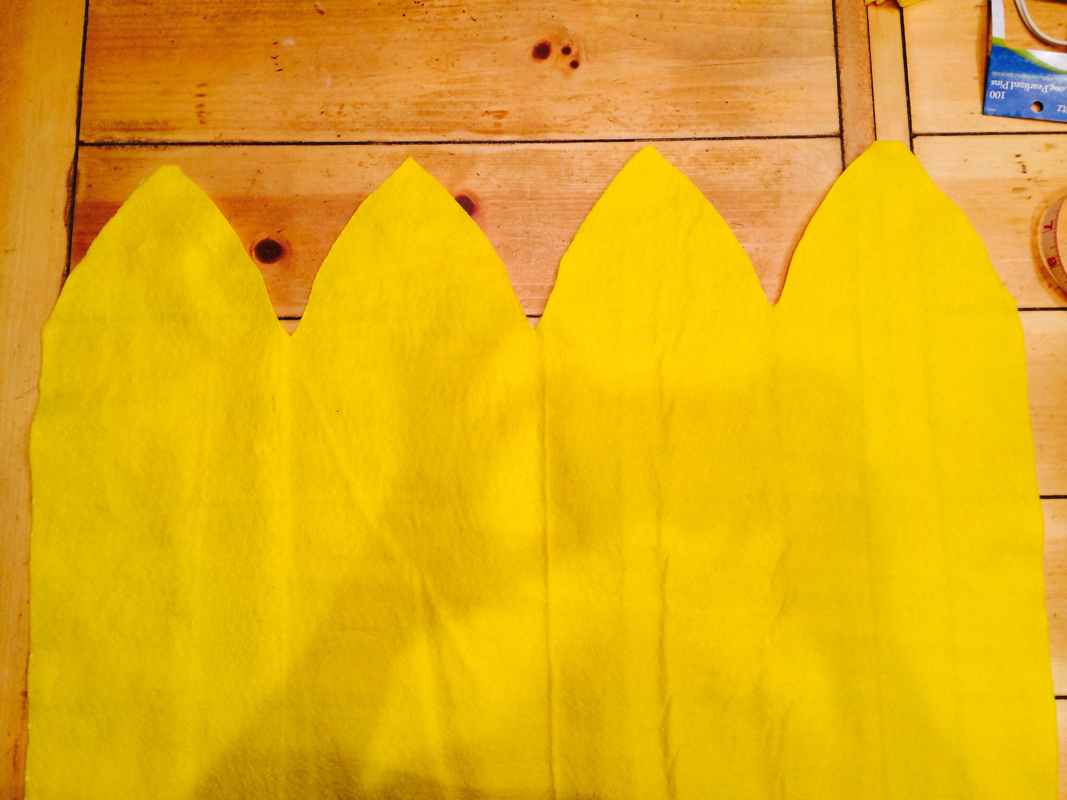 Using my grandmas handy dandy sewing kit -I hand stitched the petals together then wrapped it around the head! Thankfully it fit! 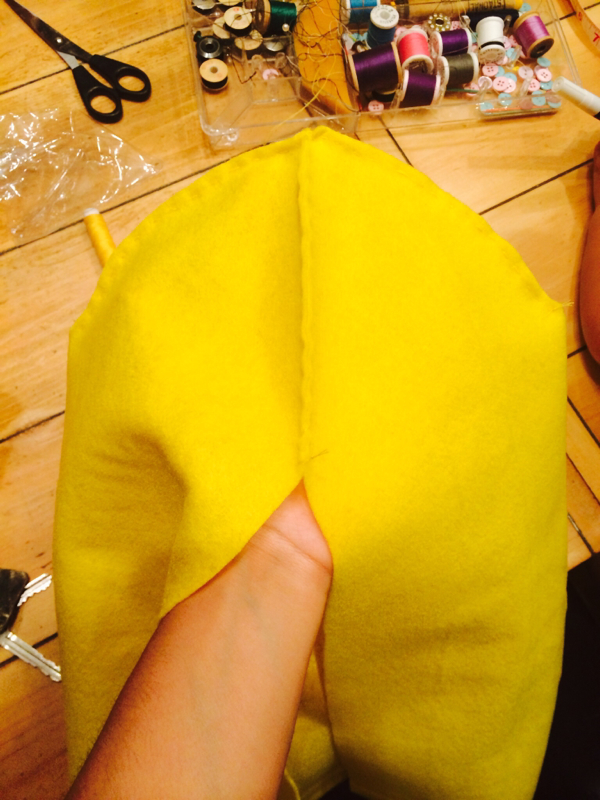  After sewing the seam in the back shut I made some slices in the front for Jacks face and hot glued them to the inside! The fun part was gluing the goggle to the head! It all came together!!! Jack was so excited to try it on! (BTW my kids are always running around the house in their chonies!) 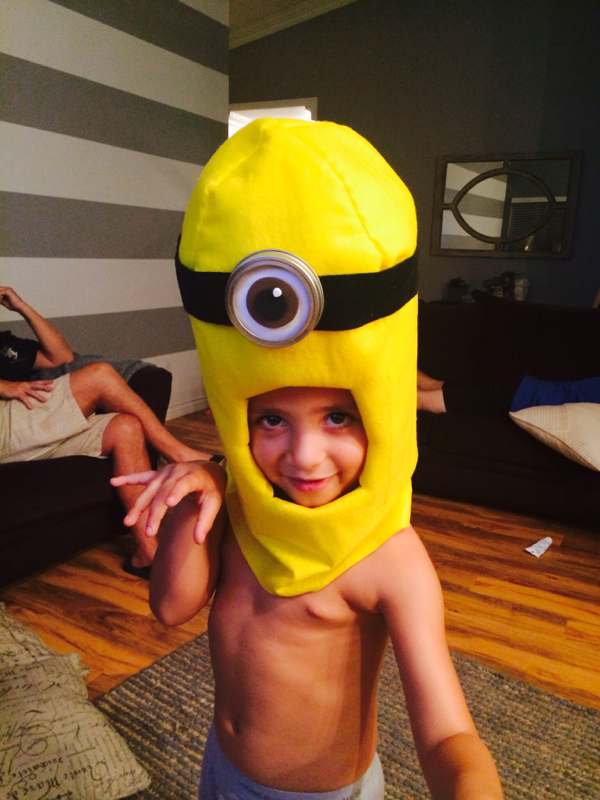 I cut out some felt teeth and hot glued them kinda wonky in the mouth so that it looked like he was yelling! Oh and I used black pipe cleaners and hot glued them to the top of his head. And here are the final photos on Halloween day!!! 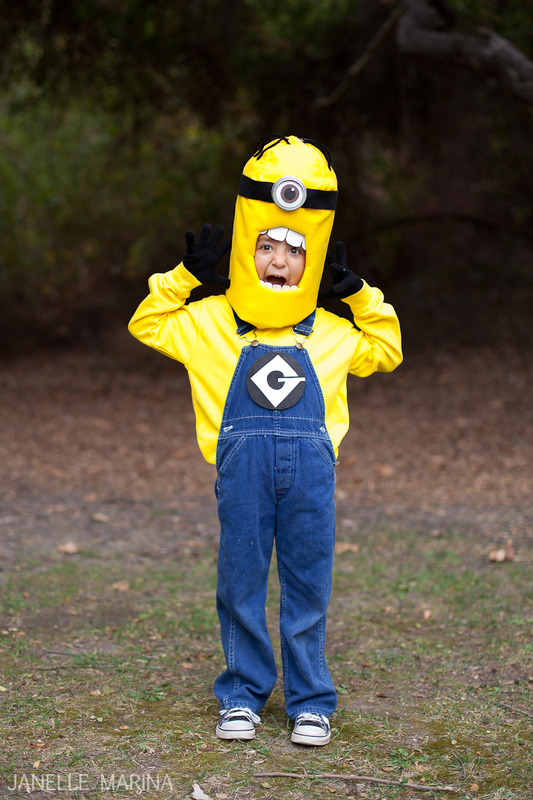 Of course my one year old was not in the mood to take photos so I couldn't get a good picture of his costume! :( And somewhere between leaving the house and going to the park his purple eye was gouged out! double wahhhh!!! Oh and to top it off we forgot his gloves in his closet to complete the costume! haha! Story of my life! 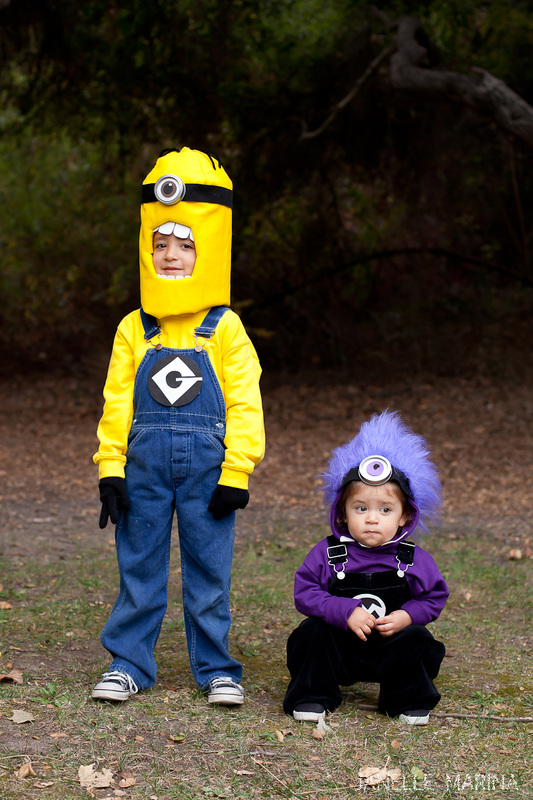 Not too bad for my first DIY costumes!!! 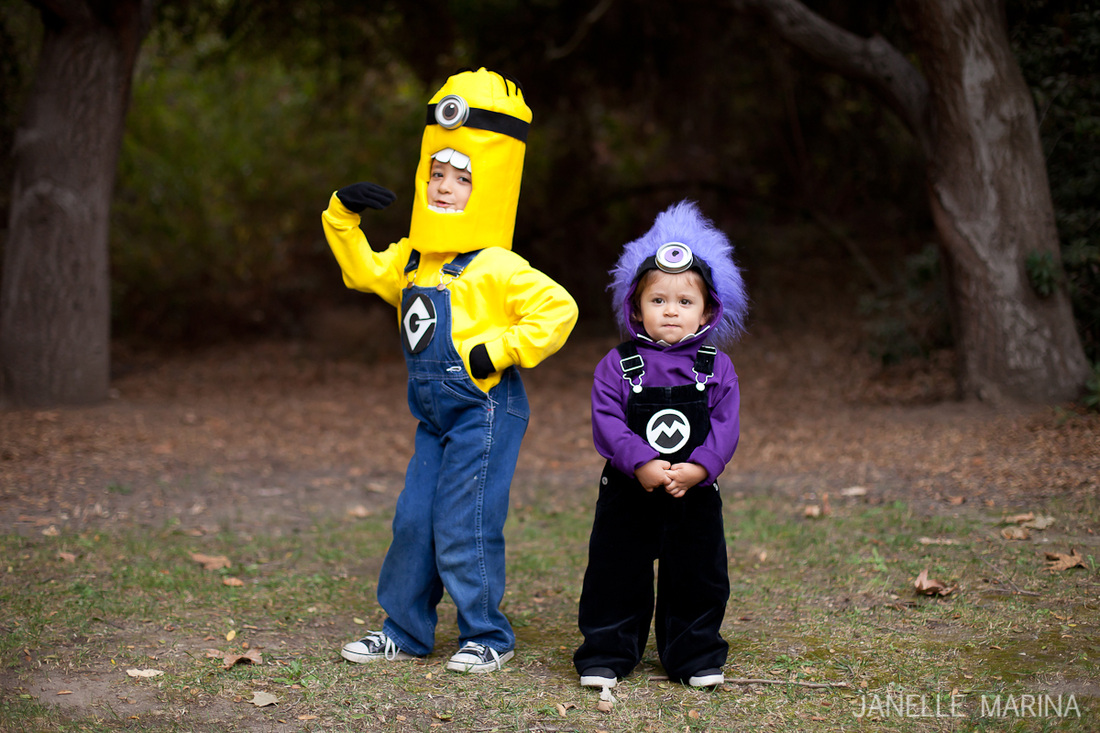 And there can't be minions without the main dude GRU!!!! My brother Mikey was such an awesome sport and dressed up as Gru! I love him sooooo much! We added a bald cap which was the hardest part of all the costumes put together! 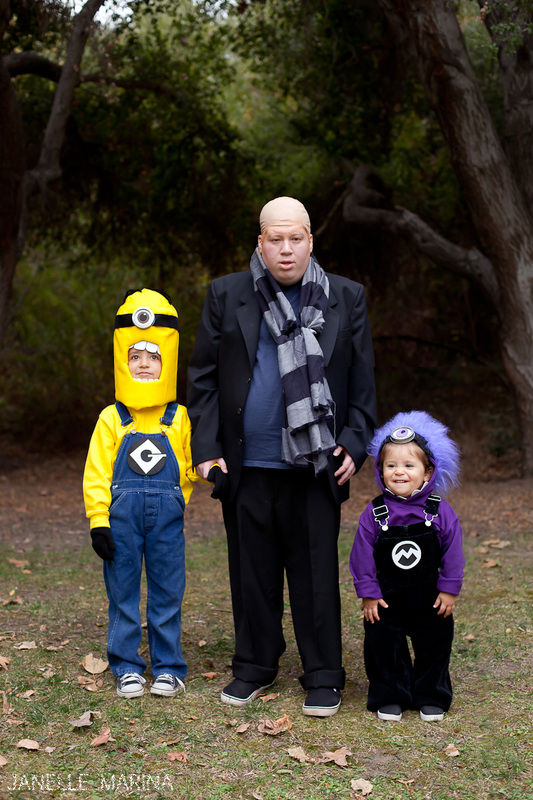 I'm so glad that I was able to take the time to make these for the kids! They were so happy which was soooo awesome!!!! If I could do it so can you!!! Just takes time, patience, and google!!! lol!
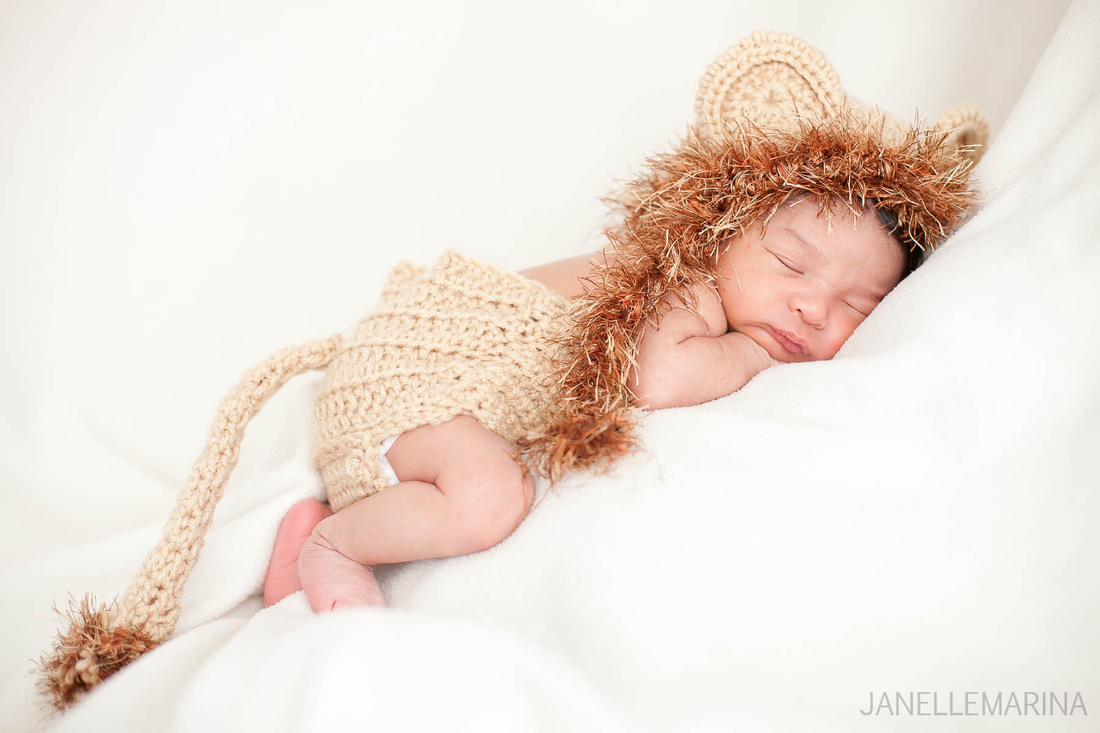
This pregnancy should go down in the books for the worlds fastest pregnancy everrrr!!! It seems like only yesterday when we were in my dining room celebrating my brothers birthday when he announced that he was going to be a daddy! This last year has been full of major milestones for my big bro - he met the love of his life, got married and had a handsome healthy baby boy! You can click HERE to see photos from their maternity session, and it even got published HERE which was super awesome! Ari Michael was born on April 2, 2014, a whopping 6 pounder! He is a perfect blend of his mommy and daddy. He's already one week old! This lil guy slept through the whole thing -he made this session so easy for us!! Look at all that HAIR!!!! He has the cutest natural part! 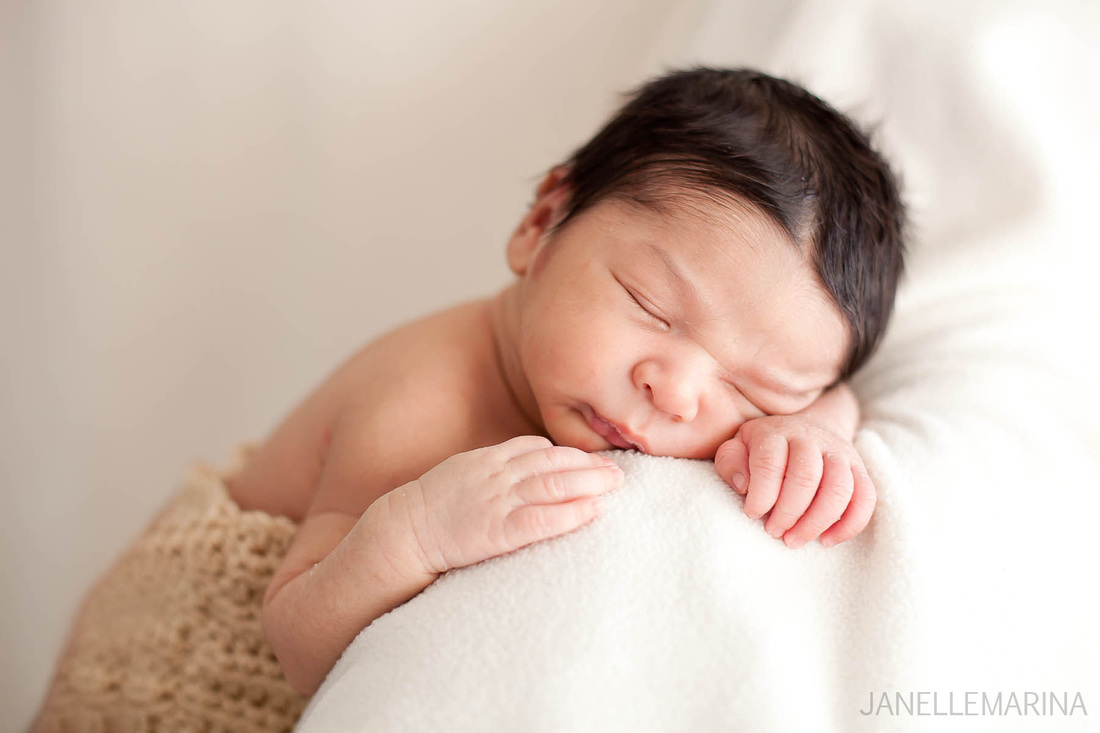
Ari means "Lion" in Hebrew, so I had my good friend Arlene make him this adorable hat and bottoms -go check out her creations HERE, she's uber talented!!! 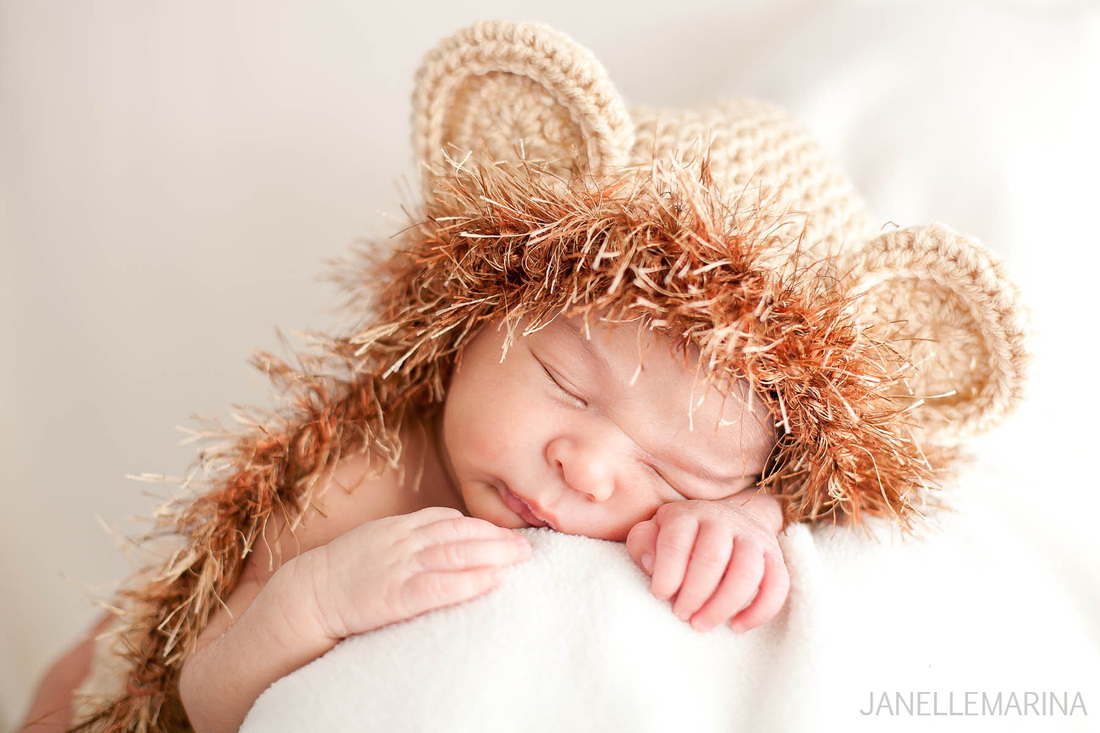
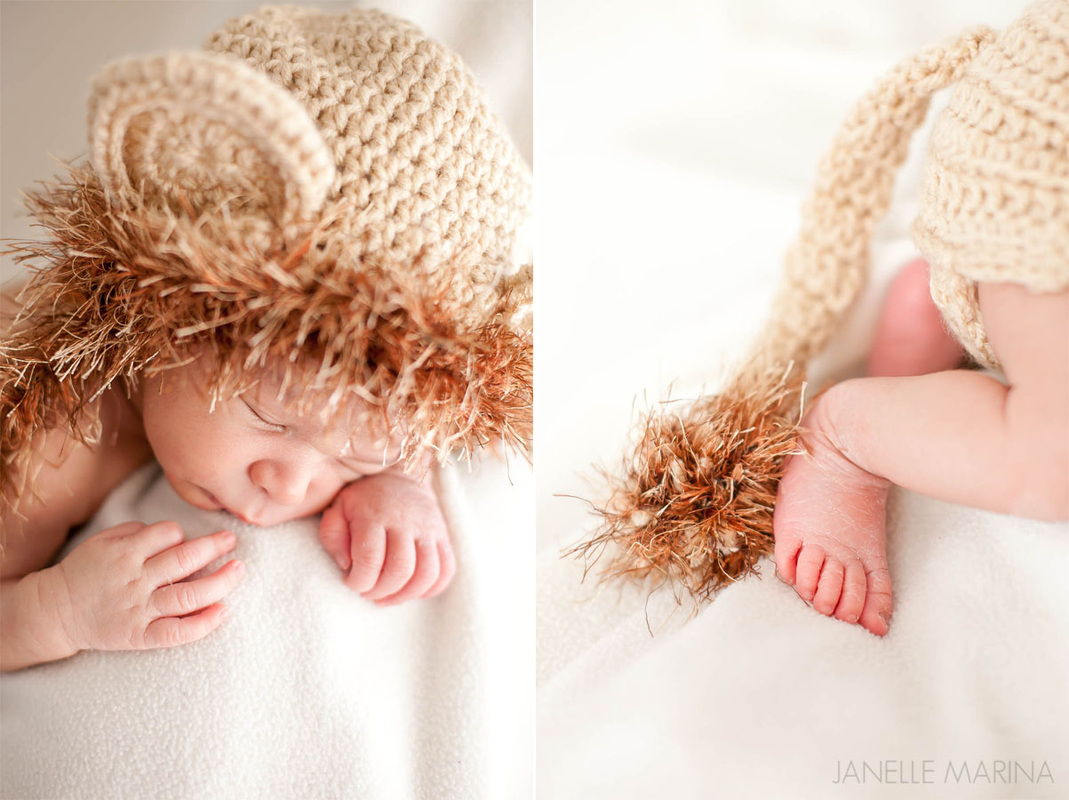
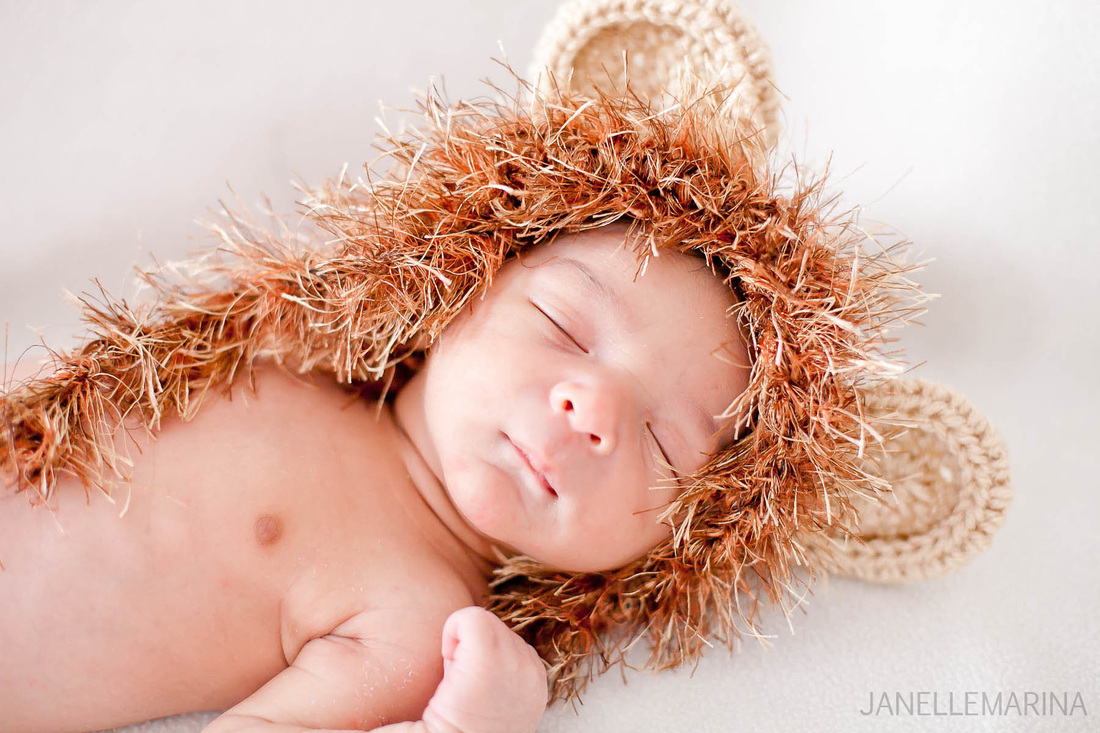
He opened his eyes for all about 30 seconds and we caught it!!! YAy!!! He's soo doggone cute!!! I love him sooo much! 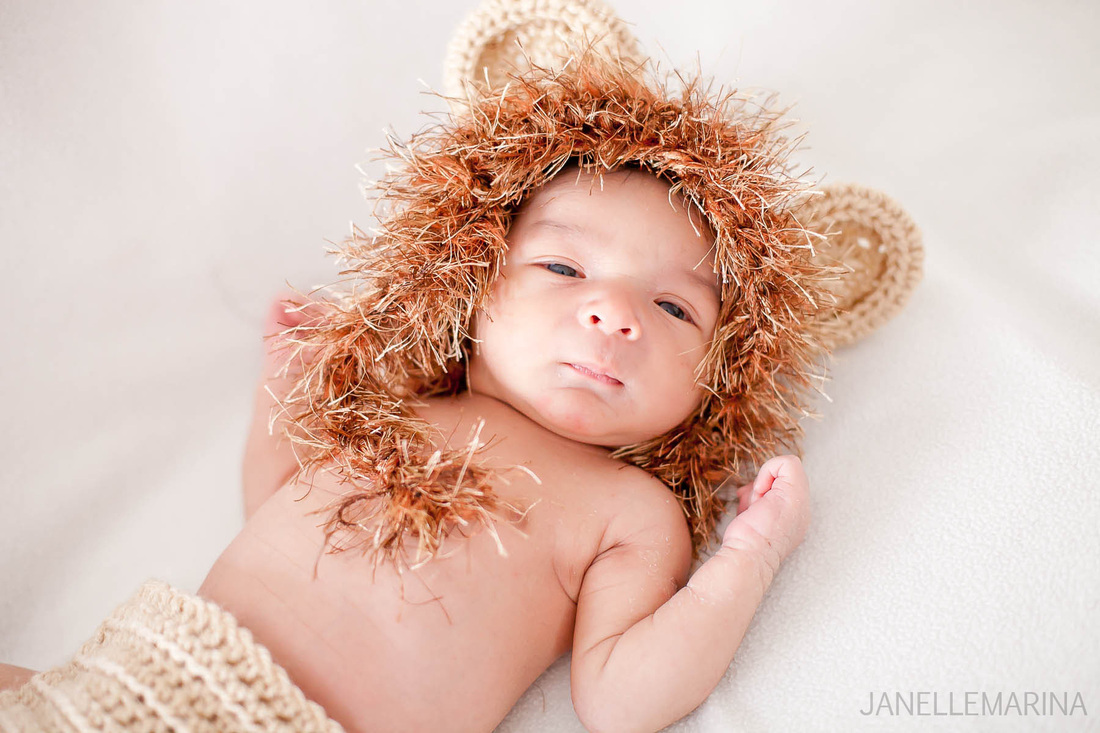
Click HERE to see his Lion themed babyshower.
It was such an honor to be able to plan a babyshower for my brother Chris and Alexandria! They are fans of Lions and wanted to somehow incorporate that in their sons name. They fell in love with the name Ari Michael, which means "Lion" in Hebrew, and Michael is after our youngest brother. Here's some photos of the DIY décor before we got the party started! 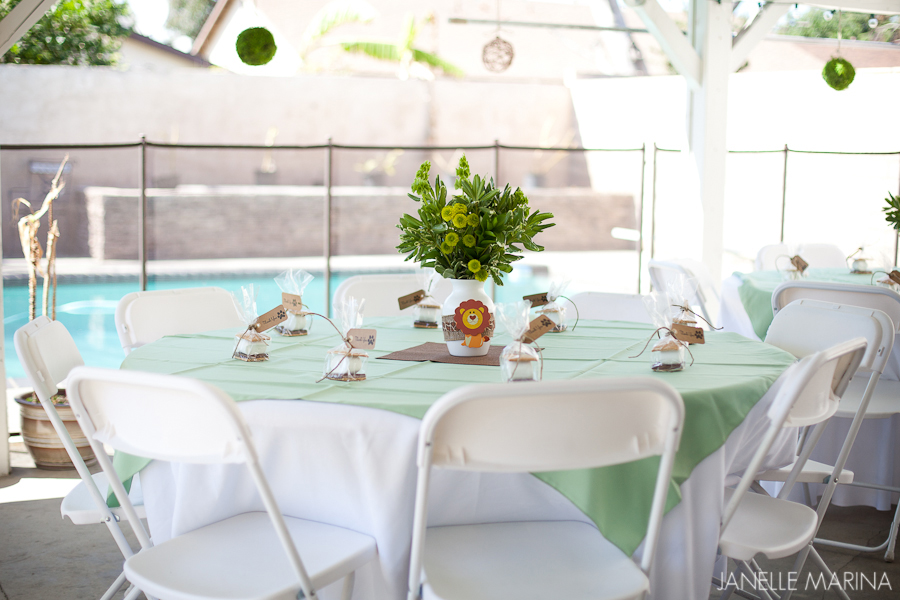 Big thanks to J's Party Rentals for all the linens, tables and chairs. My aunt Linda, owner of Victoria Ivy Flowers did an amazing job on the floral arrangements! Im in love with all the different shades of green! I got the vases at the dollar store and just spray painted them white! The little wooden lions and ribbons are from Michaels! Can you say "design on a dime!" 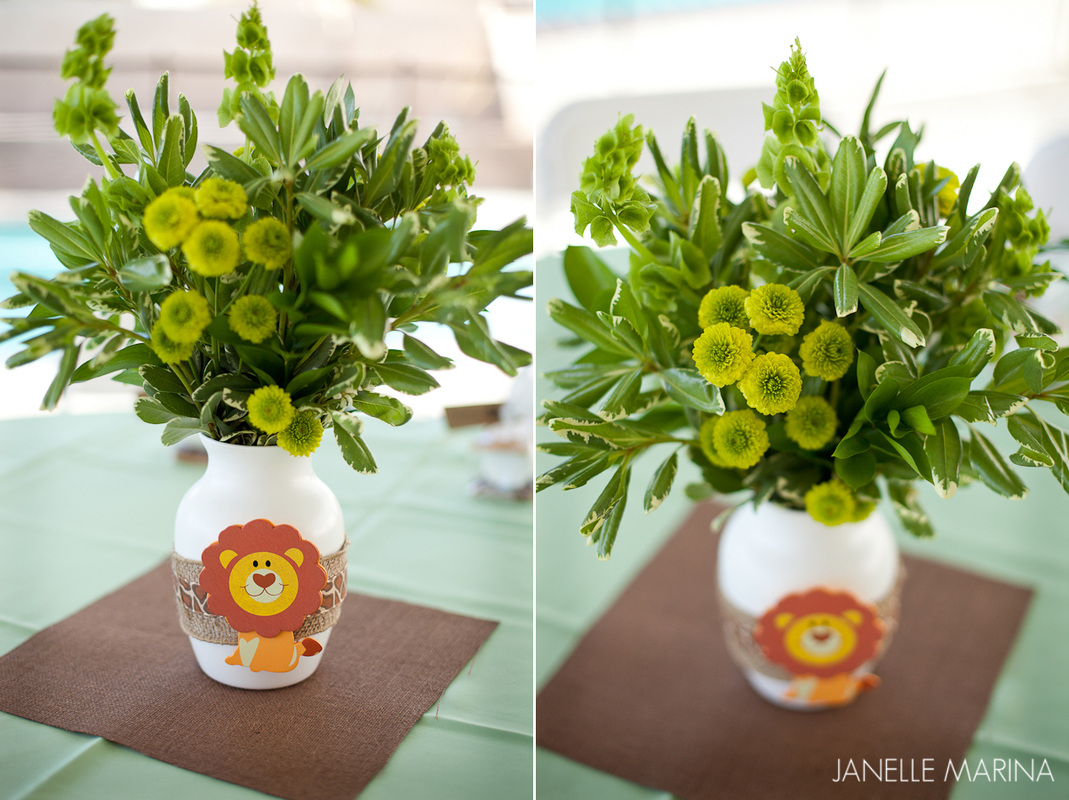 We were going for the neutral colors and these smores goodie bags fit in perfect! Those adorable tags are also from Michaels and we just labeled them with paw prints & "thank you" rubber stamps. 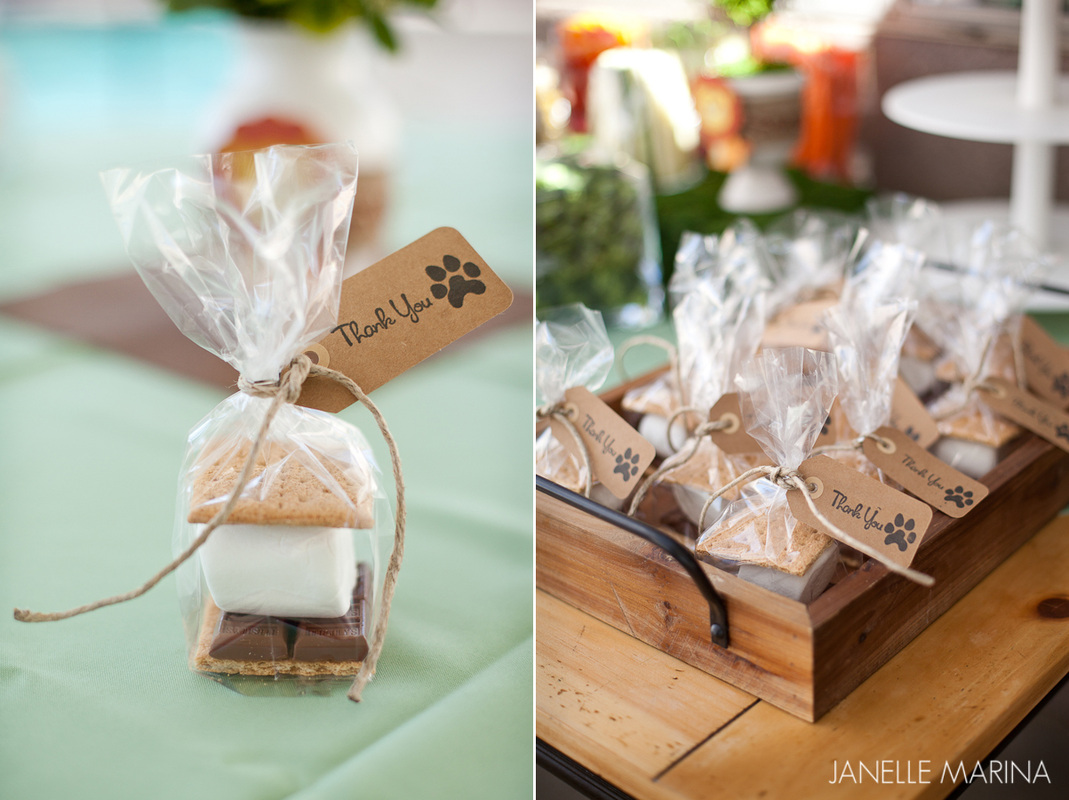 These moss balls were the most random idea and a pain in the butt to make -but I think they turned out neat and added some texture to the décor! 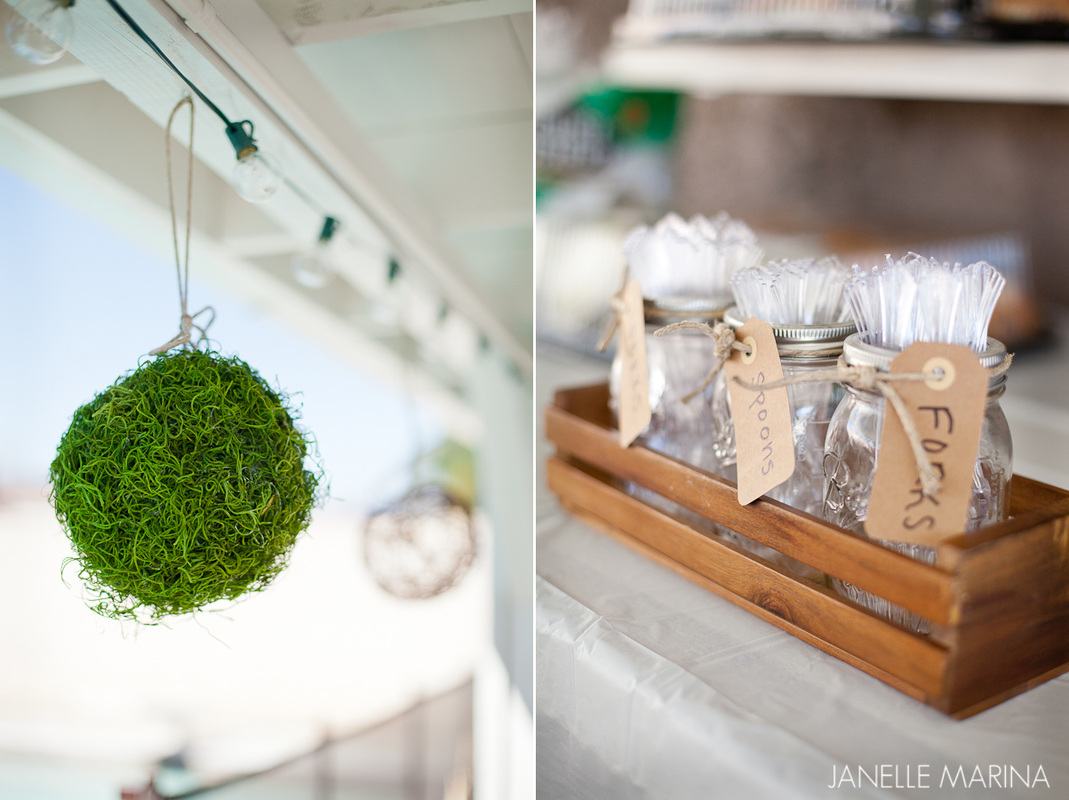 My favorite table was in the worst light area! :( First lets start with the adorable knitted lion beanie and bottom made by my talented friend Arlene, owner of Spoiled Rockin' Custom Crochet. The A-R-I letters were bought from Michaels and we wrapped them in orange yarn. Those little babies were time consuming too! My aunt Linda also made the coolest veggie bar I've ever seen! Who knew that the health trend was going to take over dessert tables! Huge Hit!!! 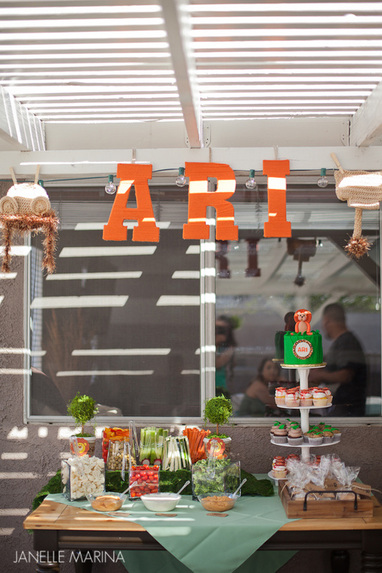 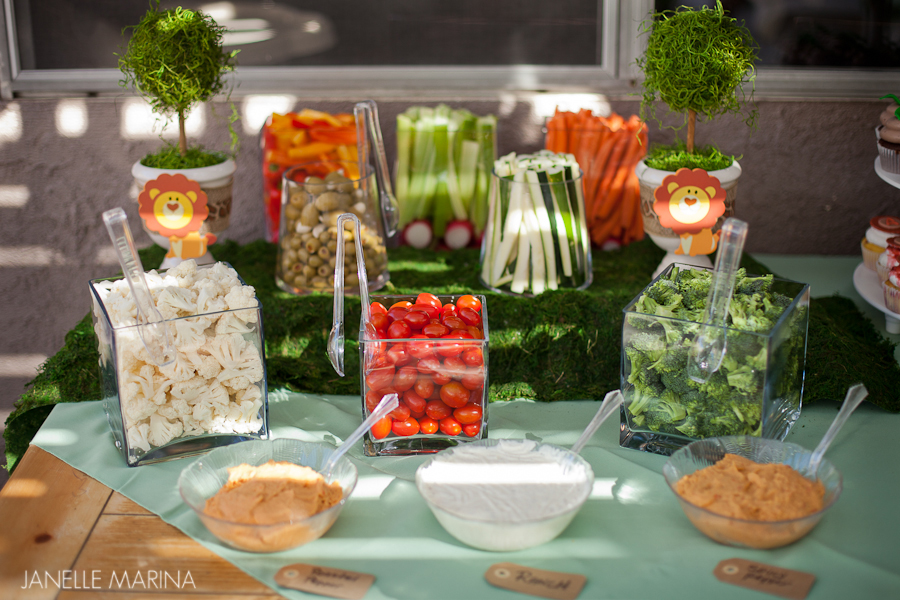 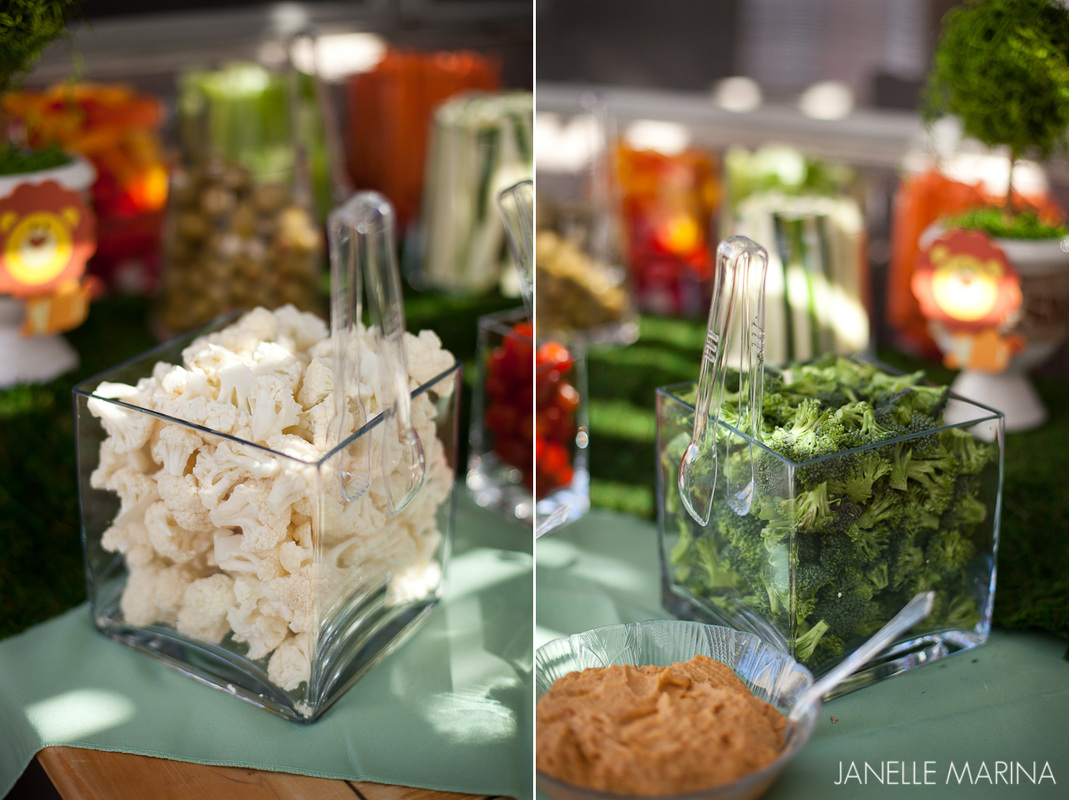 And of course I had to bust out a cake for my new little nephew and some cupcakes for the sweet toothes! The little Lion is made out of fondant too! :) 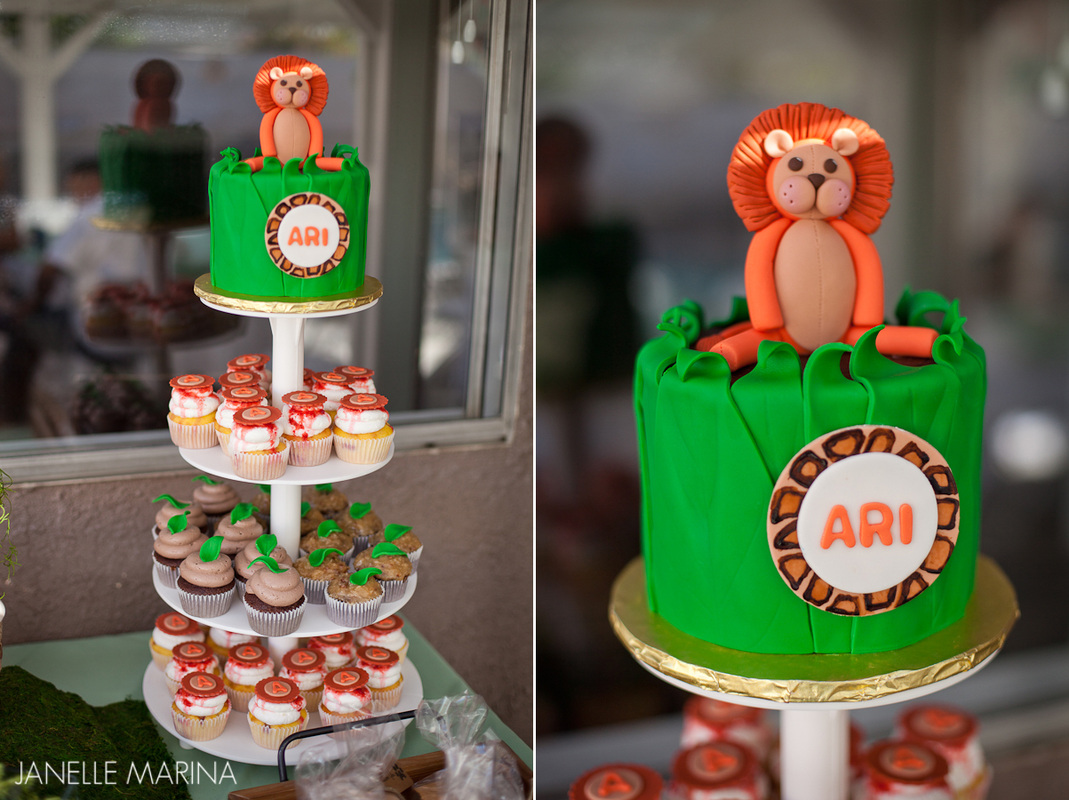 Alexandria found the coolest ideas on pinterest on how to make your own trophies to give away as prizes. We got the bottles from walmart and the bases from Michaels and just spray painted them! Im telling you I am a spray painting fool!!!  The babyshower was a success with lots of good times and laughter! Congrats again to my bro Chris & Alexandria! Now pop this baby out so we can hold him already!!! 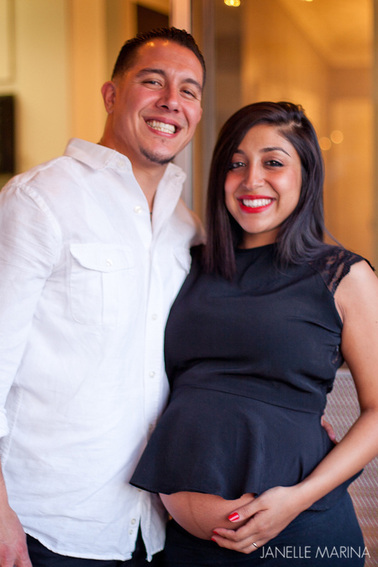 |
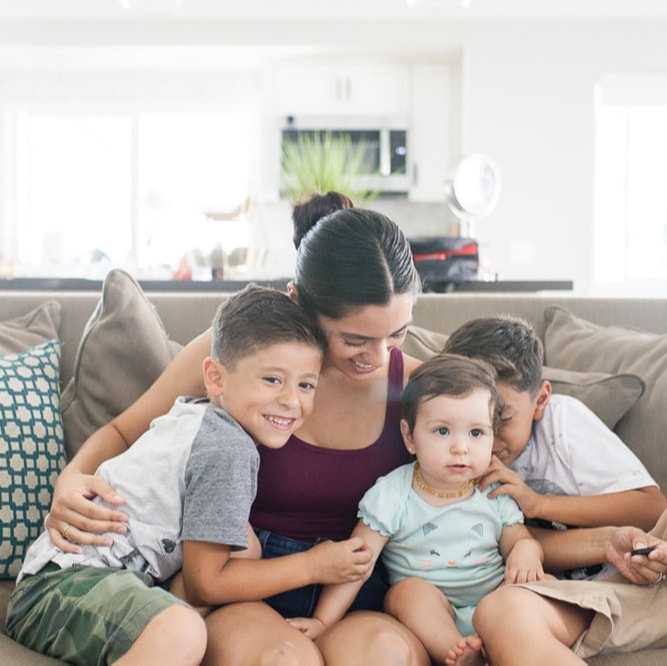
I'M JANELLE MARINA
Wife, Mama Shark, + Photographer. Most days, you'll find me in mismatched socks and a top knot, working behind my computer with a smile on my face, listening to Zac Brown Band and R&B --or, dancing in the kitchen with my 3 littles and hunka husband, seeing who could come up with the coolest dance moves. I'm a wedding photographer, West Elm lover, aspiring advocate for our buddies with special needs, and a Certified Dreamer since 1986. We live in a cozy city in Southern California and are always up for a good adventure. I enjoy telling stories with my camera, grubbing on spicy food, and solving the latest Dateline case. 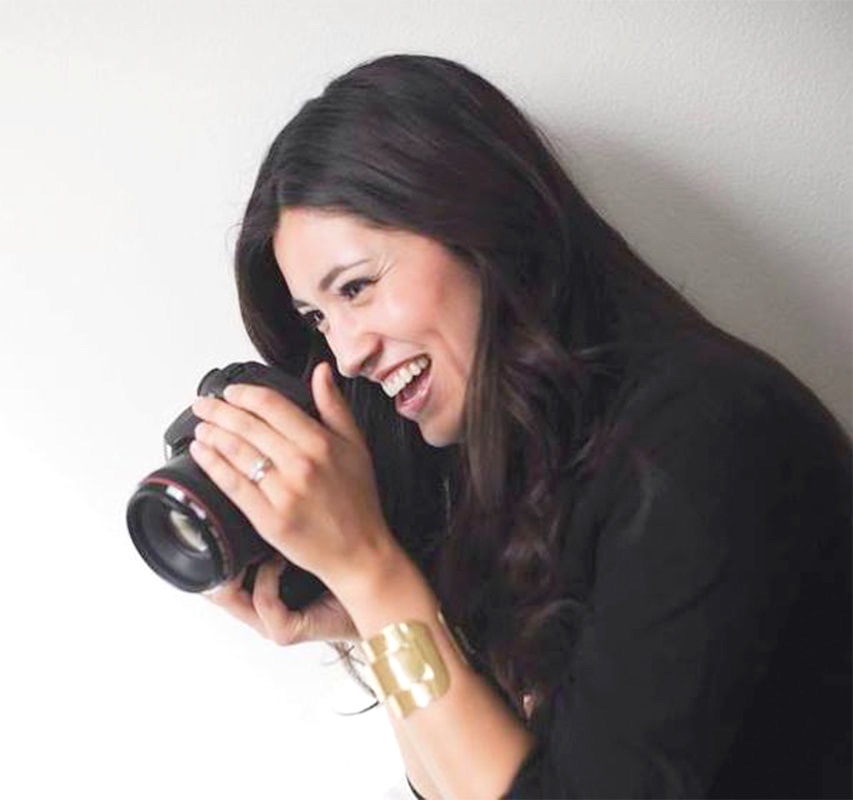


All
December 2019
|